10 Minute Pumpkin Stem DIY | Transform Your Faux Pumpkins
This post contains affiliate links for which I may earn a small commission at no extra cost to you. Thank you for your support! Learn More.
Hey Guys!
With Halloween being tomorrow, we are getting closer and closer to the holidays. Which means we have all had our fall decor up for quite some time. How are your pumpkins holding up? Are they starting to look a little worse for the wear?
Well don’t toss them just yet! I have a super quick and easy way to transform your faux pumpkin decor. This pumpkin stem DIY might be the easiest transformation I have ever done. Way back in the early days of this blog I did these pumpkin DIY’s which also had some pretty easy transformations mixed in there. But this one might take the cake for the easiest. You tell me!
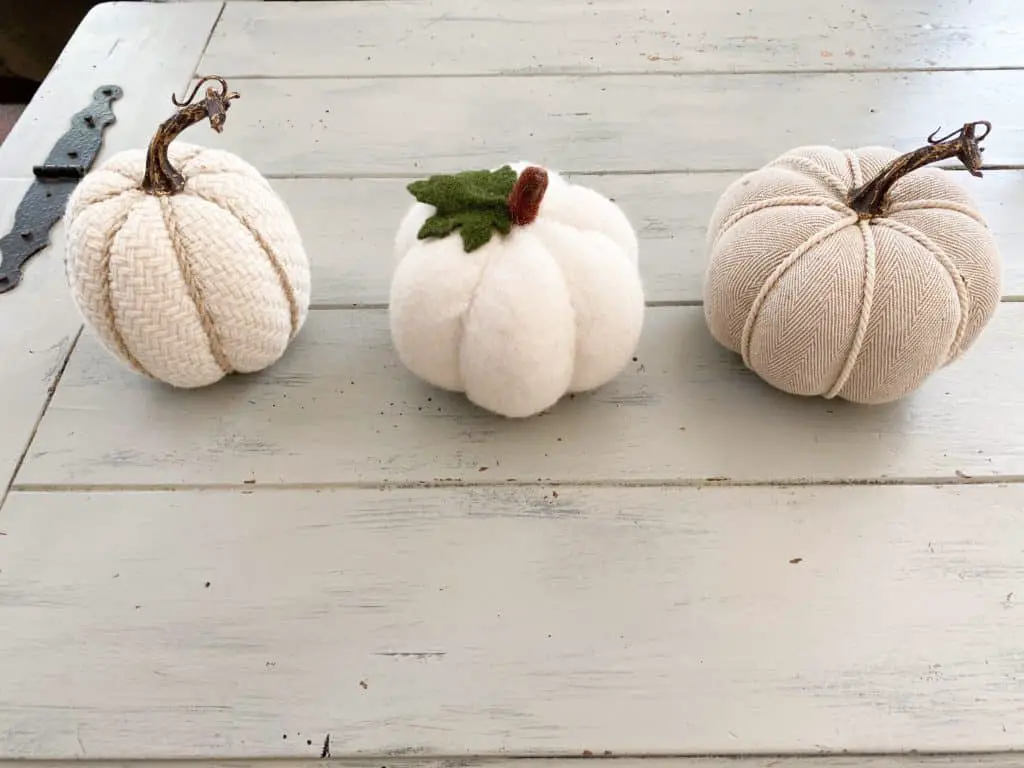
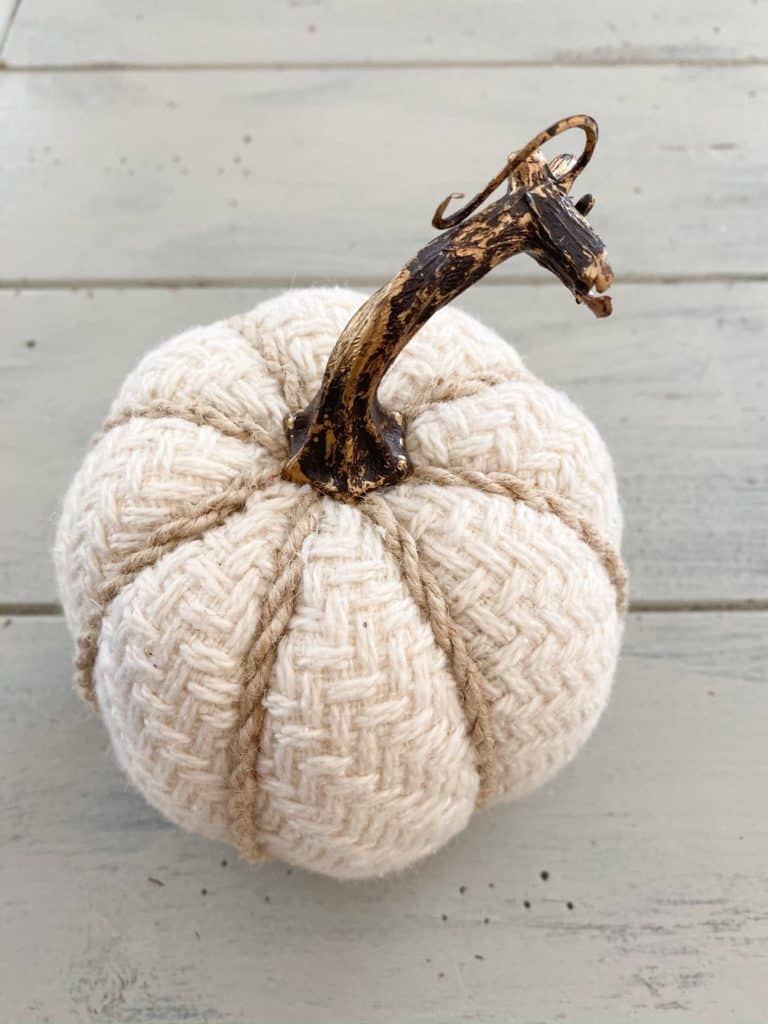
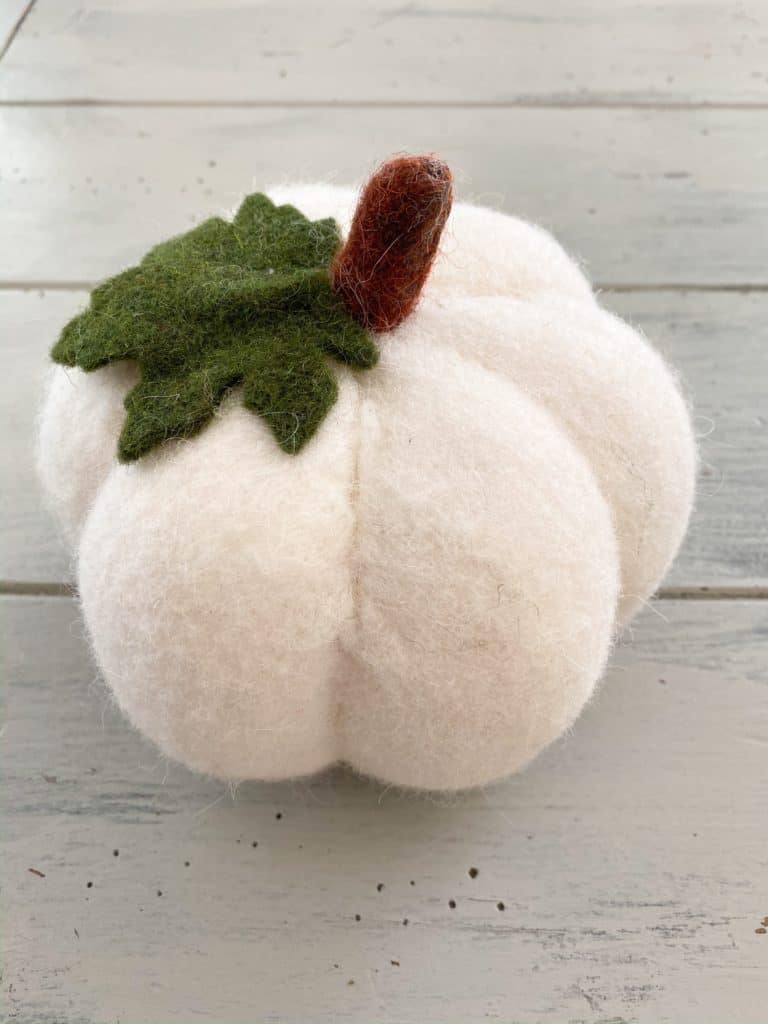
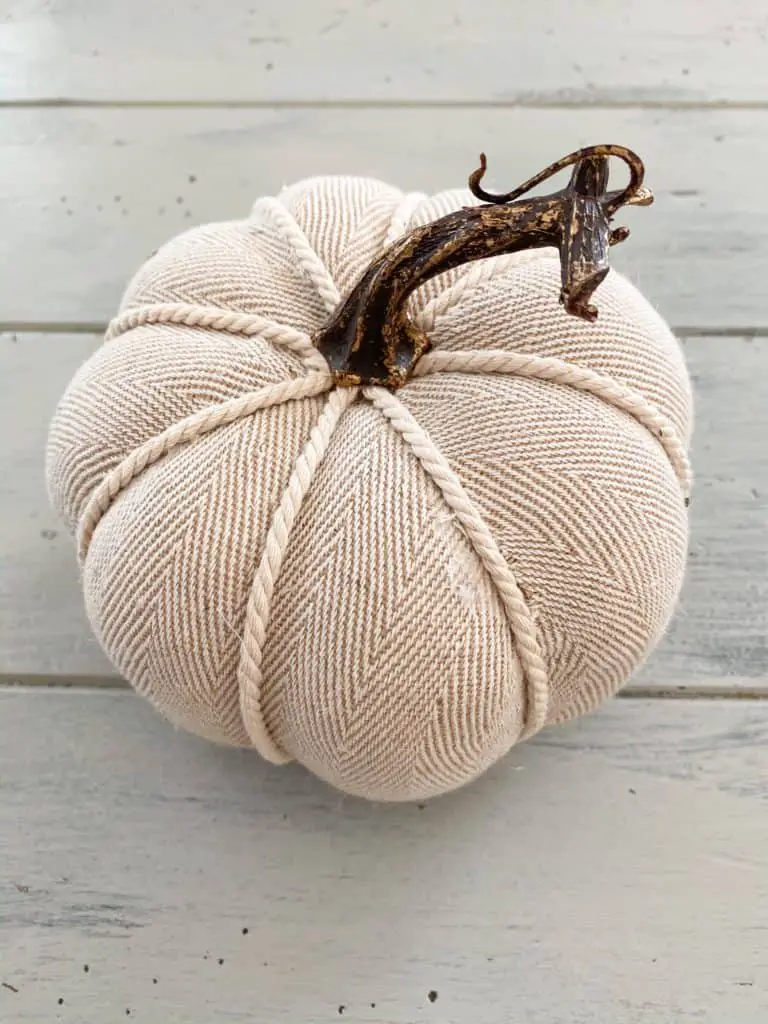
These are just a few of my faux pumpkins. I love that they are fabric and have different textures. But the blatantly obvious faux stems have always bothered me. They cheapen these adorable little pumpkins!
I decided I wanted to switch them out to give these a whole new look. And I am not joking when I say it was quick and easy. It was about 10 minutes per pumpkin, it really just depends on how much you have to (or how quickly you can) carve the real pumpkin stem off.
Here is all I did.
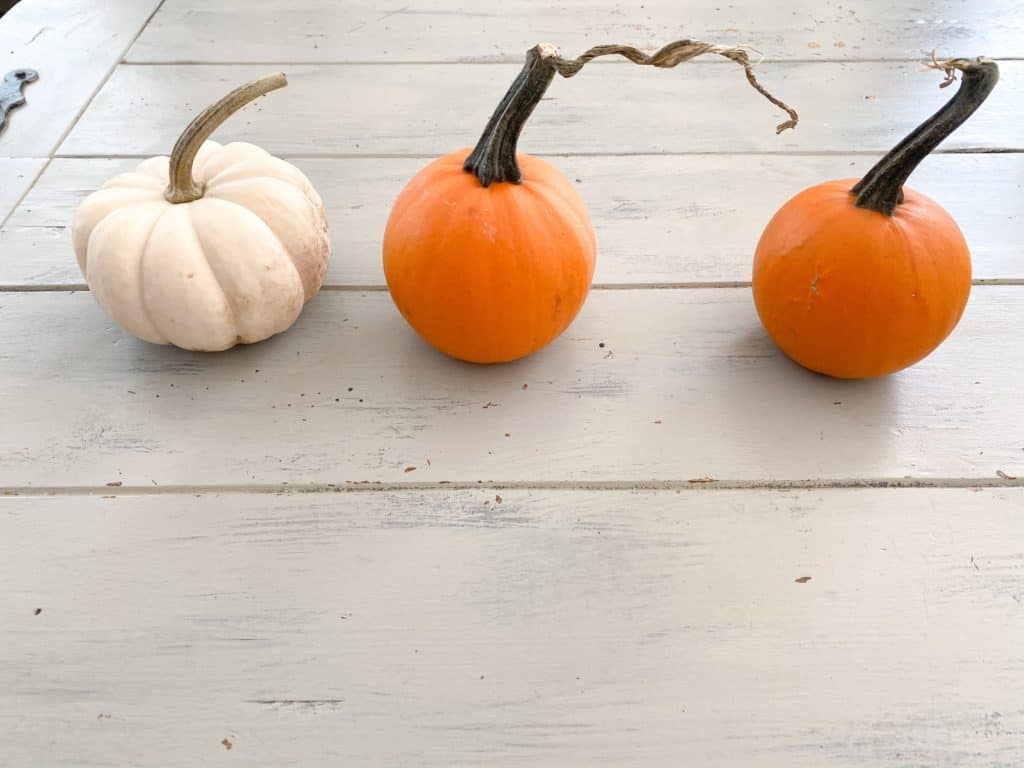
My cute baby pumpkins which have served their decorating purpose. (I actually still have them up, stacked on top of each other so the missing stems aren’t quite so obvious. The one I have on top of the pile still has its stem.)
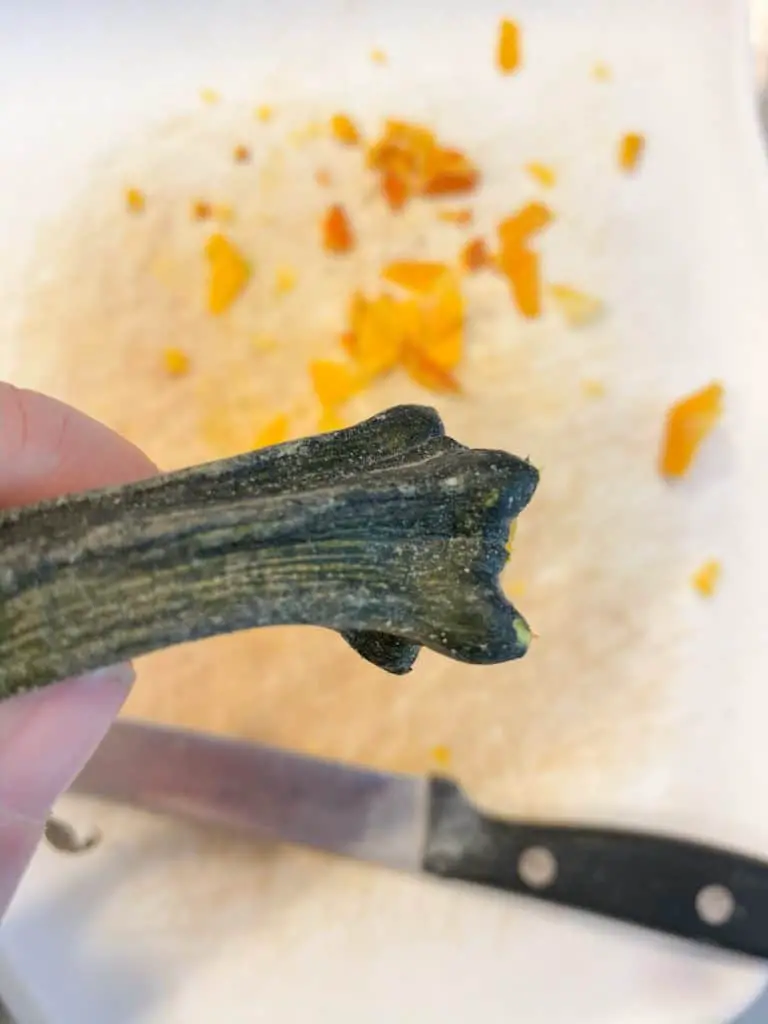
I picked these specifically for their adorable stems, knowing I wanted to recycle them once I was done using these as decorations for a little while. So keep that in mind if you try this yourself. Find cute stems.
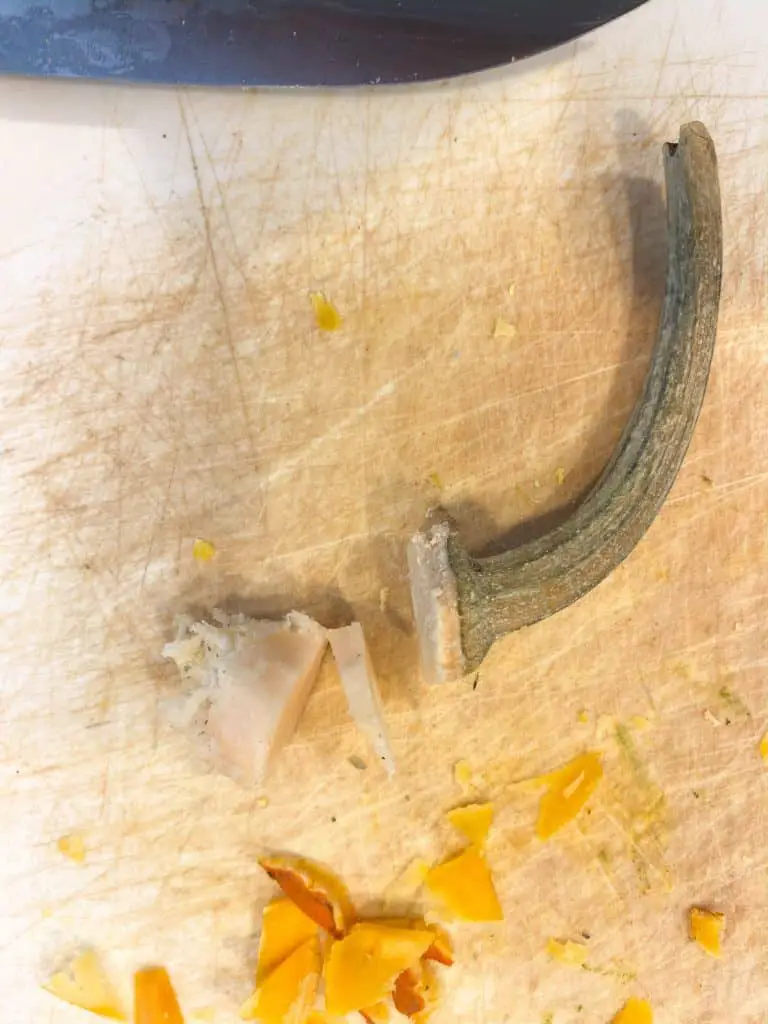
First things first, I cut as closely to the stem as I could to remove it from the top of the pumpkin. Then I chopped of the leftover chunk of pumpkin. Again, I tried to get as close to the stem as possible.
The 2 stems from the orange pumpkins were not quite as round as the white one was, so I was left with a little bit of orange surrounding it. It was actually super easy to use the knife to basically cut and then pry these little chunks off. I just sliced along the edge of the stem and then pressed down with the knife and it popped off!
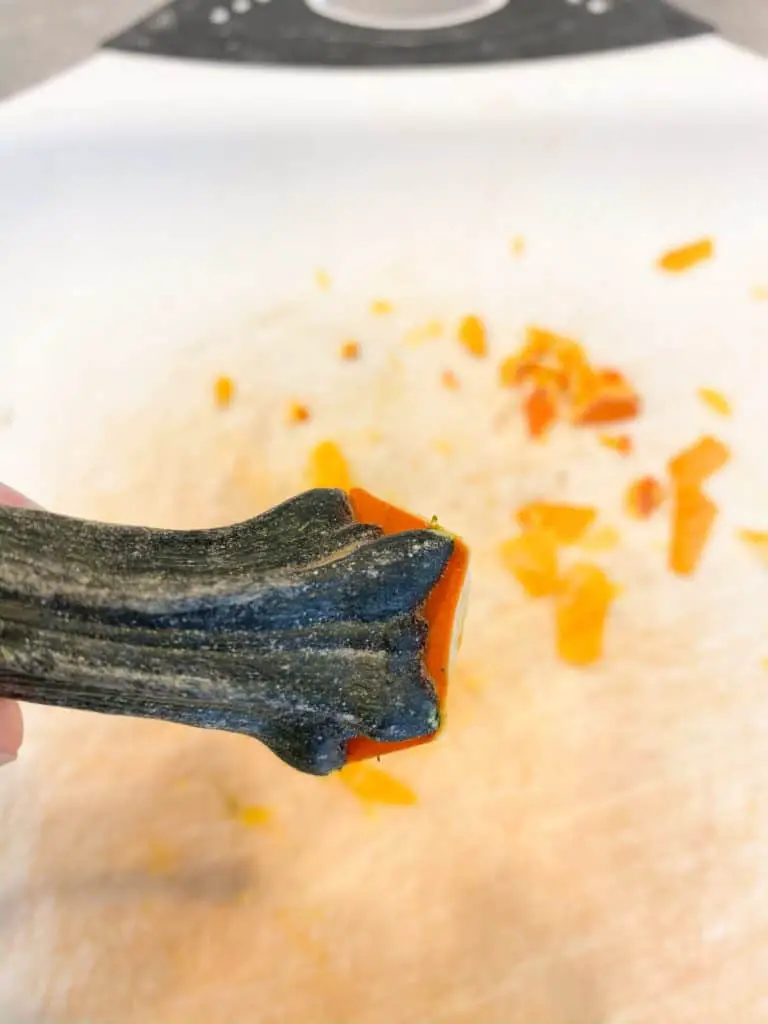
I did go in and trim off as much of the pumpkin flesh from the underside of the stem as I could before doing this step. See more on that below. I think that helped make this step of removing the orange much easier since it was a lot thinner.
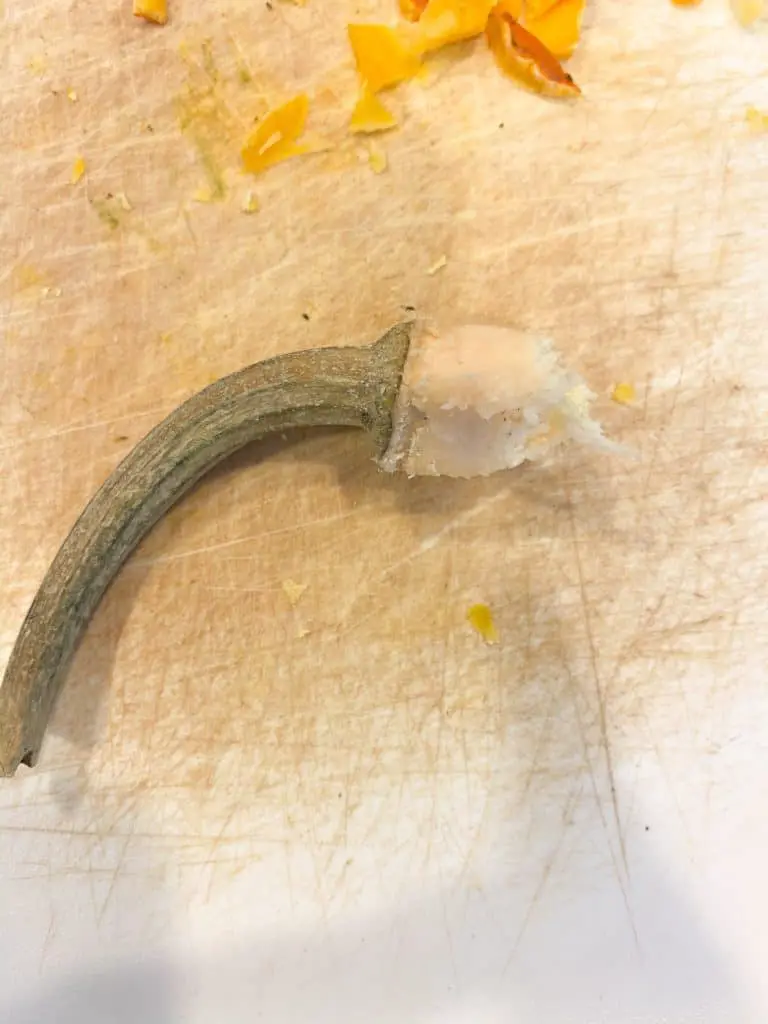
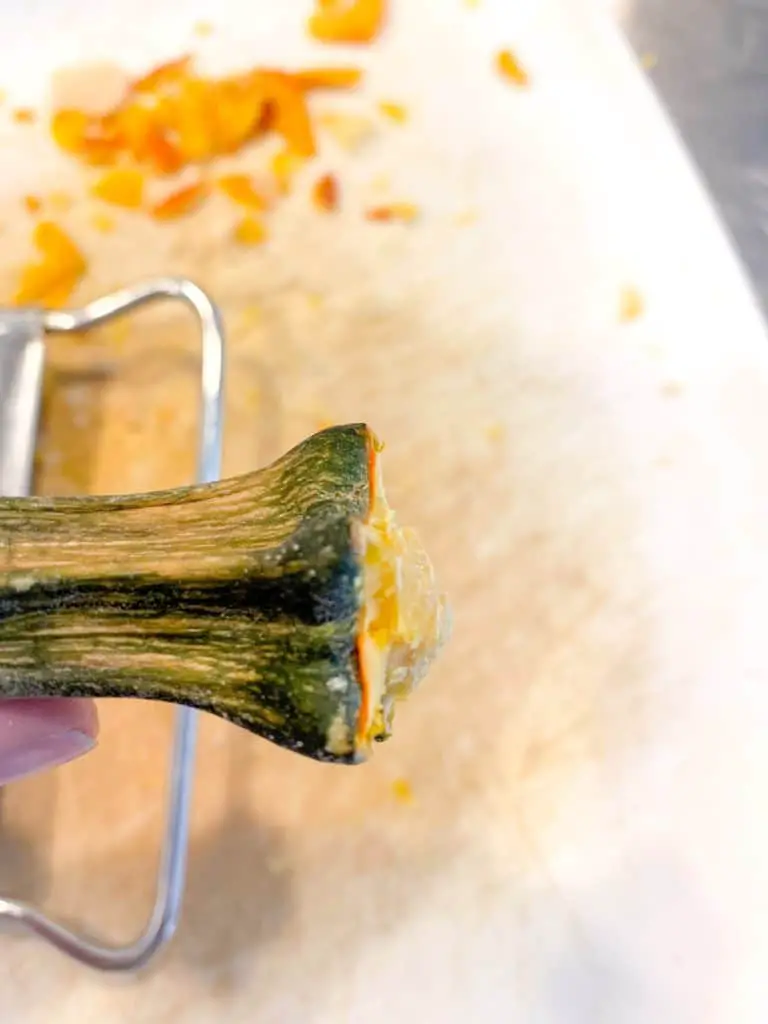
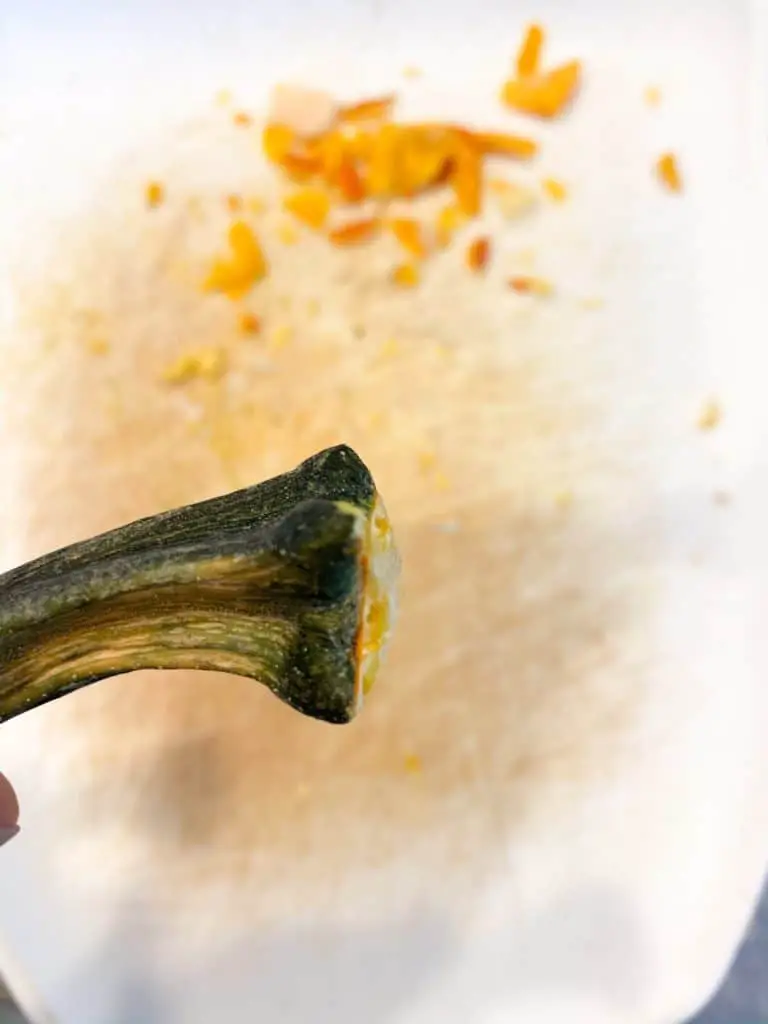
After that I was left with this cone shape on the underside of the stem. You can see there is also still a tiny bit of pumpkin flesh on there. (I removed most of it by carving away at it with my knife.)
To trim down this cone, which was part of the stem so it was much harder than the pumpkin flesh, I used a cheese grater and filed it down until it was more of a flat surface.
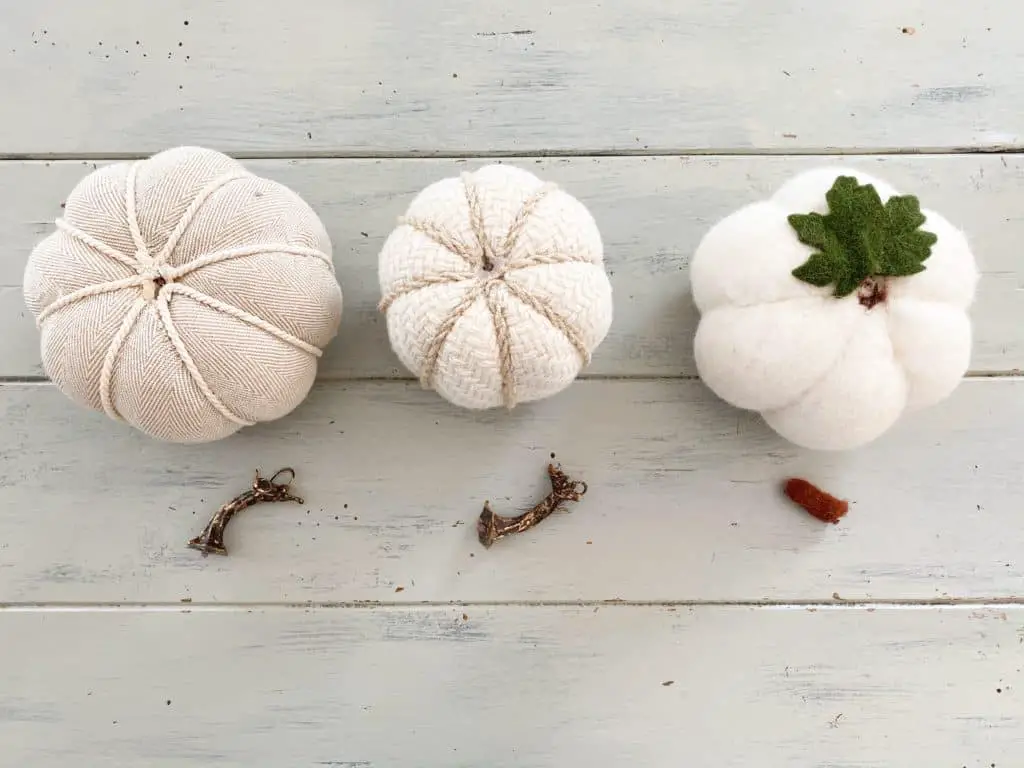
It was actually really easy to remove these stems. I cut off the felt one with an X-acto knife and the other 2 I just gently pulled and twisted until they came off. Make sure you are able to (relatively) easily remove your faux pumpkin stems before attempting this project. You might have to cut and/or sand down your stem depending on what it’s made of and how it is attached. A box cutter is a great tool to use on plastic!
If your pumpkin is hollow you might need to cut a piece of cardboard out and glue it over the opening so you have something to attach your new stem to. Make sure your new stem is big enough to cover the cardboard. You could also paint the cardboard if you are painting your pumpkin which would help hide it!
First, I figured out which stem I wanted on which pumpkin, as well as how I wanted it placed.
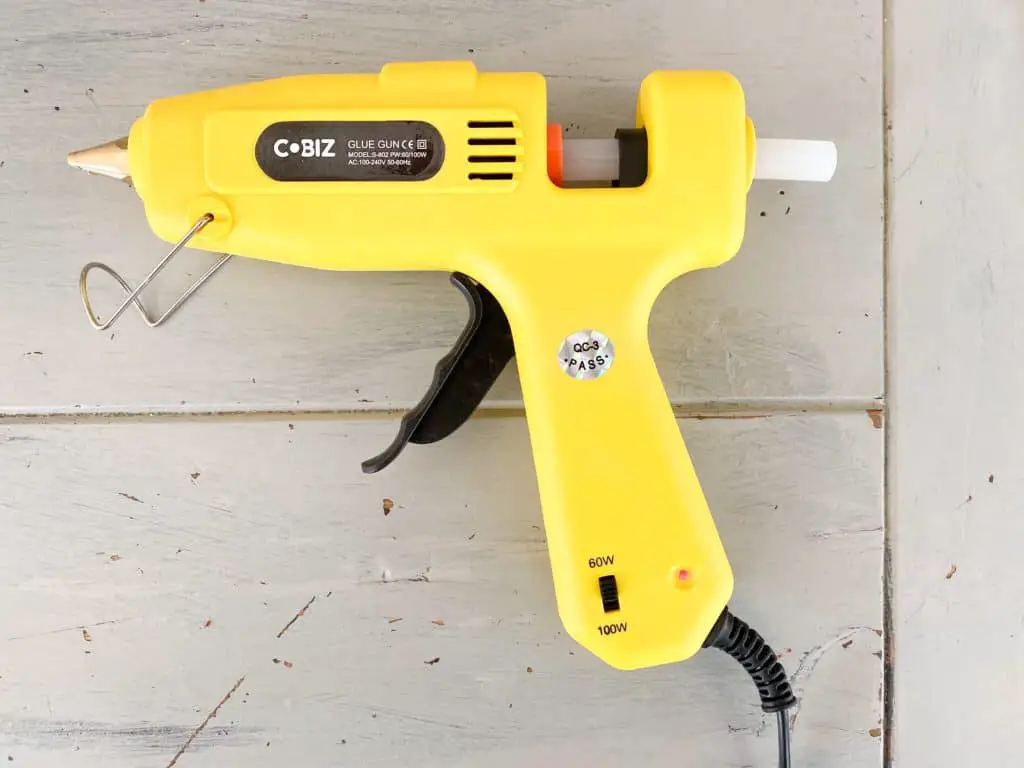
I used my hot glue gun as well as some E6000 to attach my stems. The hot glue hardens faster so it can hold them stem in place while the E6000 dries. I wanted to be sure they wouldn’t fall off so that’s why I used both. E6000 is some seriously amazing stuff.
I put the E6000 on the stem first and then the hot glue so that the hot glue wouldn’t start to harden as I was trying to put on the E6000. Then just stuck them into place on the pumpkins and held it for about 30 seconds to give the hot glue a chance to harden.
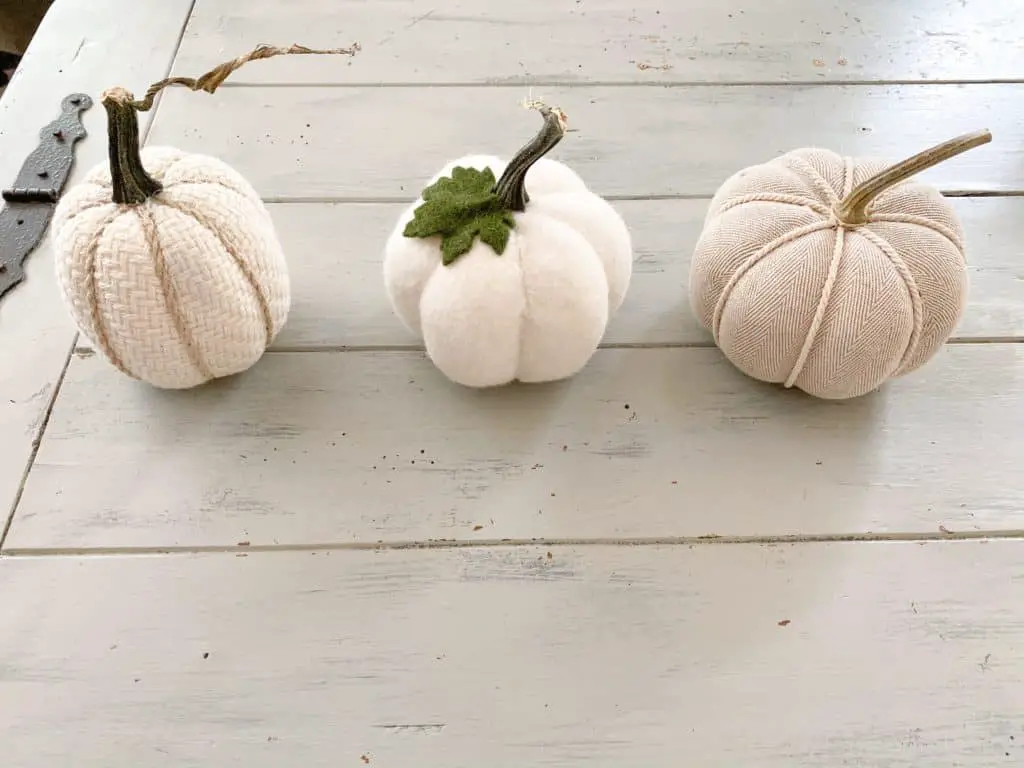
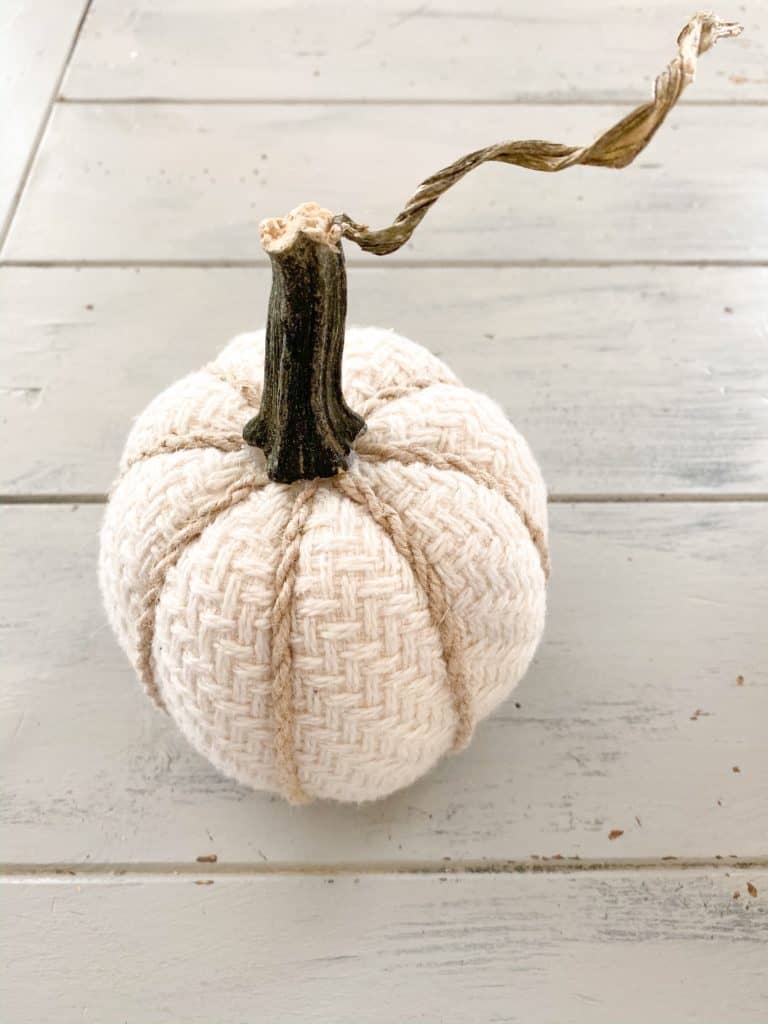
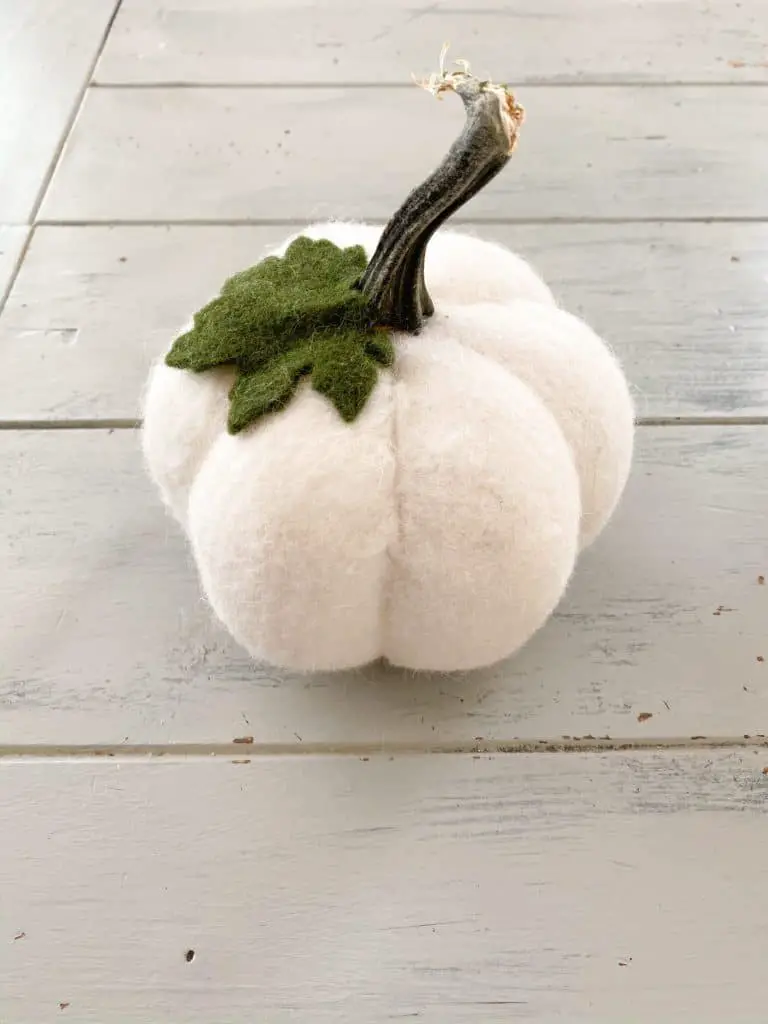
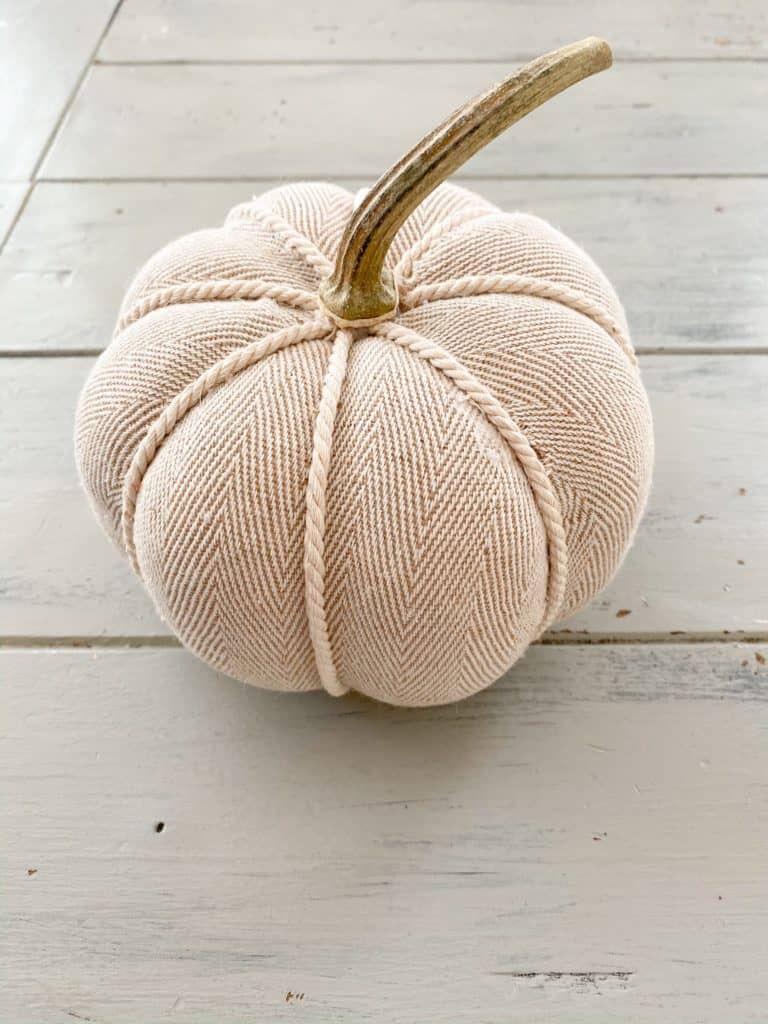
And voilà, my pumpkin stem DIY is complete. Here is how they look with their brand new stems! So cute right??
Check out these side by side comparisons to really see the difference one little stem can make! I really love the texture they add and I think it makes them look more unique and expensive!
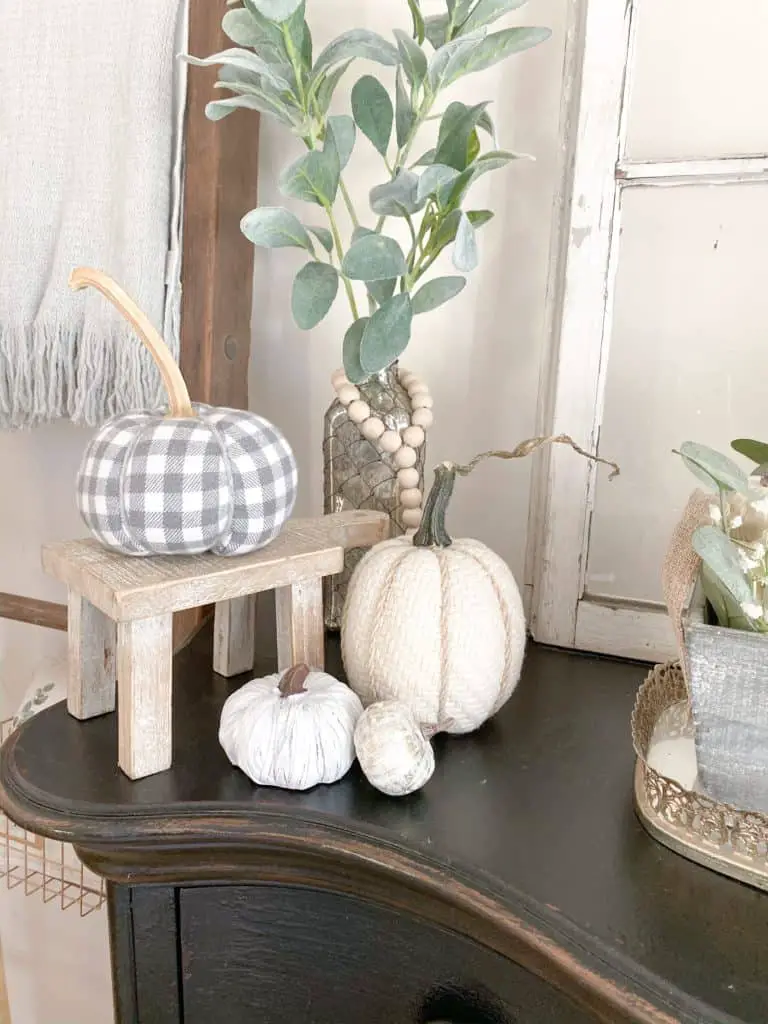
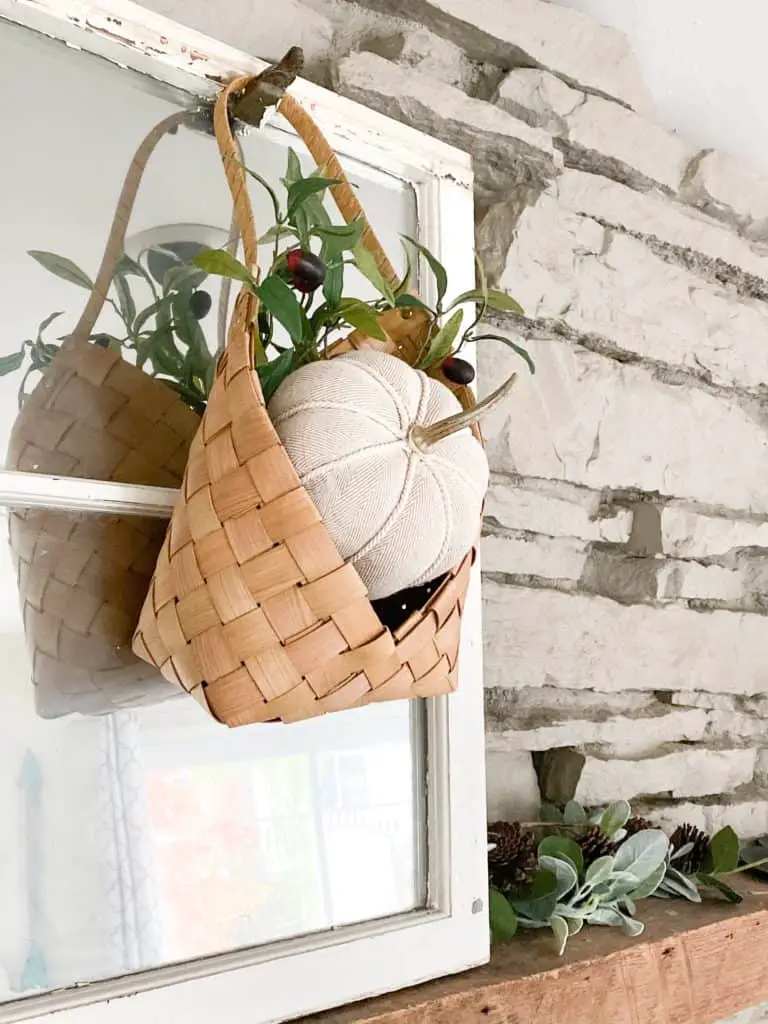
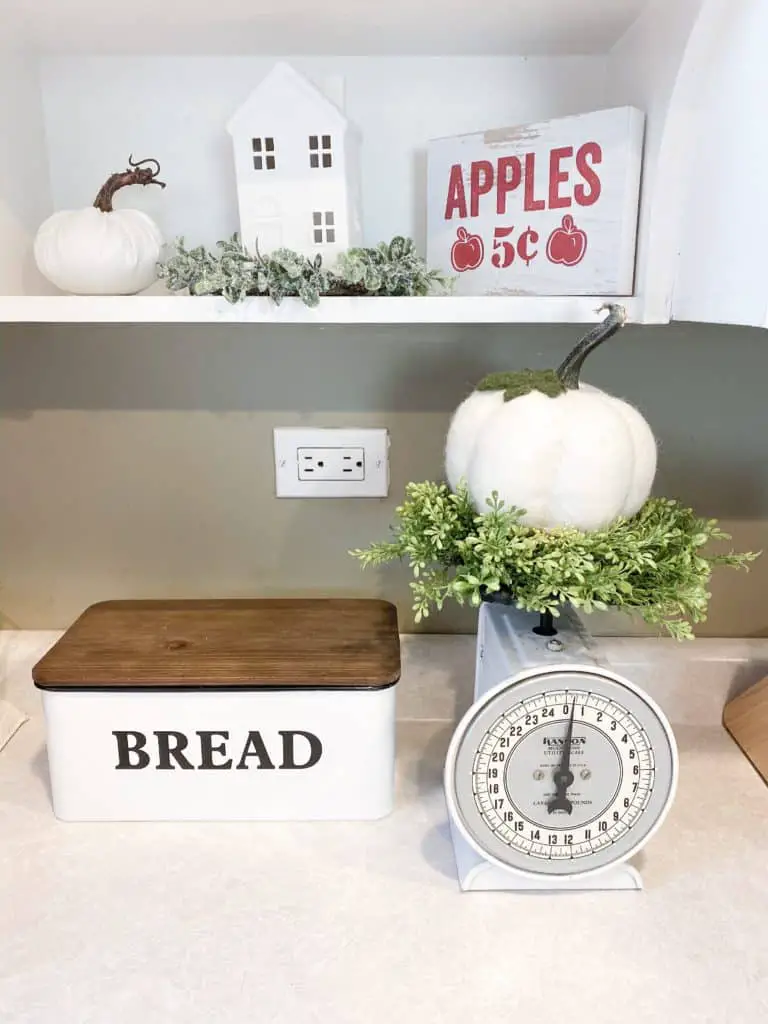
Here they are styled, I love how these all turned out. The easiest pumpkin Stem DIY ever, right??
I also would love to try this with some plastic or foam pumpkins and maybe paint them to look like real pumpkins. I have been on the hunt for some heirloom style faux pumpkins but haven’t found ones I love so that might be another project for next year.
Fall stuff should start to go on sale soon, so that’s the perfect time to pick up some cheap pumpkins to DIY! You might want to do the same thing. Let me know if you give this a try! See you next time. 😊
