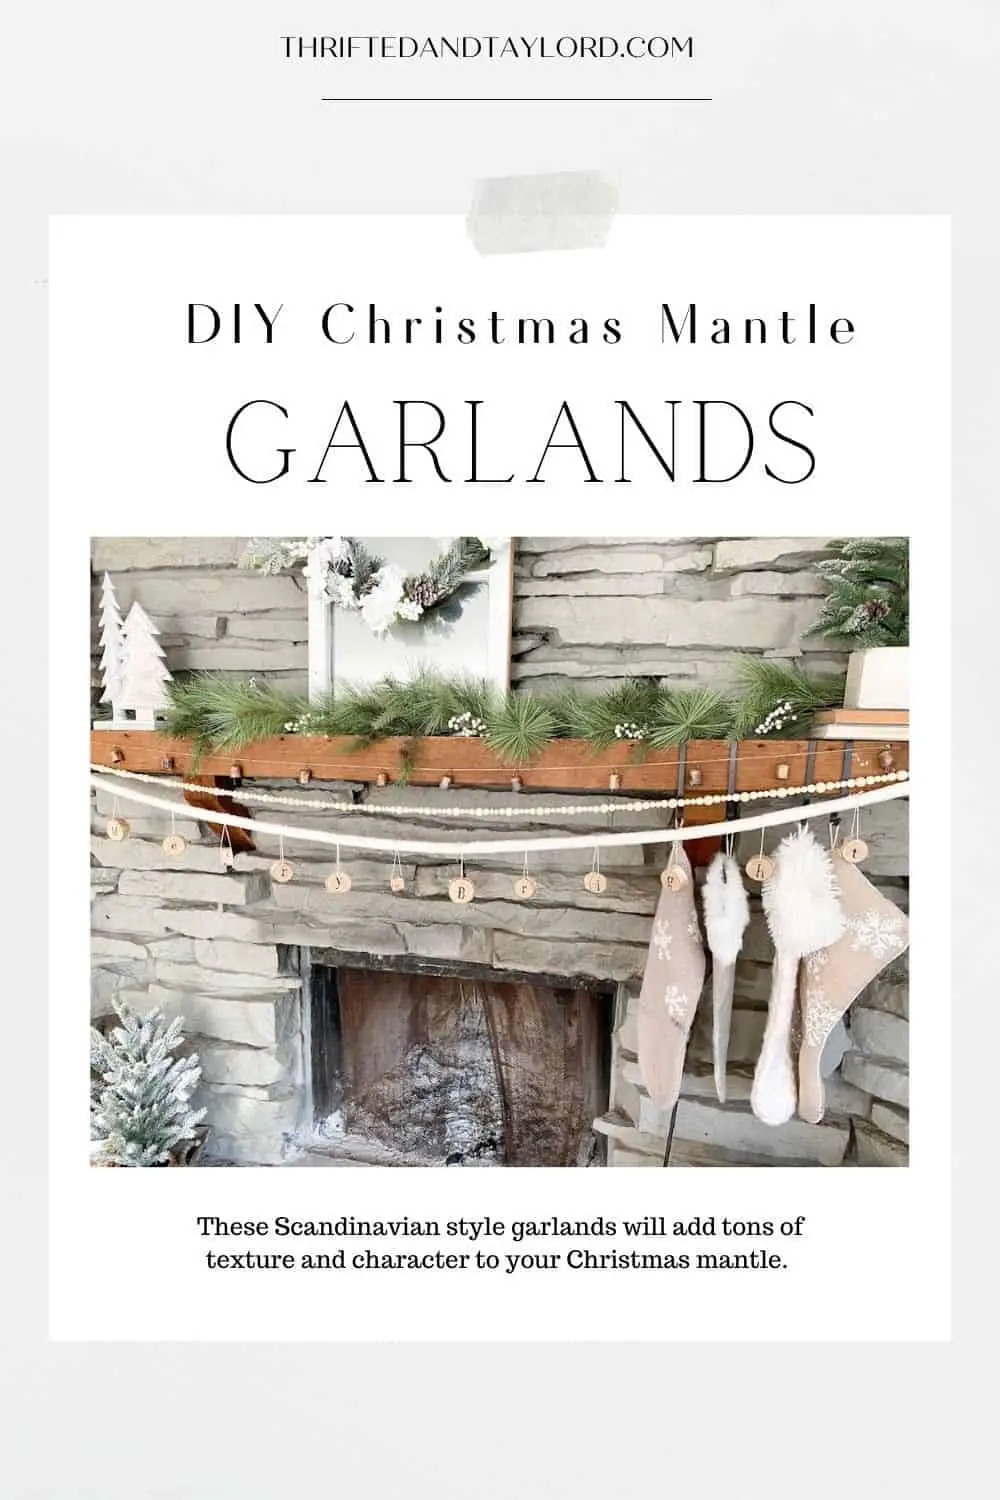
How to Make Your Upcycled Vases and Pots Look Like Aged Pottery
Hey Guys!
So today’s project, well I’m a little late to the party. There’s a good chance you’ve seen similar DIYs floating around the internet, but I’ve been wanting to give them a try myself. So here we are. Today I want to share how you can make your upcycled vases and/or pots look like aged pottery.
It’s no secret I love a good thrift store DIY project, but this would also be great if you want to repurpose glass vases or pots you already have at home too. I used 2 different methods to get different results.
On the smaller planter pots I used a method of painting to, more so, make them look like raw ceramic or earthenware pieces and I added some texture to make them feel a little more rugged and aged.
On the larger vases I used a method to make them look like aged pottery that had just been dug up out of the ground.
This post contains affiliate links for which I earn a small commission, if you purchase through them, at no extra cost to you. Learn more.
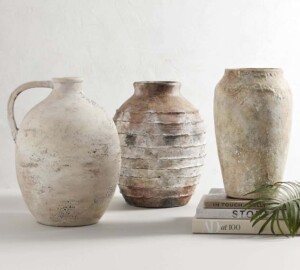
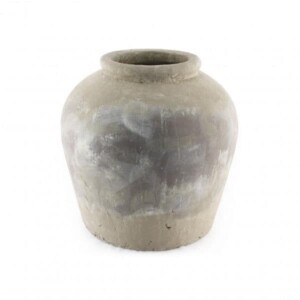
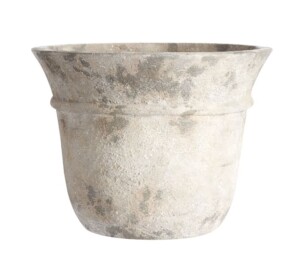
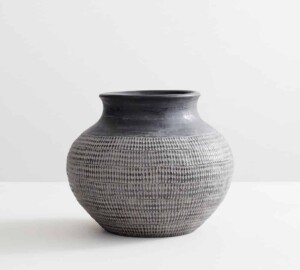
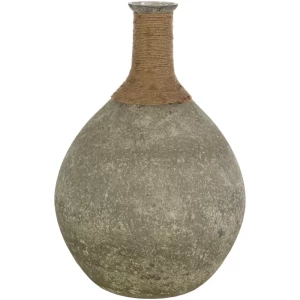
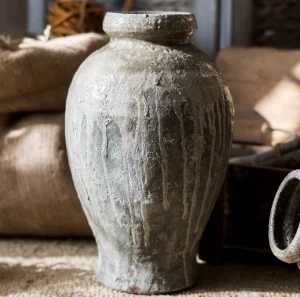
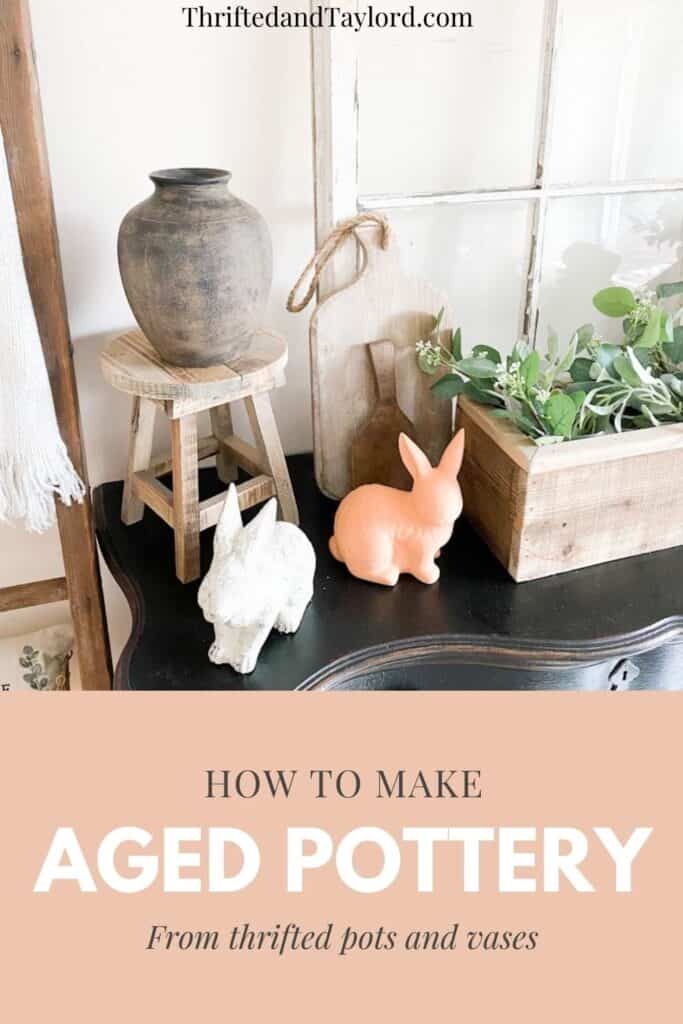
Here are some inspiration photos. And if you click them, you’ll see they’re not cheap. So naturally I was like “I can make that!” And I headed to the thrift store to find a couple vases to use.
How to Turn Upcycled Vases and Pots Into Aged Pottery
Upcycled Pots
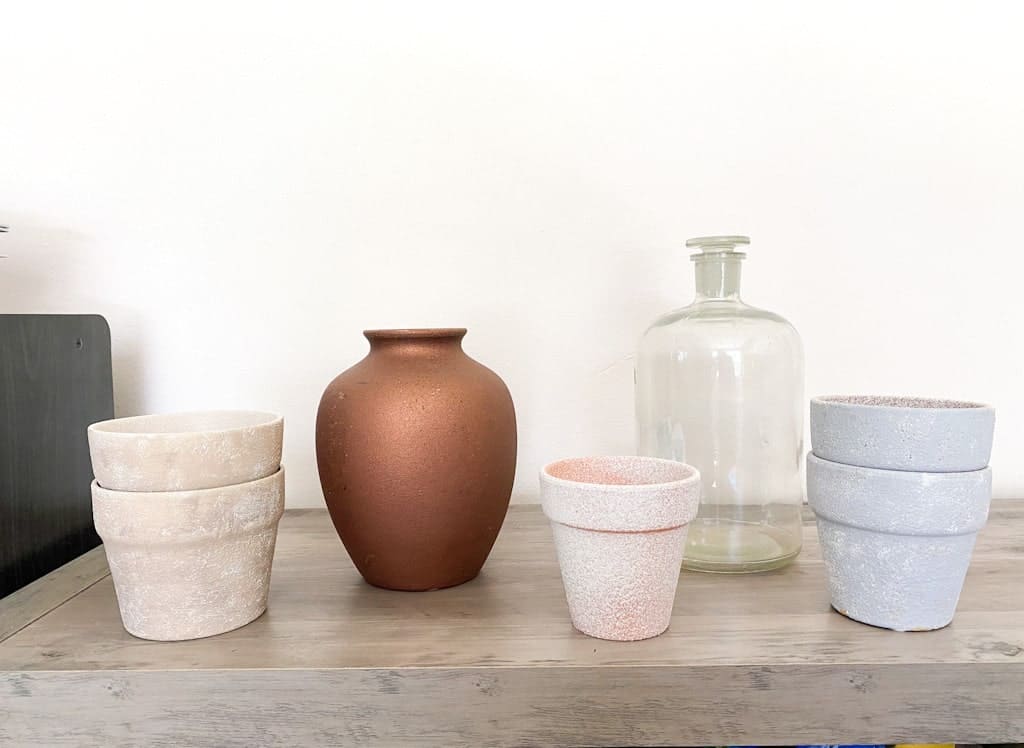
Let’s take this one project at a time so it’s not confusing, I start with the small pots first. So here are all the pots and vases I used for these DIYs. The pots, as I’m sure you can see, were a bit of a failed first attempt at this. I used this textured spray paint, which actually I do like the effect it has on the texture, and then I tried just using various shades of acrylic paint to age them and change their color.
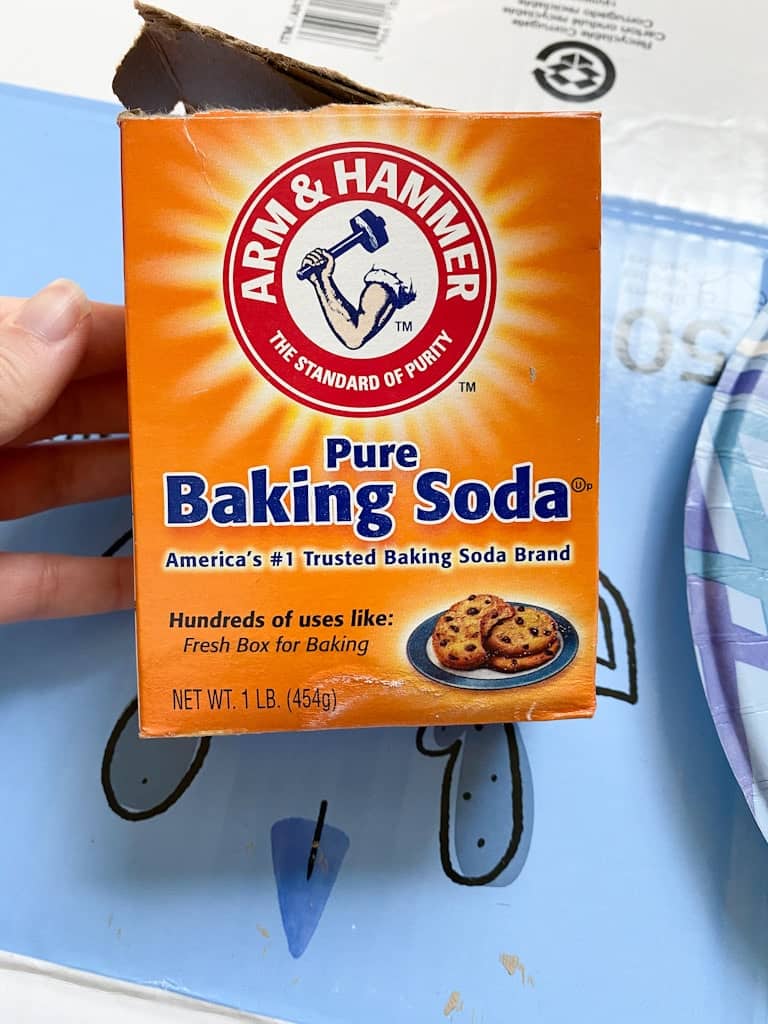
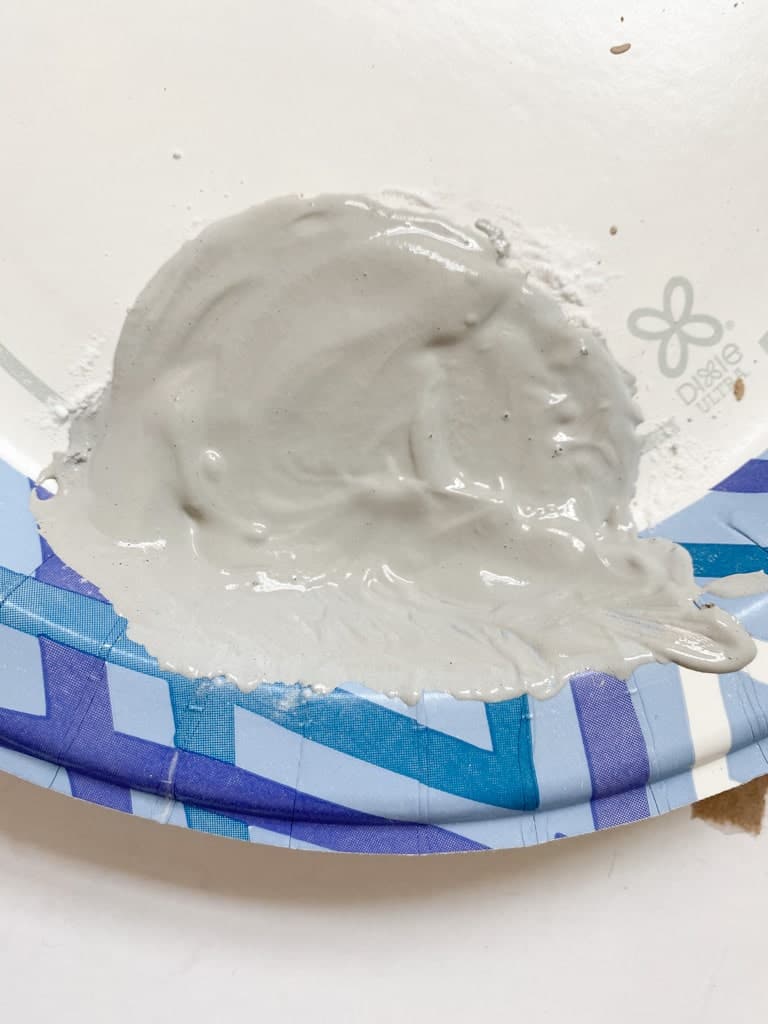
I do not like how they turned out. So this time I decided to just paint over it with a single shade of paint (although I did end up mixing some colors together for one set of pots, but more on that later.) And then I mixed in some baking soda. This is a really popular painting hack currently, it gives the paint a ton of texture and when it dries it is totally matte so it looks like earthenware. It’s amazing.
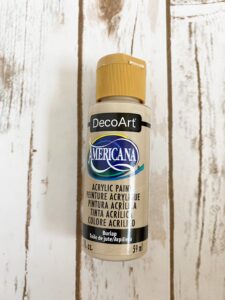
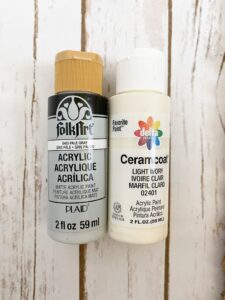
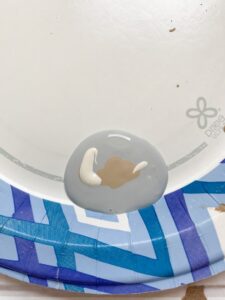
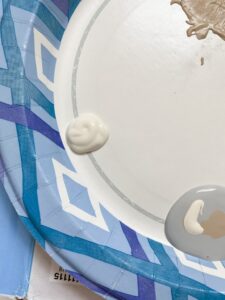
Let’s talk details. These are the paints I used. The tan color I used on its own and then the gray I actually ended up mixing in some of the tan as well as this cream color to get more of a warm tone, lighter gray. Then I also used a little of the cream color as a really light wash over top of all the pots.
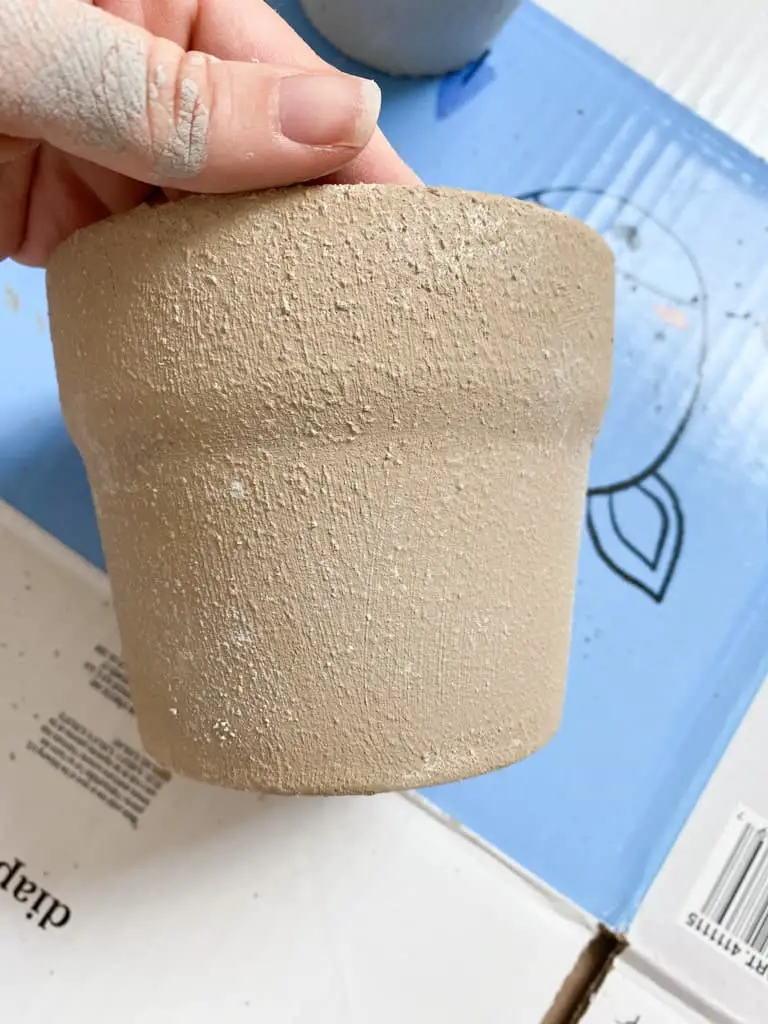
The tan color ended up drying a little darker than I was expecting so I might end up going over those ones another time with the cream. But we’ll see.
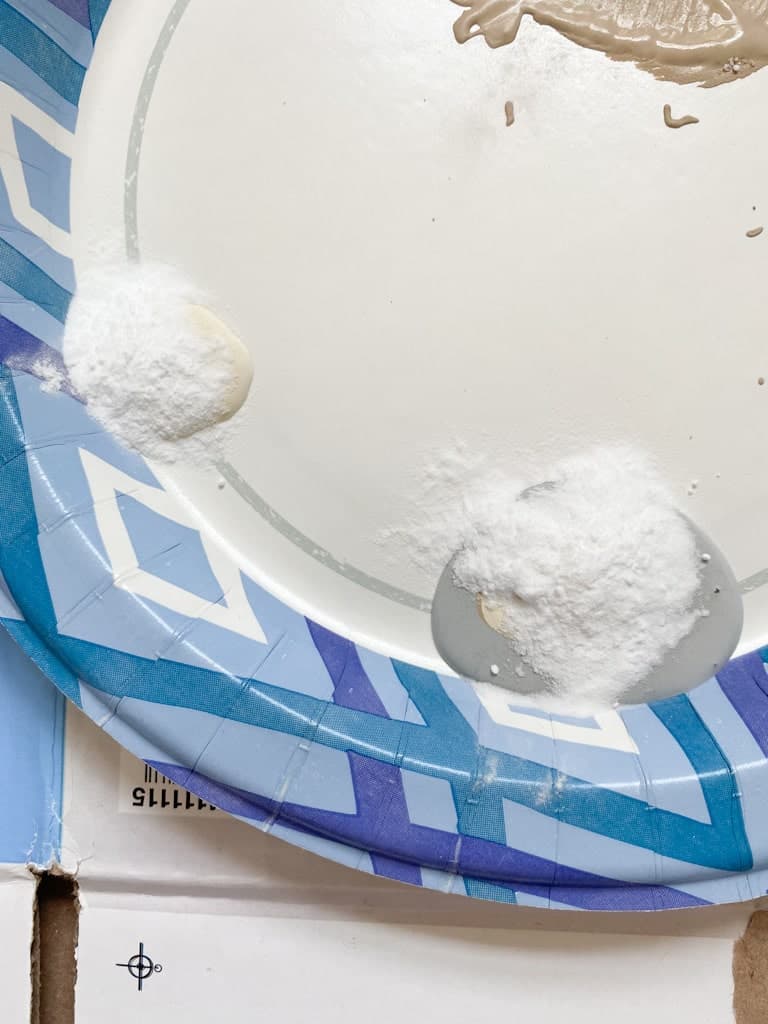
So once I had my paint on the plate, I added in the baking soda. I don’t have exact measurements but you want it to be more of a paste like texture. You can always add more baking soda, so start off with a little and add more if you need to. If you are more of a video type of person, I also filmed this and it will be going up on my Instagram, so be sure to follow me on there if you want to see my process in a video.
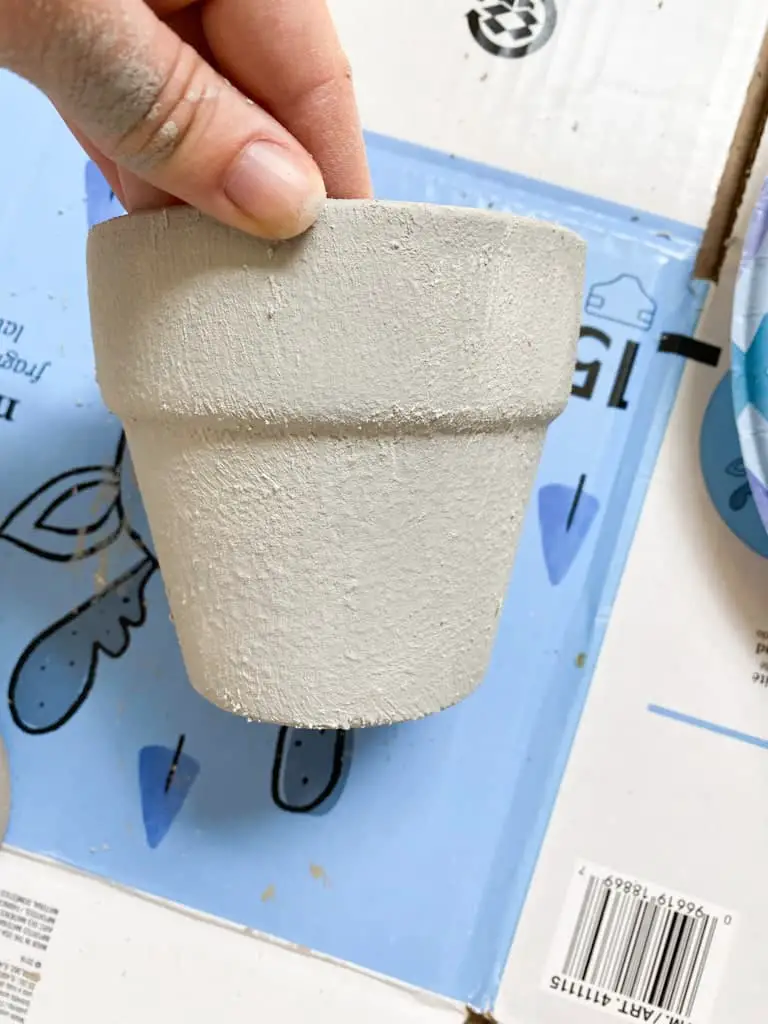
I used my larger pint brushes for this and took a generous amount of paint and covered all the pots. 3 were in the tan color and 2 were in gray. Here you can see how they look closer up. Some of that texture in the paint is from the spray paint, but you can see how the baking soda highlights the brush strokes and gives the paint that matte, textured finish.
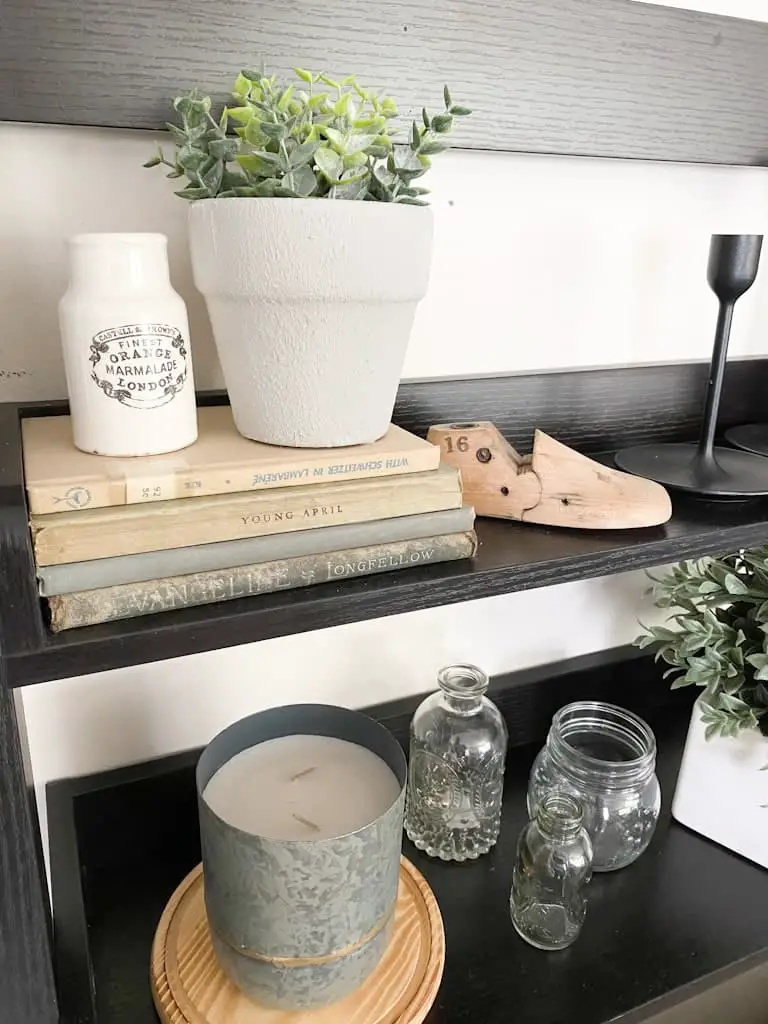
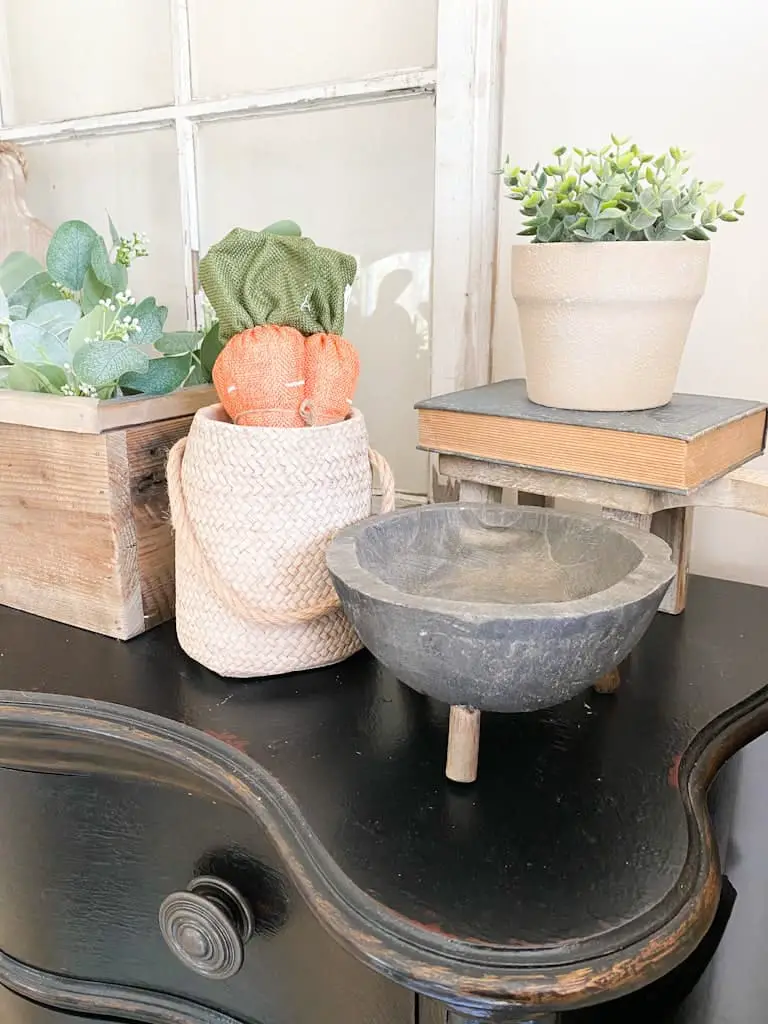
Here is how they look when they are dried and styled. I’m pretty pleased with these, I just need to find some permanent plants to live in them and a permanent spot to put them. And maybe one more thin coat of white on the tan ones, still undecided. Tell me your vote down in the comments.
Upcycled Vases
Ok, let’s move on to the vases. I initially was just going to do the same thing because painting vases with baking soda totally changes the look of them and still gives off that ceramic vibe. But then I decided I wanted something that looked more aged so I wanted to try a different method.
I had really high hopes for these and one turned out pretty close but the other, like, did something weird. And I don’t love it. So it needs some more tweaking but I’m still sharing it because sometimes you need to see the fails too! Even though I wouldn’t say it’s a complete fail. But it’s not what I was envisioning. You know?
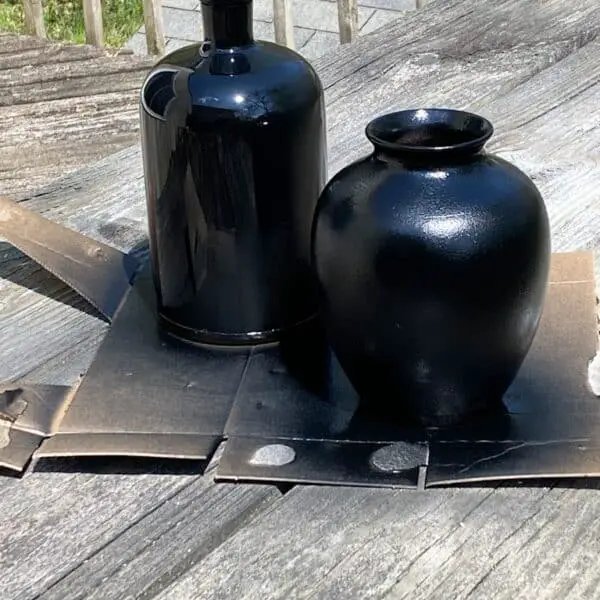
Anyway, let’s move on, so for this one I started off by lightly sanding the glass vase using some medium grit paper to rough it up and give the spray paint something to stick to. The other vase was not glossy and already had a bit of texture so I didn’t need to sand that one.
I gave them 2 coats of Krylon matte black spray paint and let them dry for about 2 hours. This photo was before they had dried so they look glossy, but once dry they are a matte finish (you can see better below) which I think is important to get the right end result.
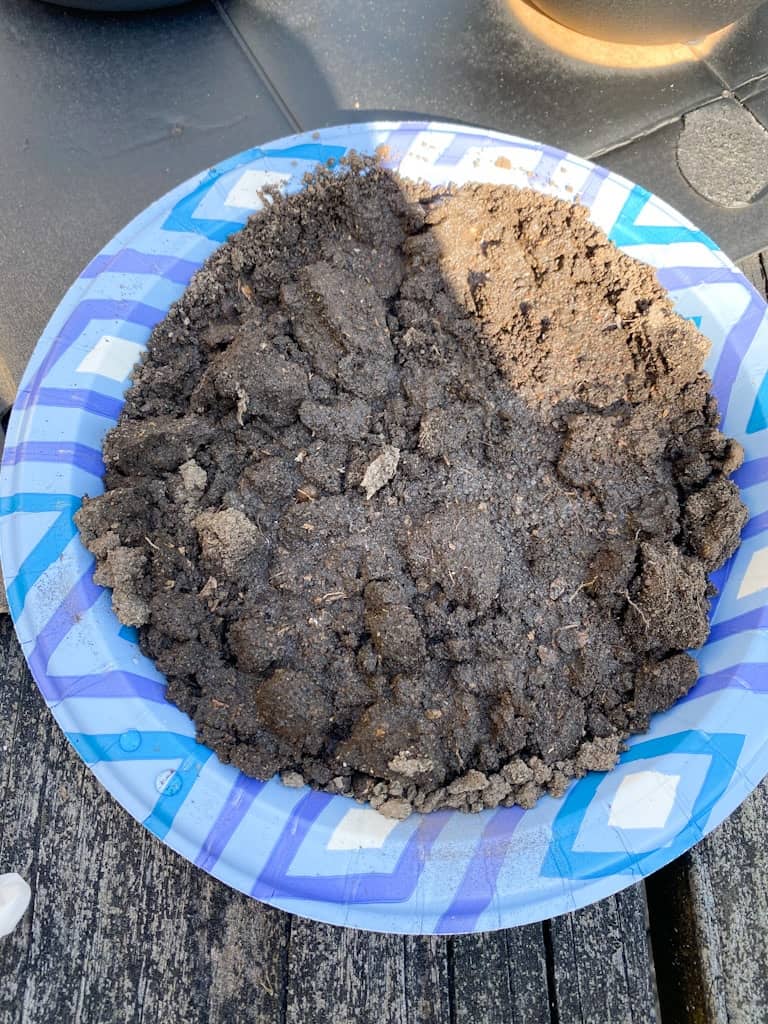
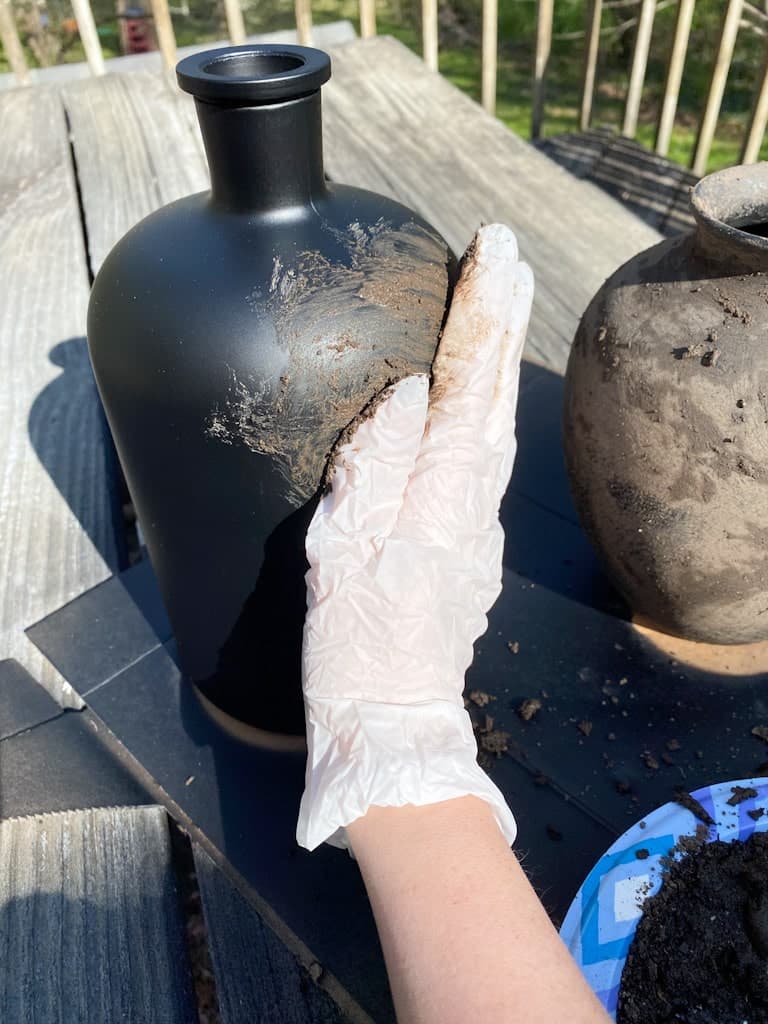
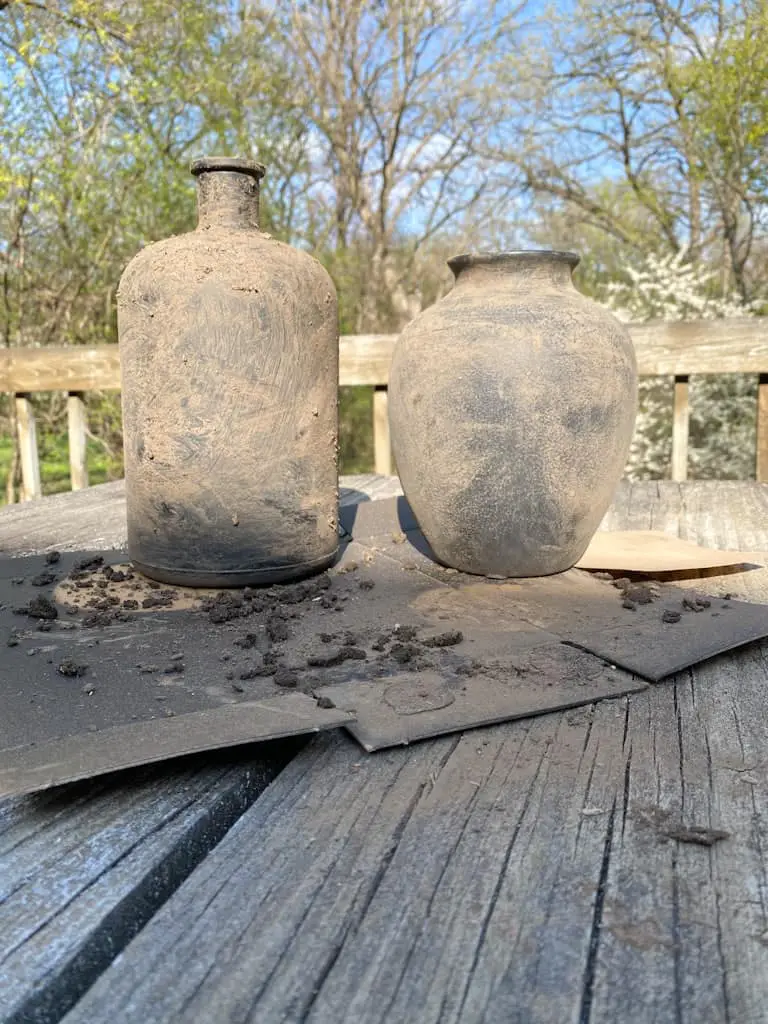
Next up comes the mud. Yes, you read that correctly, I used actual mud on these to get the effect I was looking for. I literally dug up some dirt and added some water to it.
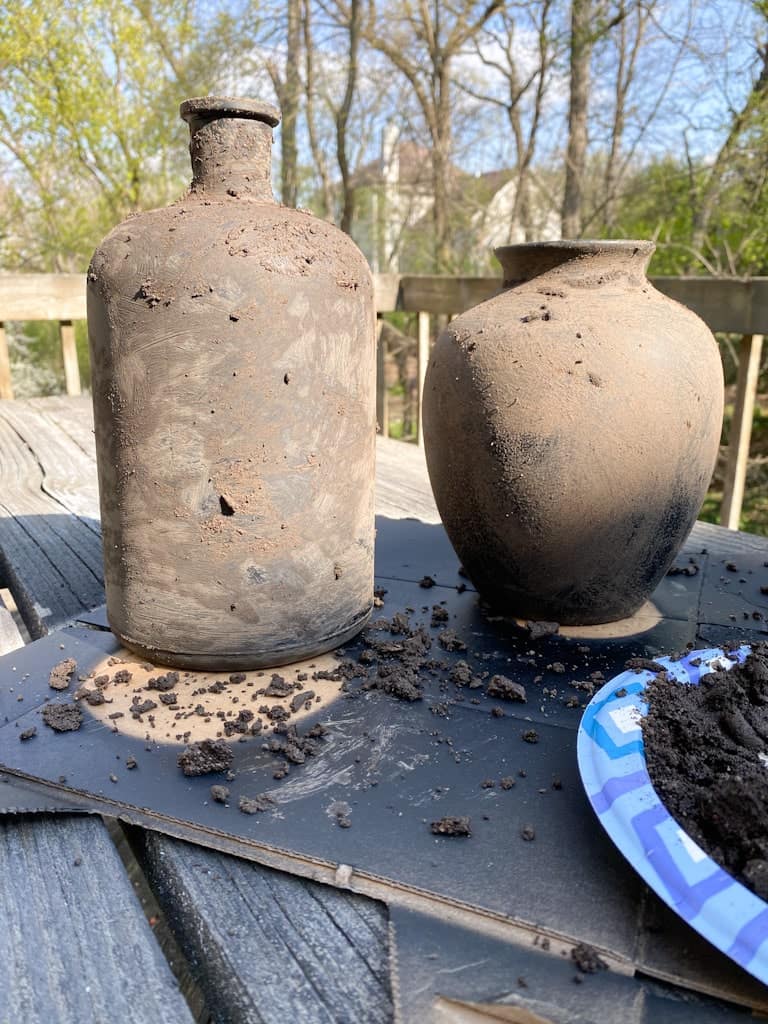
Then using a glove (because I wasn’t looking to get entirely caked with dirt but I am not judging anyone who wants to go back to their childhood and play in the dirt,) I smeared the mud all over the vases. And you can see how they looked after I finished.
So this is the first thing I maybe would have tried to do a little differently. I feel like I maybe used too much mud so instead of drying kind of a white/tan color it was straight up brown. And while I think that might have worked in a few areas here and there, I didn’t love how it looked all over.
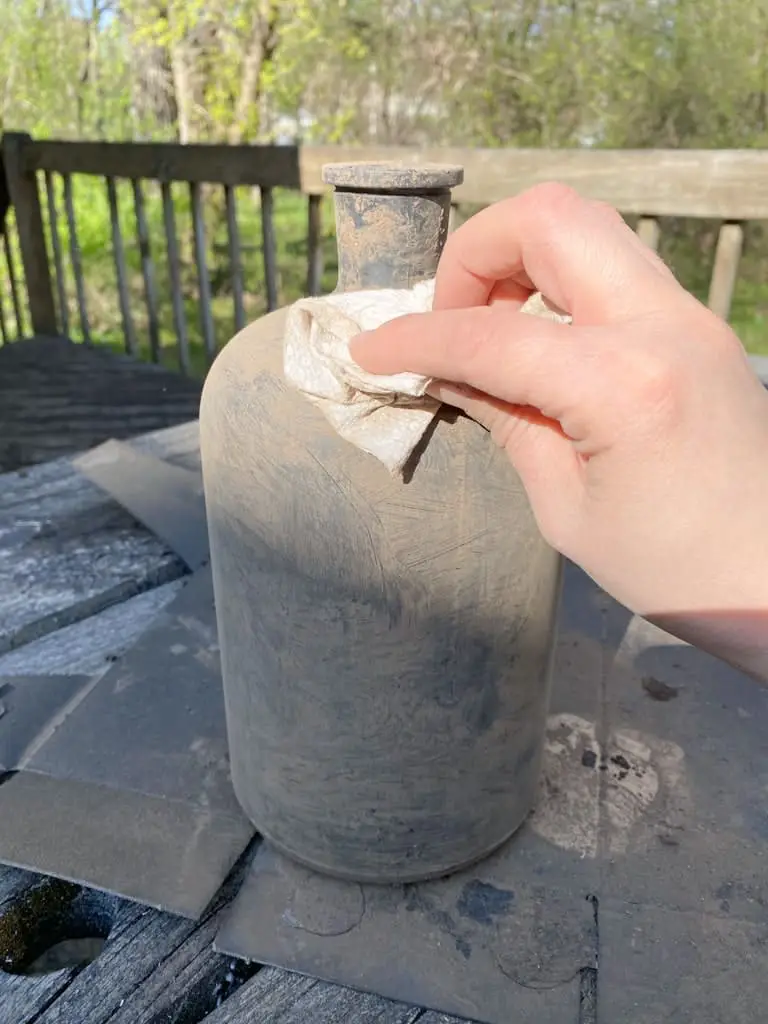
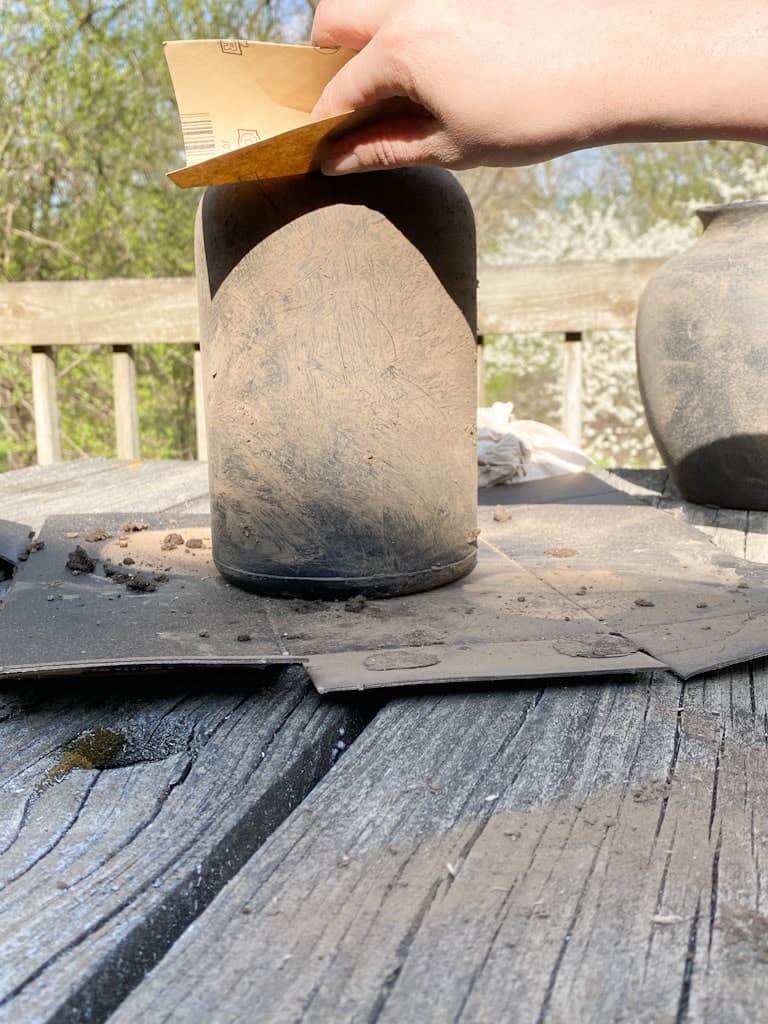
I used a dry paper towel initially to wipe off as much dirt as I could and then went in with a fine grit sandpaper (which ended up sanding off some of the paint even with a pretty light touch, so that’s the second thing I would not do next time and don’t recommend you do.) You can see the difference between the right vase which I removed some dirt and the left that had yet to be touched.
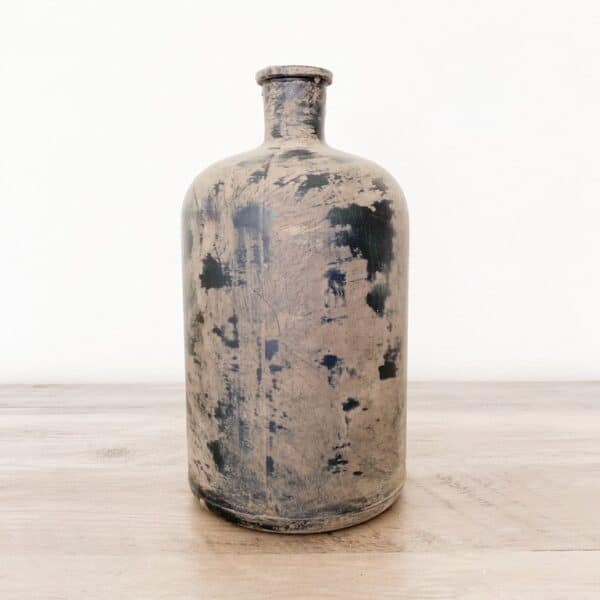
After I repeated this process on the second vase, I wasn’t thrilled with how much dirt was still on them, especially the taller one, so I decided to try a very slightly damp paper towel this time. I used it on the big vase first and it ended up wiping off large chunks of dirt in some places but not in others and it was just, sigh, it was a bit of a fail.
Here is how it looks currently. I might just try to remove most of the dirt and try the process over using less dirt. That’s the good thing about this project, it’s easy to get the dirt off and try again.
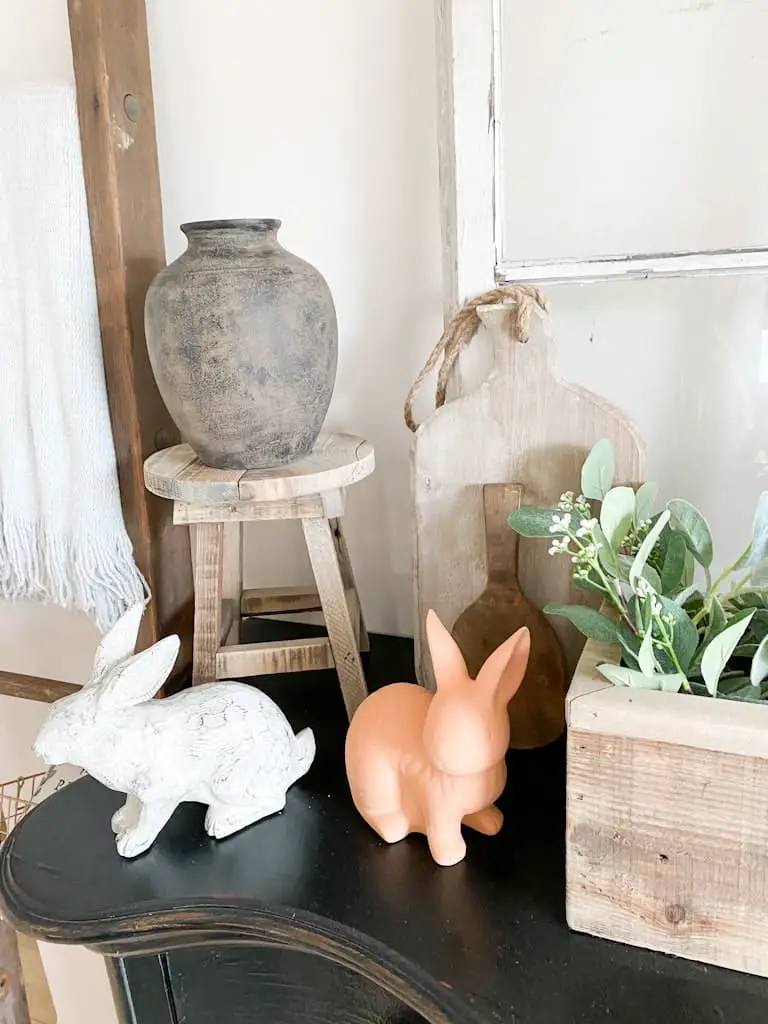
The second one, I think since I had already used the wet paper towel on the first, turned out a lot better and I do actually like it. I wish it had a little more white to it so I may try to add some in with some watered down paint, maybe, but for now here is how that one looks. Still pretty cool.
Those are my upcycled vases and pots, what do you think? Do you like how they turned out? Have you tried either of these methods yourself? I’d love to know how yours turned out and if you did anything differently. Let me know down in the comments below or find me on social media by clicking the buttons below and we can chat!
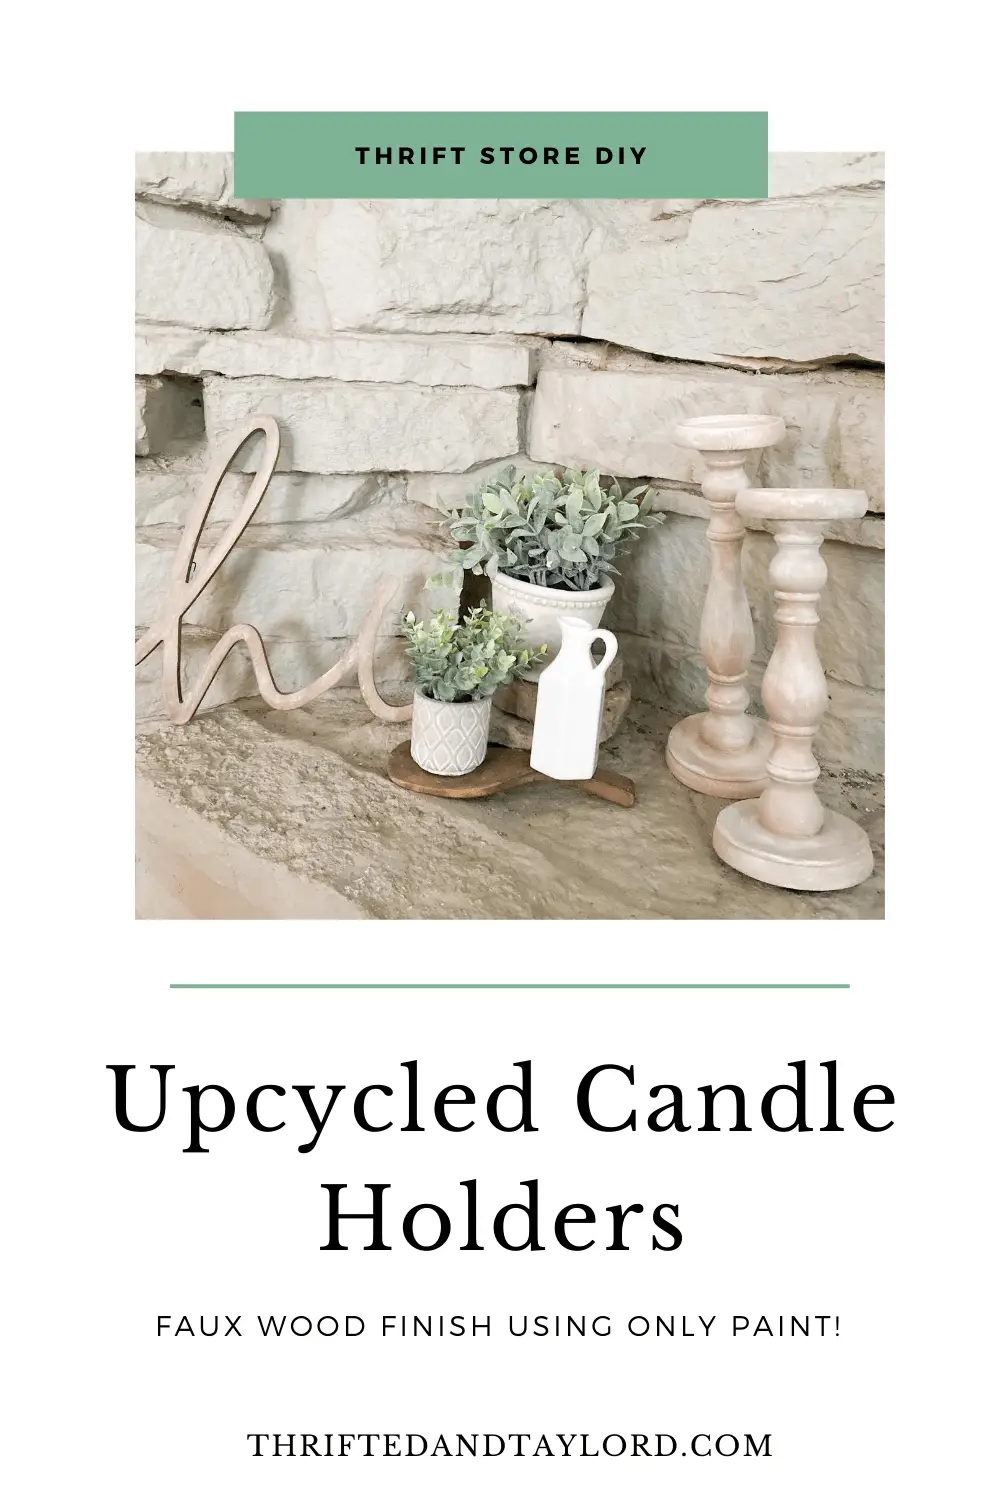
For more thrift store DIY projects check out how I upcycled thrifted candle holders and these farmhouse style décor pieces. I will see you next time.

