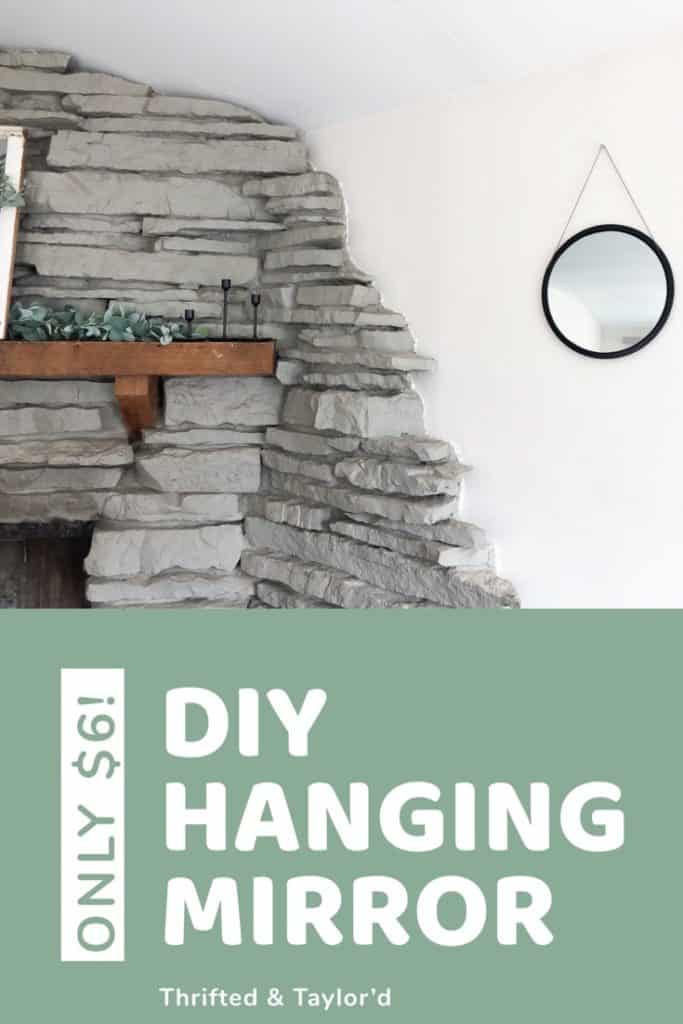
DIY Hanging Mirror
This post contains affiliate links for which I may earn a small commission at no extra cost to you. Thank you for your support! Learn More.
Hey Guys!
have been a busy little bee with lots of fun projects lately. Have you seen these thrift store makeovers I did? How about these wood sign transformations? Well here we are with another awesome DIY for you. This DIY hanging mirror (obviously, right? Lol) I am really excited about this one because of how cheap and easy it was to make and because of how awesome it turned out.
So as with most of my projects, I had some supplies on hand such as paint and glue. I also re-purposed an old necklace chain. So for me, the only cost I had for this project was about $6. If you do need to buy paint and glue you’d probably end up closer to $15 (depending on what paint you chose and where you buy it) but that is still a pretty sweet deal considering these mirrors start at around $35-$40 typically. So let’s jump right in and see how easy it is to make this DIY hanging mirror.
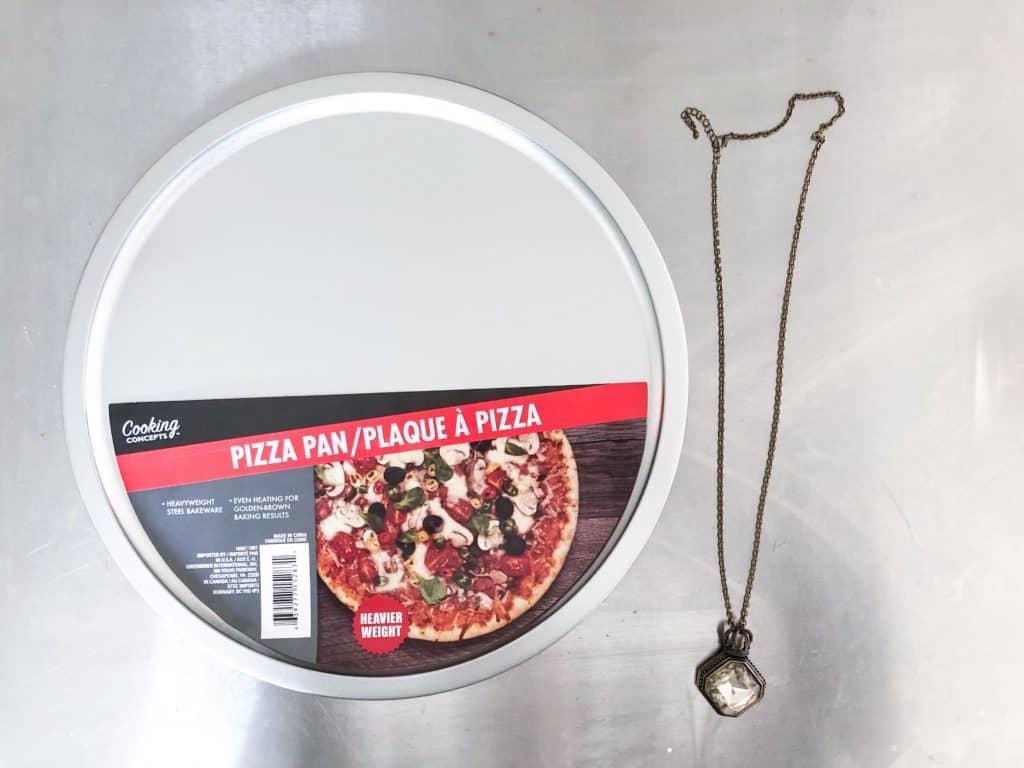
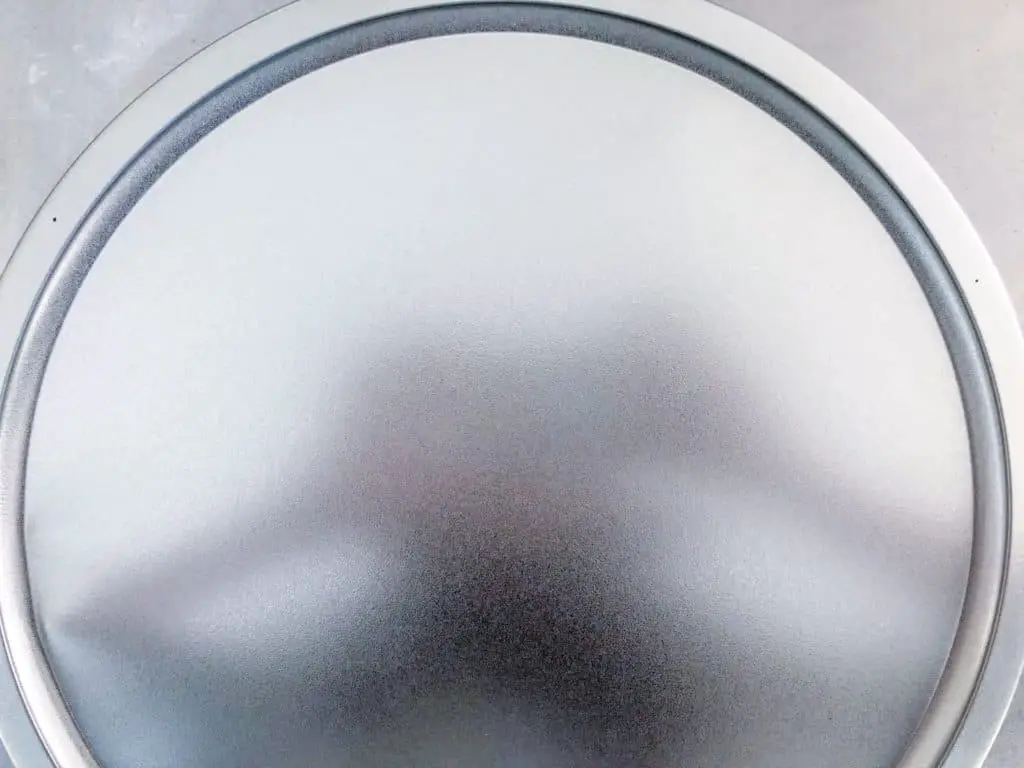
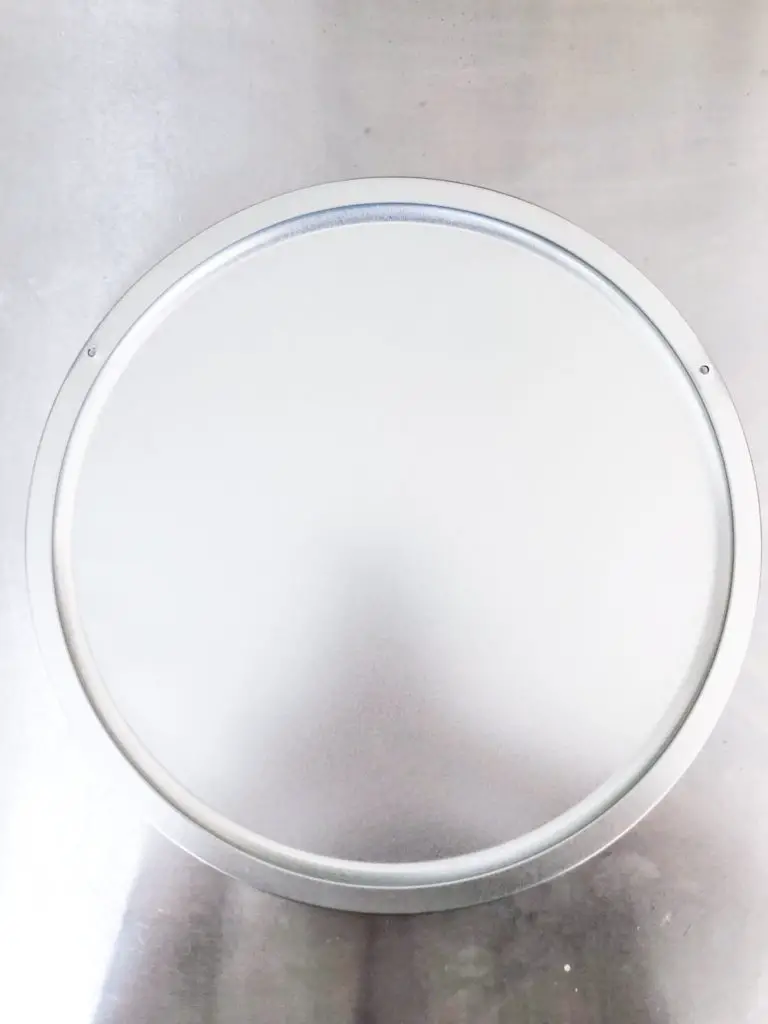
I used a pizza pan from the dollar store and this mirror from Michaels. As I said before, I repurposed the chain from an old necklace I had but you could totally find a very cheap chain at a thrift store. You will also need some e6000 glue and some spray paint. I used a matte black. I also decided to use a top coat to keep the paint from getting scratched since it was on metal but that is up to you!
To start off I did rough up the pan a little with some sandpaper to give the paint something to stick to a little better. Then I measured out and drilled two holes where my chain was going to go.
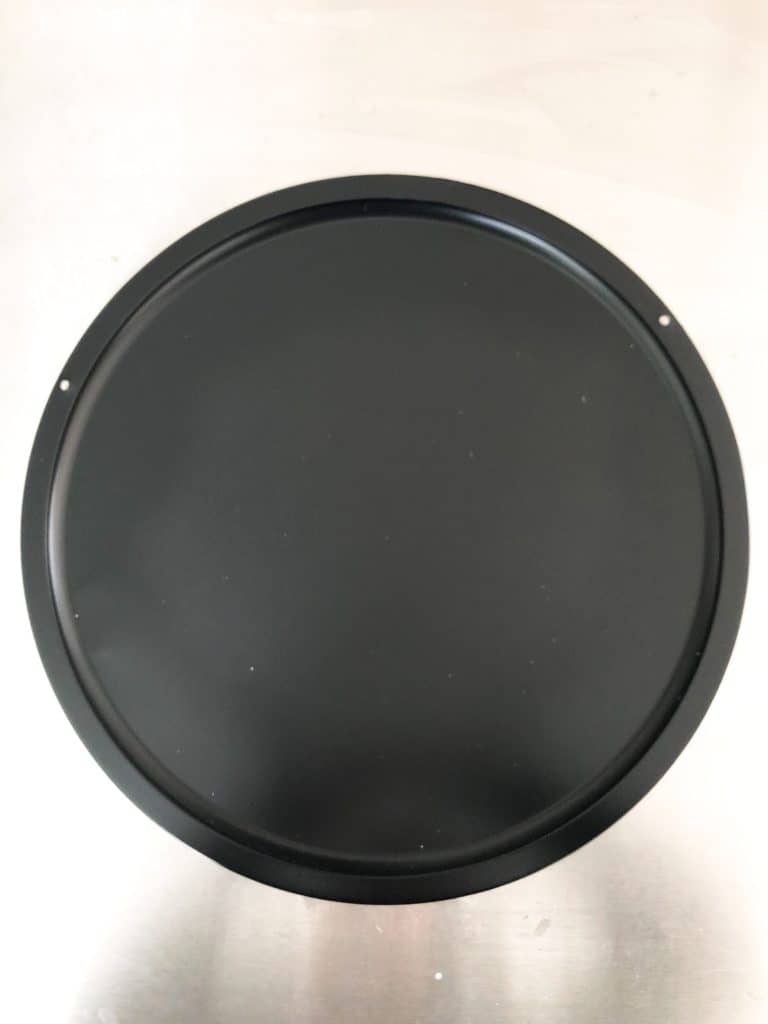
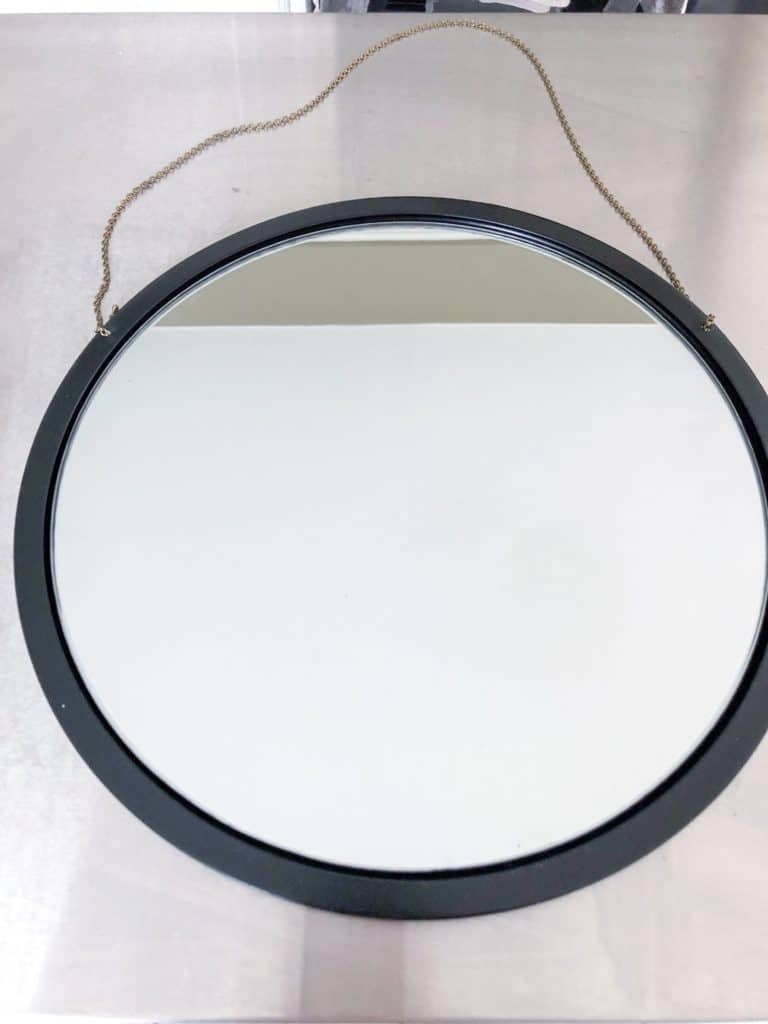
I did 2 coats of the black paint followed by 2 coats of the matte top coat. Then I used my e6000 to attach the mirror to the pan.
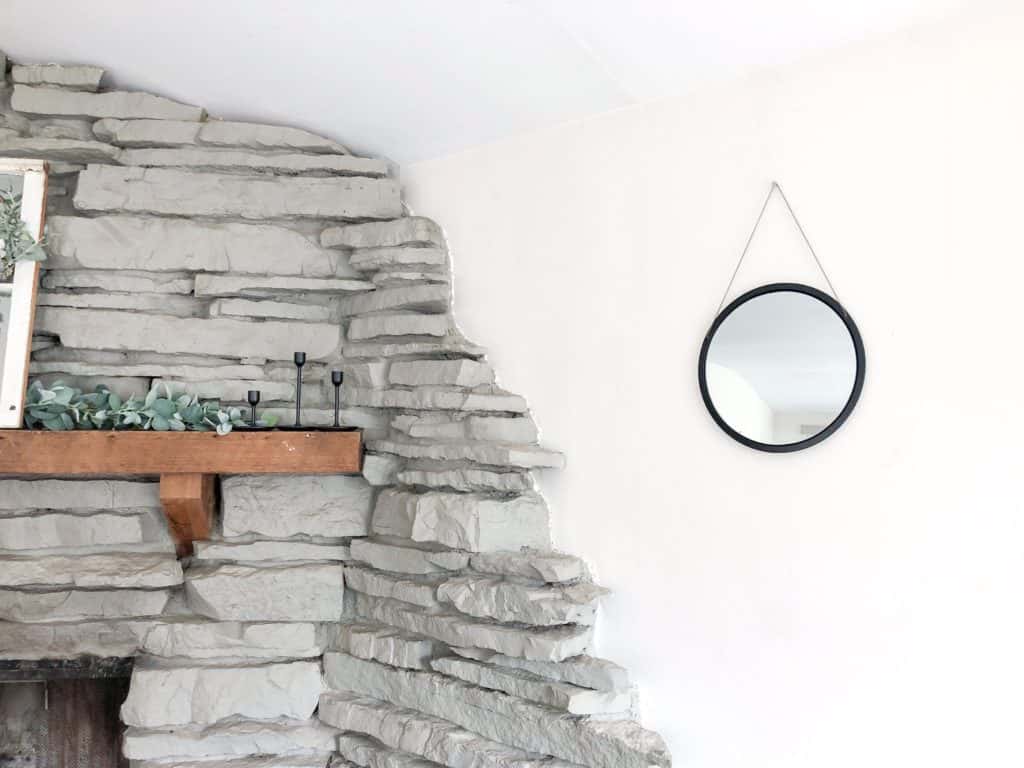
Once it was dry, all that was left was to string the chain through. I ended up using the claw hook from the closure of the necklace on one end to keep the chain from pulling through the hole and knotting the other end. And that is seriously all you have to do. Check out the final look!
See how easy that was? And other than having to wait in between coats and waiting for it to dry completely, it was seriously one of the fastest DIY projects I have ever done. Be sure to let me know what you think in the comments below and I will see you next time! ☺
