DIY Denim Shorts | Thrifted Jeans Into Shorts

This post contains affiliate links for which I may earn a small commission at no extra cost to you. Thank you for your support! Learn More.
Hey Guys!
Remember this thrift haul from a few weeks back? Well I finally finished my DIY denim shorts to share with you! So funny story… kind of. I tried making 2 videos for this post to show you how I distress and fray the shorts. But I’m still figuring out the technology part of blogging and didn’t realize that you can’t easily add a video to blog posts. Face palm.
Fortunately we have social media. So I will be posting the videos on my Instagram so you can go check them out there!
You can still get a very good idea of what I did from all the pictures, plus I fully plan on well explaining my steps. And of course you can always leave a comment if you need more clarification on something.
Let’s get going on these DIY denim shorts!
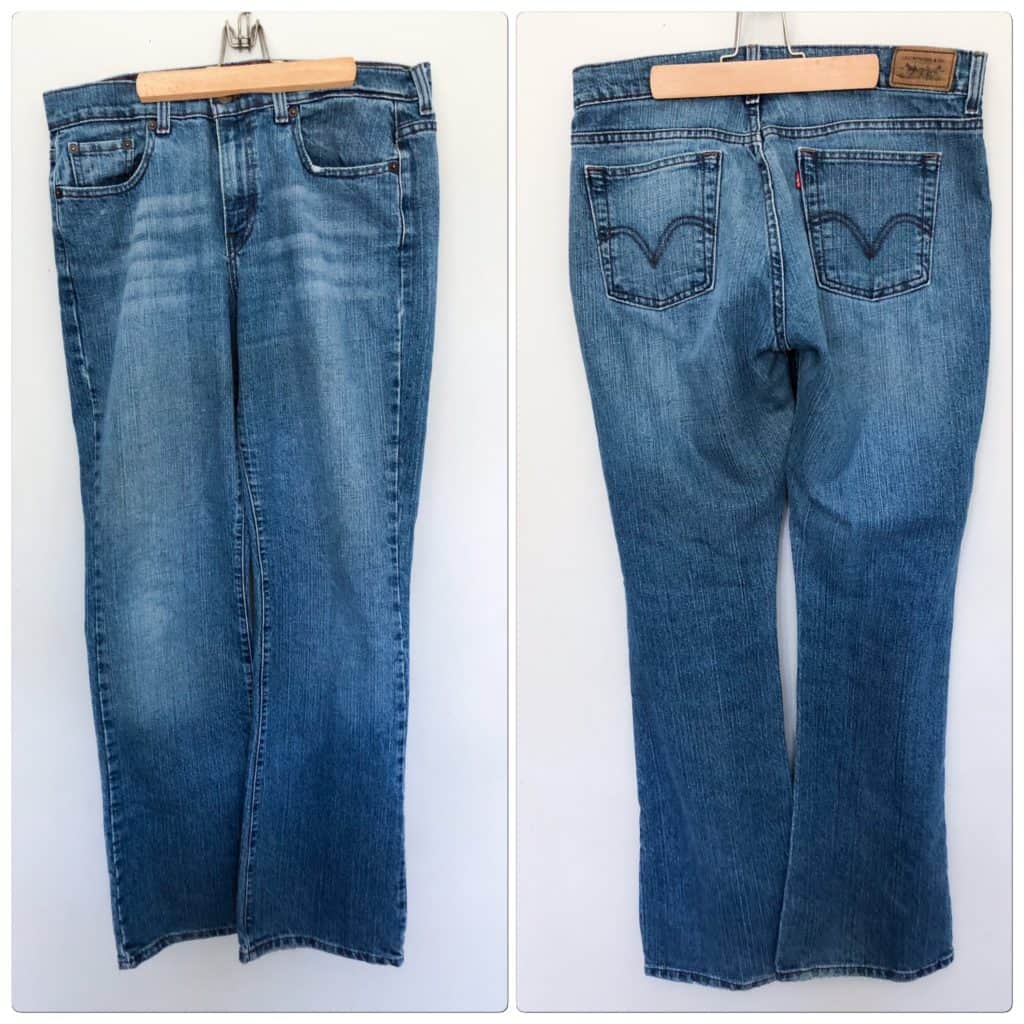
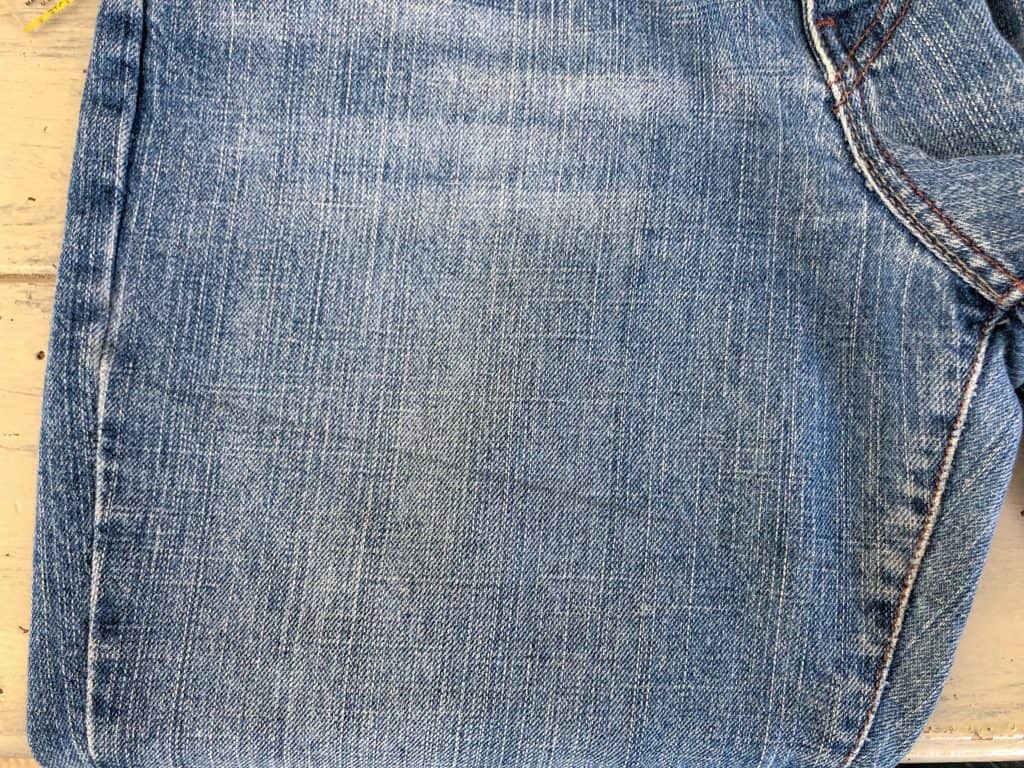
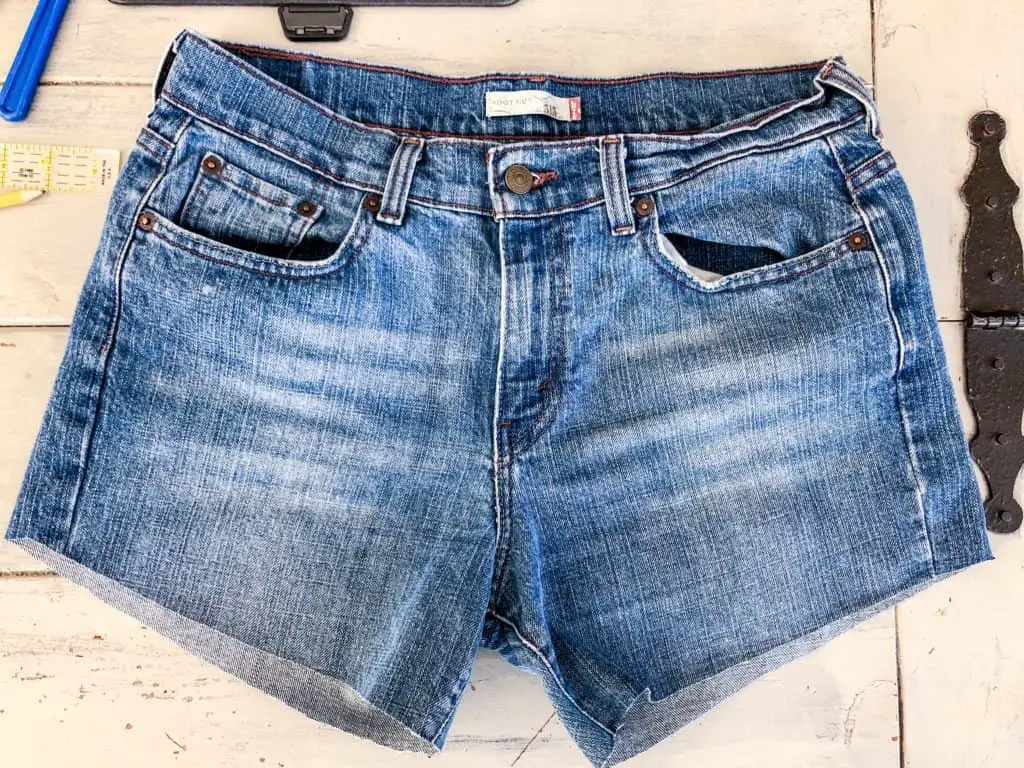
Here are the jeans I thrifted. They are some old school mid-rise Levi’s. My favorite! I loved the wash on these but I didn’t like the way the legs fit. I knew they would make perfect shorts.
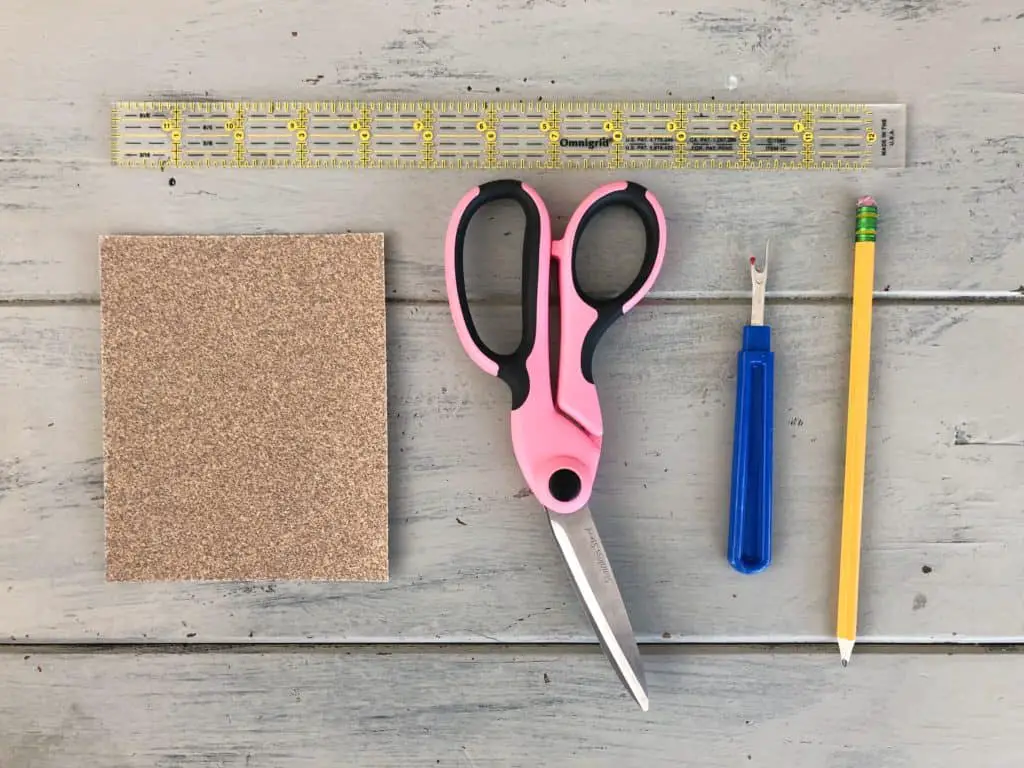
This is everything I used for DIYing my shorts. I used a ruler, a piece of medium grit sandpaper, fabric scissors, a seam ripper, a pencil, a piece of cardboard, and a box cutter (you can also use an X-actoknife.)
First step is to cut your jeans to the desired length of shorts. If you want to fray them a lot, like mine, be sure to cut your shorts about an inch longer.
I suggest putting on the jeans and either pinning them or just marking in pencil on the outside seam of the leg for how short you want them to be. Remember you can always go shorter but not longer so its better to be conservative and cut more off later if need be.
Use the ruler to mark the same spot on the inside seam of the leg. Then measure an inch down from there and make a new mark.
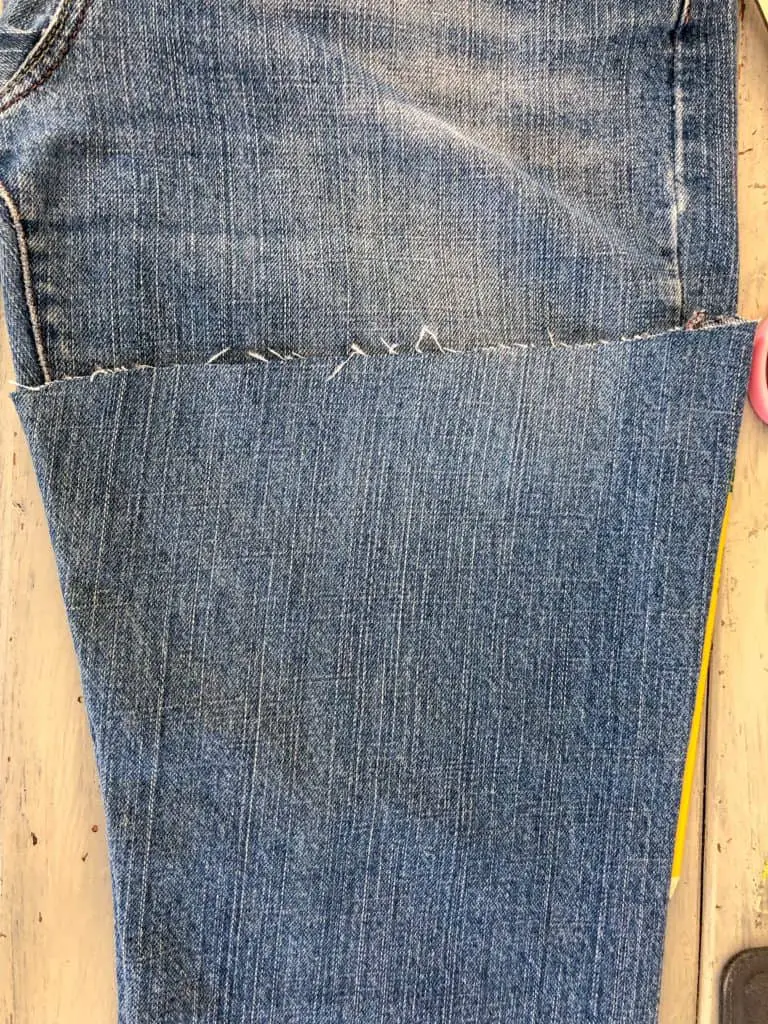
Use the ruler to draw a line from this mark to the mark on the outside of the leg, making a diagonal line. Then go ahead and cut the leg of the pants off.
Using the piece of denim you cut off as a stencil, mark on your second jean leg the two spots you marked on the first leg. The higher mark on the outside seam of the leg, and the lower mark on the inside seam of the leg. Again use your pencil and ruler to connect the marks to make that diagonal line. Cut off the second leg and you will have your shorts.
If your line isn’t perfectly straight as you cut, don’t worry. Once they are frayed you won’t notice at all. Plus I like the look of them when they aren’t perfect!
Try on the shorts and see what you think of the length. Keep in mind, it will be shorter if you plan on fraying the hems a lot. If you don’t plan on doing so, once you run these through the washer and dryer they will do some natural fraying on their own which also gives a cool effect.
You can trim them some more if need be. Let’s move on to distressing them.
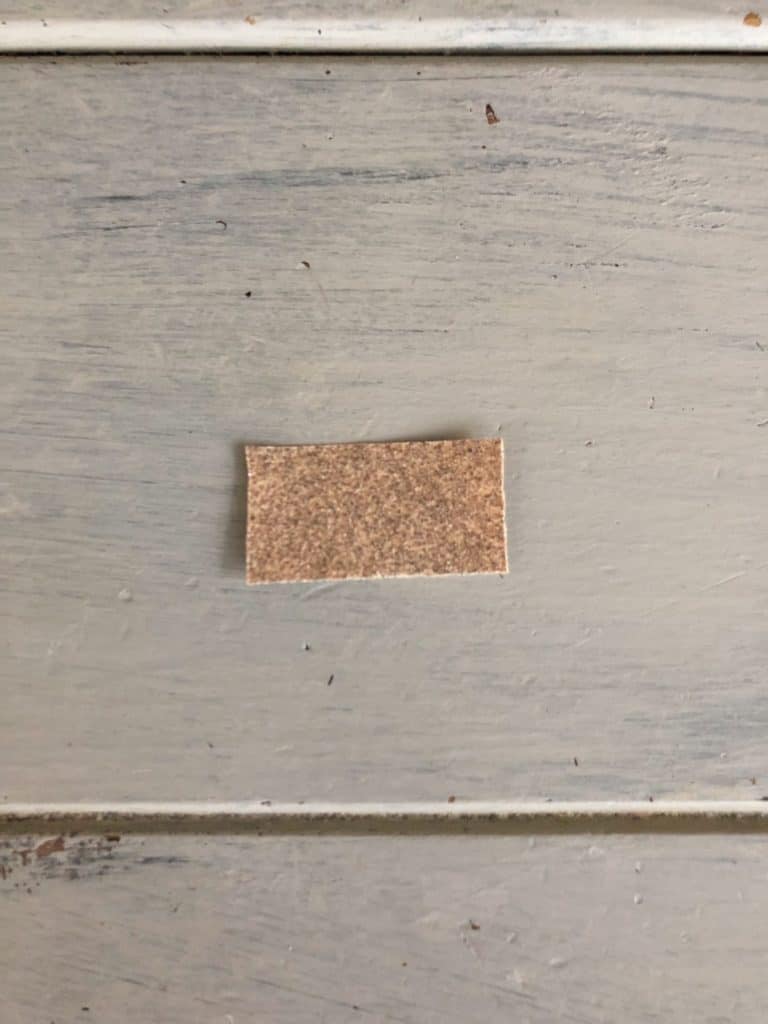
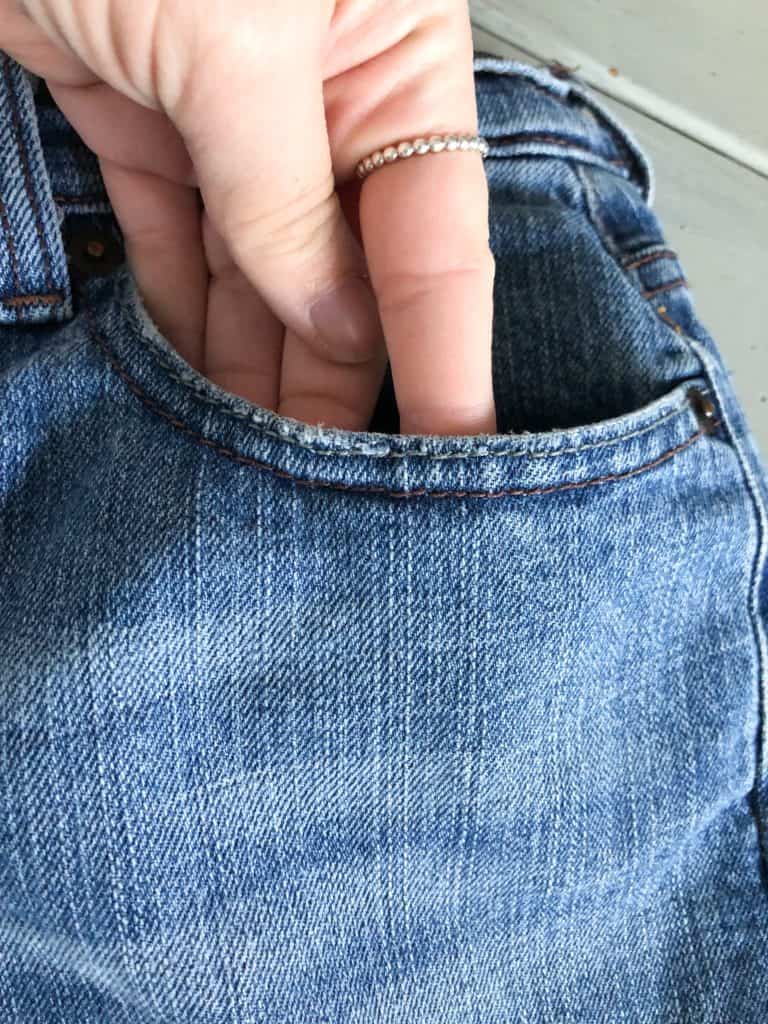
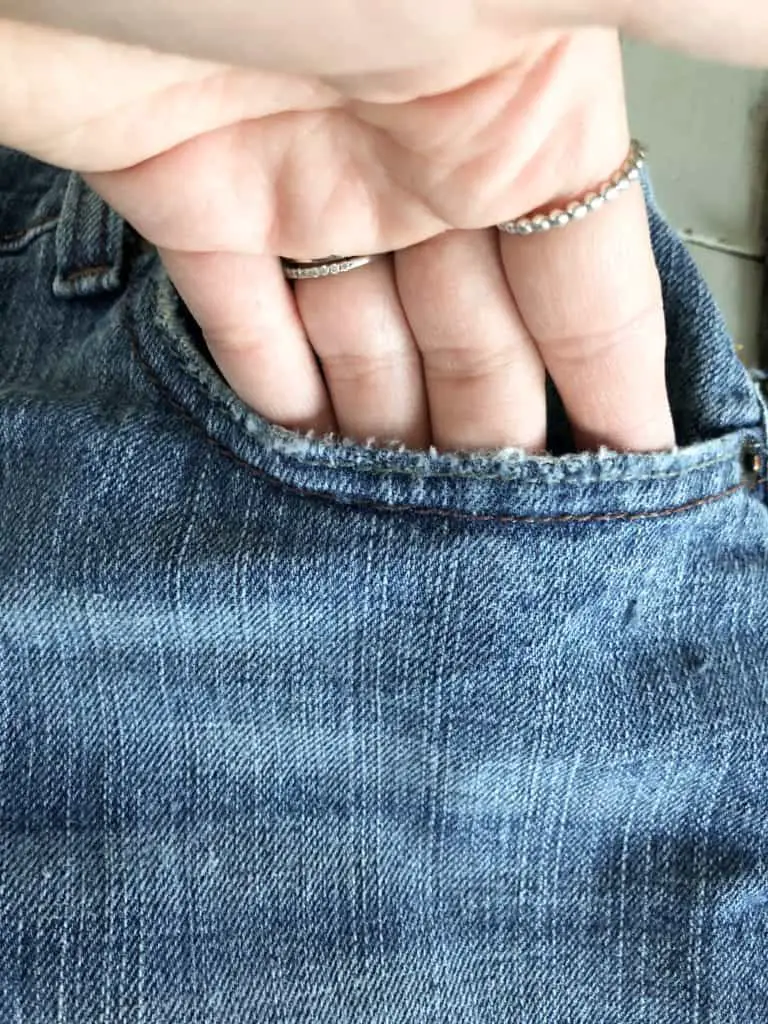
This first part is incredibly easy and makes them look more authentically worn. I cut a small piece of sandpaper off and simply rubbed it along all the edges of my pockets.
You can also use this method on other larger areas to get that lightly distressed look.
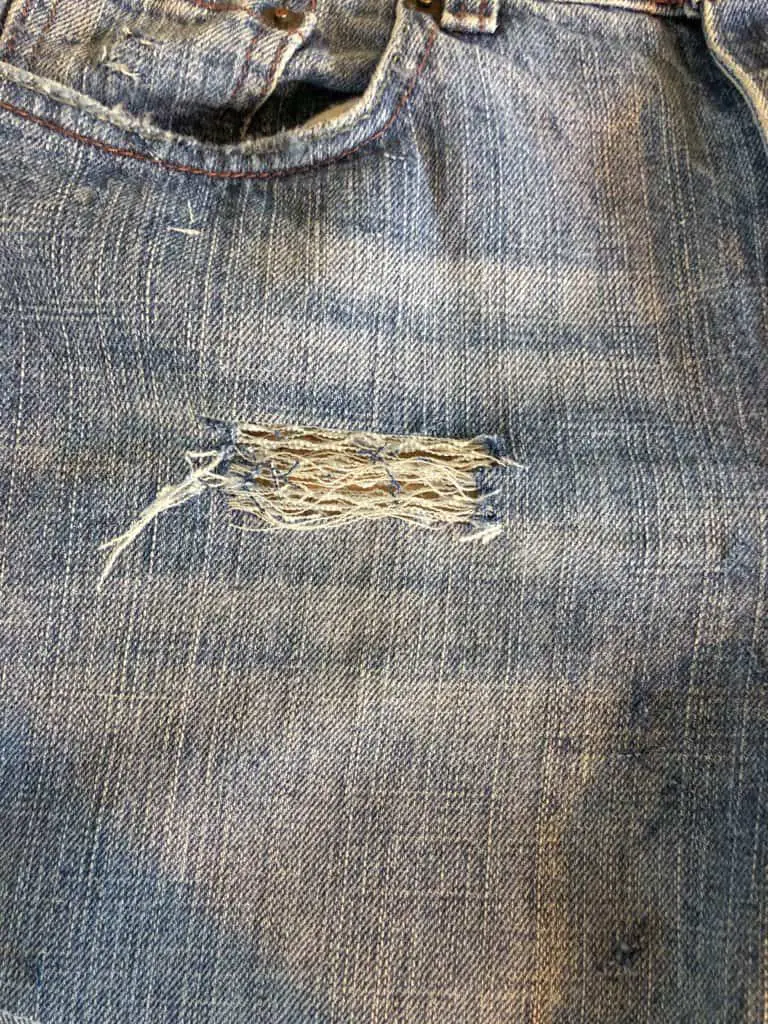
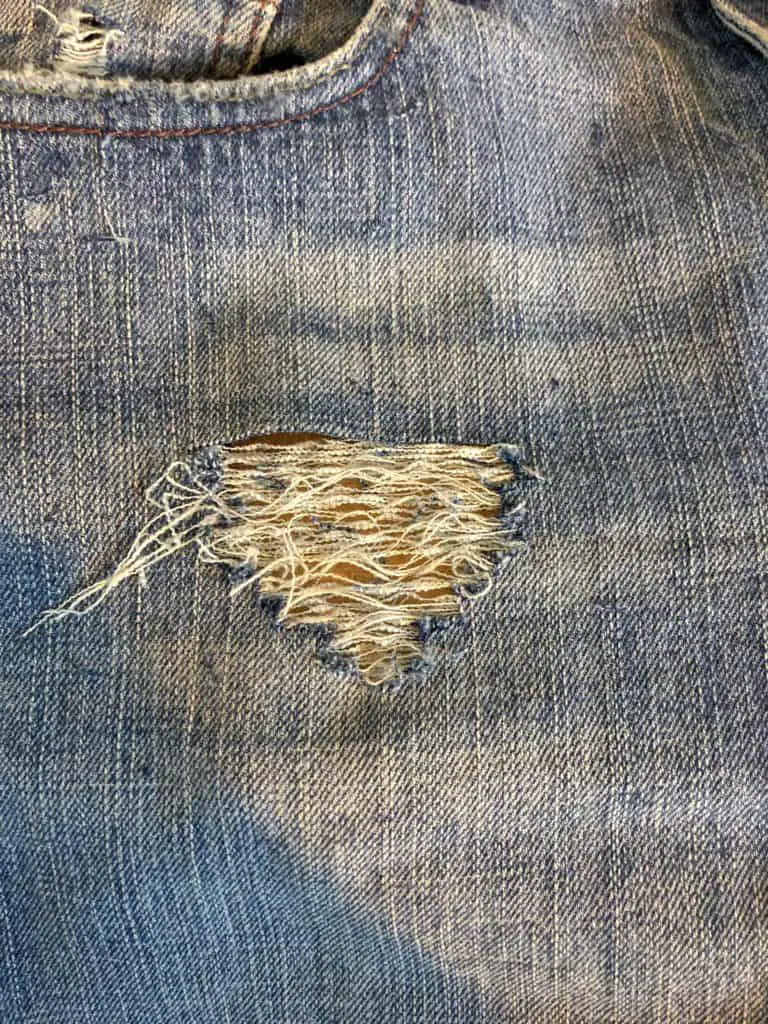
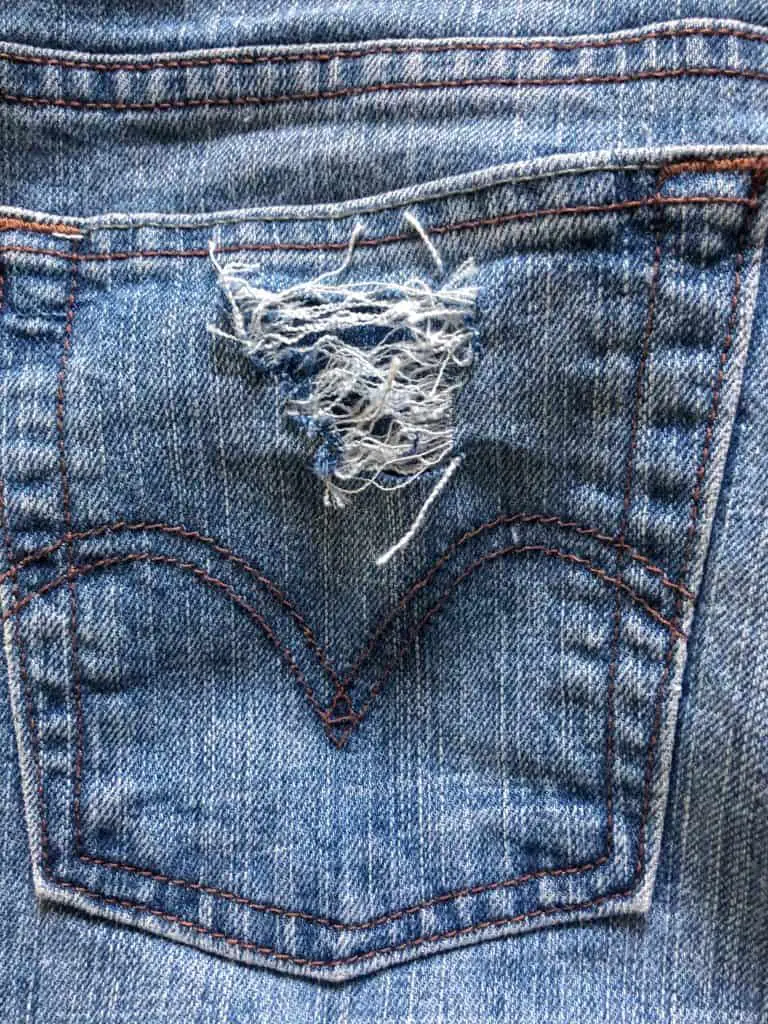
Next up is how you add frayed holes to your shorts. I added some on both sides of the front, a small section on the tiny pocket on the front, and on one pocket on the back.
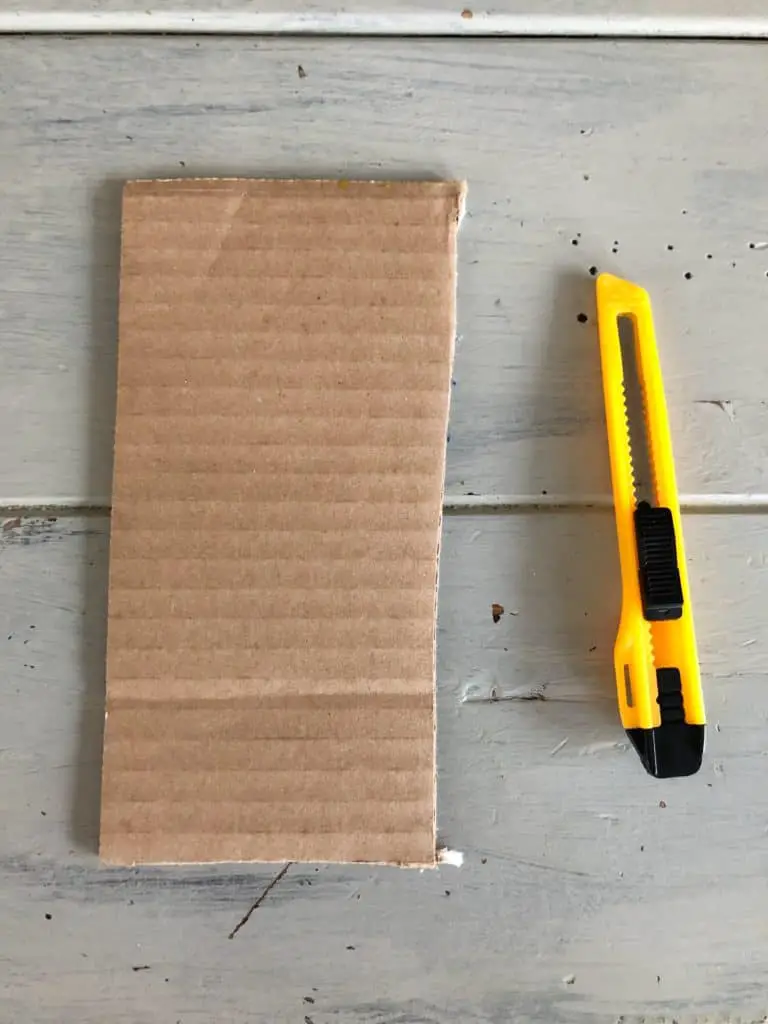
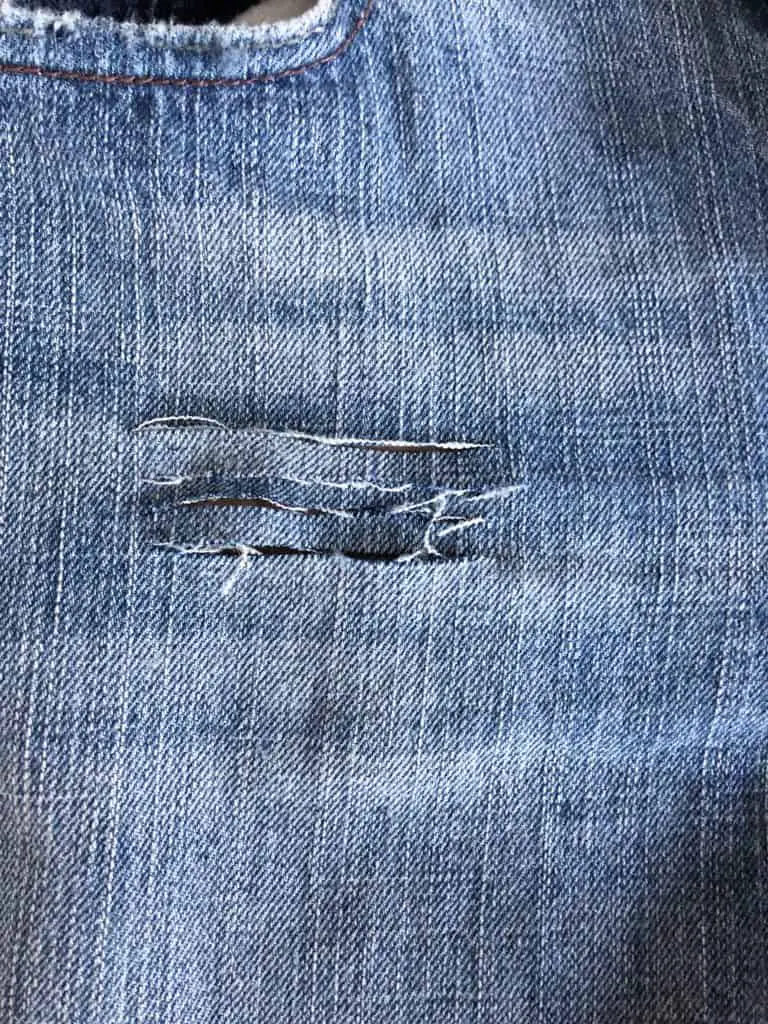
Place your cardboard inside the leg so you don’t cut through the back of your shorts. Use your knife to cut horizontal lines as long as you want the width of your hole to be. Leave about a half inch between each line.
You can see I originally had only three lines but ended up adding more because I wanted a bigger hole. I also decided to gradually shorten the length of my lines to make an upside down triangle shape.
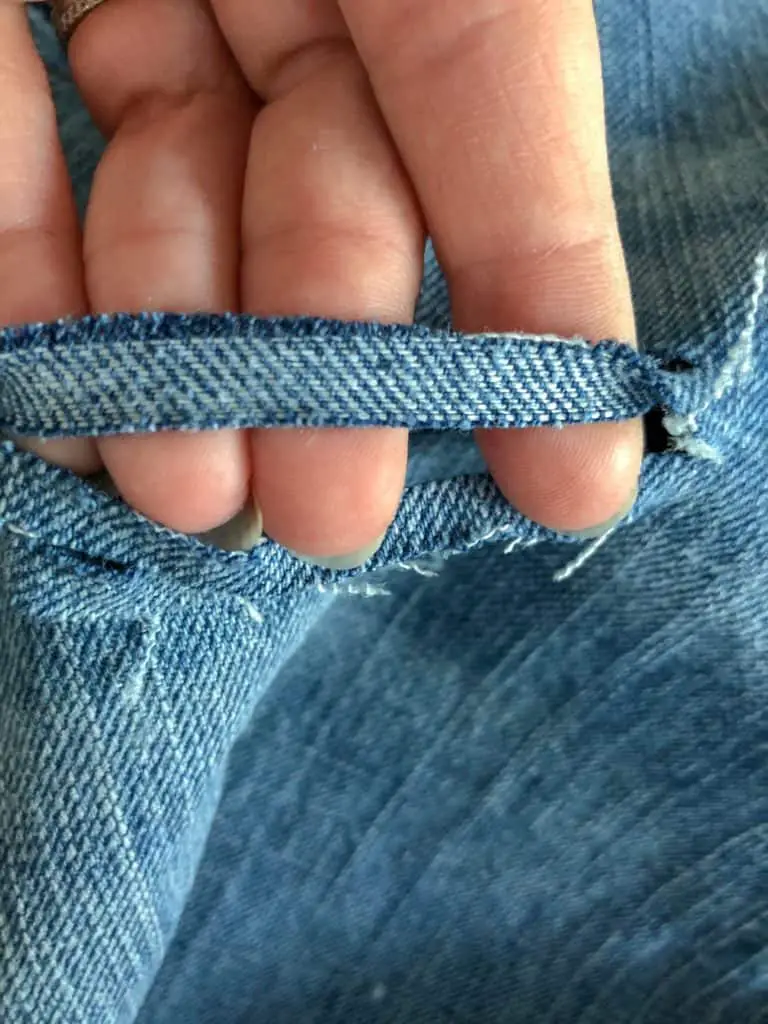
See the photo where I turned the strip I cut over. Notice there are two threads. The white threads run horizontally, you want to leave these intact. The navy threads run vertically, these are the threads you want to remove.
Use your seam ripper to gently pull the white threads upward without breaking them. You want to move several white threads up to loosen the navy threads which are vertical. You may also need to pull some white threads downward from the bottom of your strip.
Once the navy threads are loose enough, you will be able to start pulling them out with your fingers. A pair of tweezers are also helpful to use for this step if you are having a hard time using your fingers.
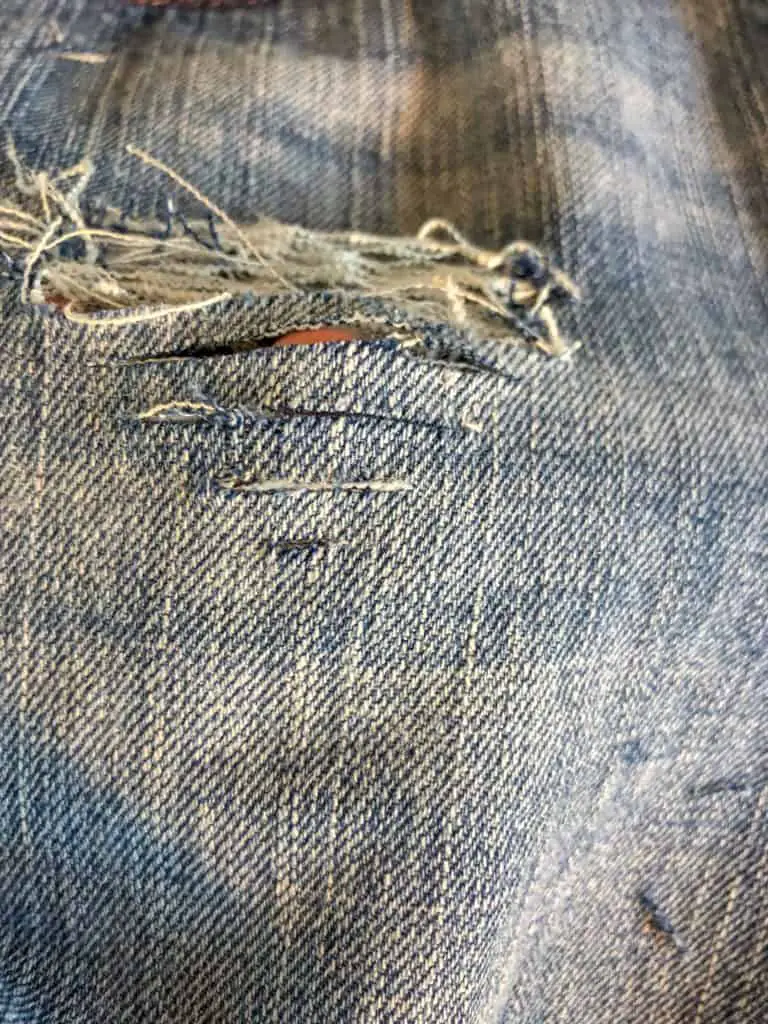
It is ok if some of the white threads break, you will notice that happened to some of mine but it just adds to the distressed effect.
Continue this process for all the strips you cut until there are no more navy threads and you are left with your frayed hole.
Once you have all your areas distressed move on to fraying the hems.
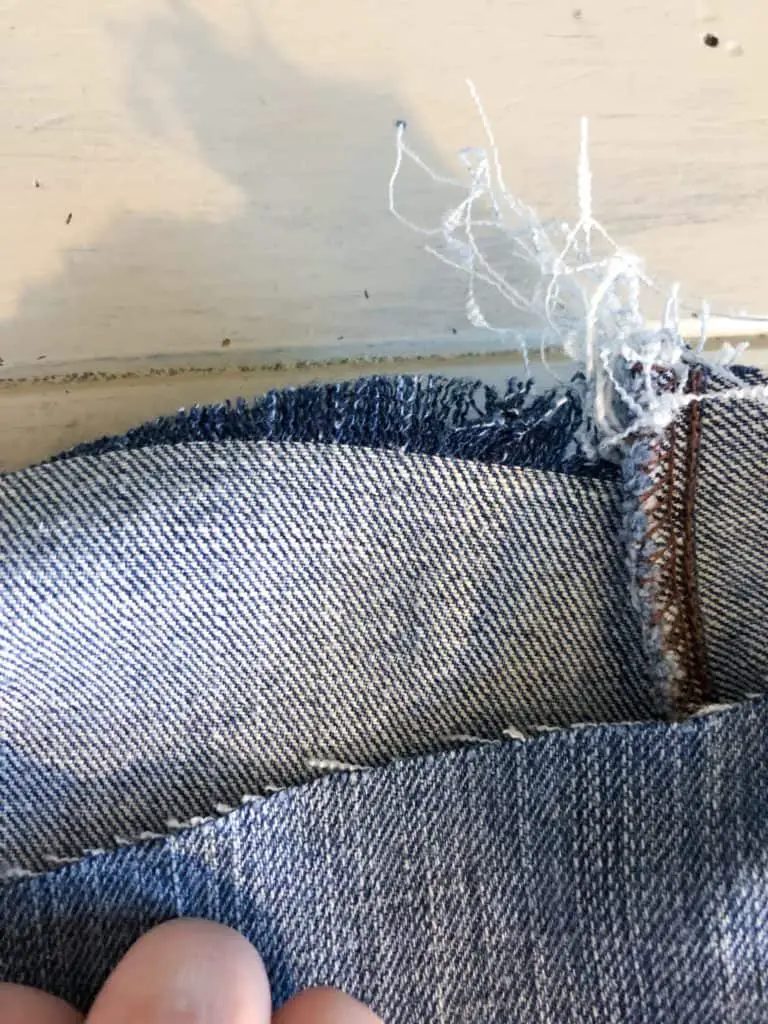
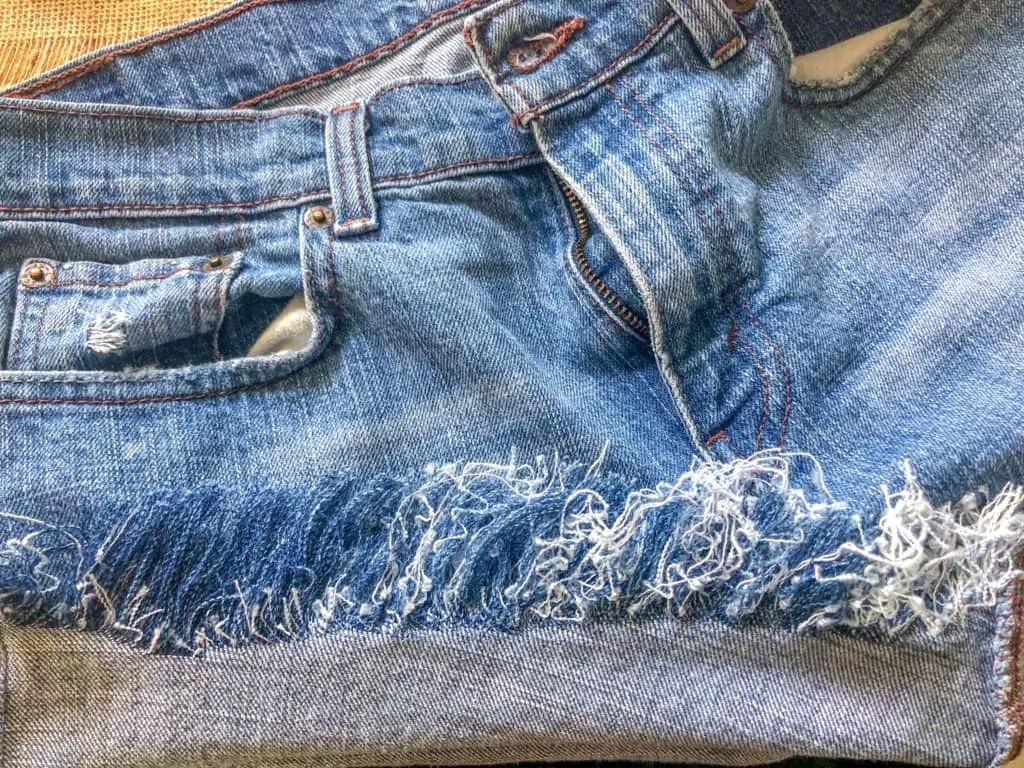
This is the most time consuming part, but its pretty simple. You will have some white threads that are loose from where they were cut, start pulling those to the edge of your shorts as you see in the first photo. Continue pulling threads until you reach the point where they are no longer loose and are still attached to the opposite side.
As you are pulling beware of how high your fray is going and once you get to your desired length, start gradually pulling the white threads less and less to create a diagonal line across your shorts.
See in the second photo, all the way to the right how the white threads are gradually less and less close to the inside seam? That is what I mean by pulling the thread less.
You can then start ripping off some of the white threads from where they are still attached to the outside seam and continue pulling them to the opposite side, while gradually moving closer and closer to the outside seam. If your white threads are getting to be too long feel free to trim them.
You will notice for my shorts I ended up picking a spot near the left side but farther from the outside seam where I ripped the white threads and started pulling them towards both the inner and outer seams.
The fray was getting to be too long to continue pulling from the same side so that is why I chose to do this. It was basically to troubleshoot, you may not end up needing to do so but in case you run into this issue, here is how to solve it!
Continue this same process for the rest of the 3 hems and then throw them in the washer and dryer.
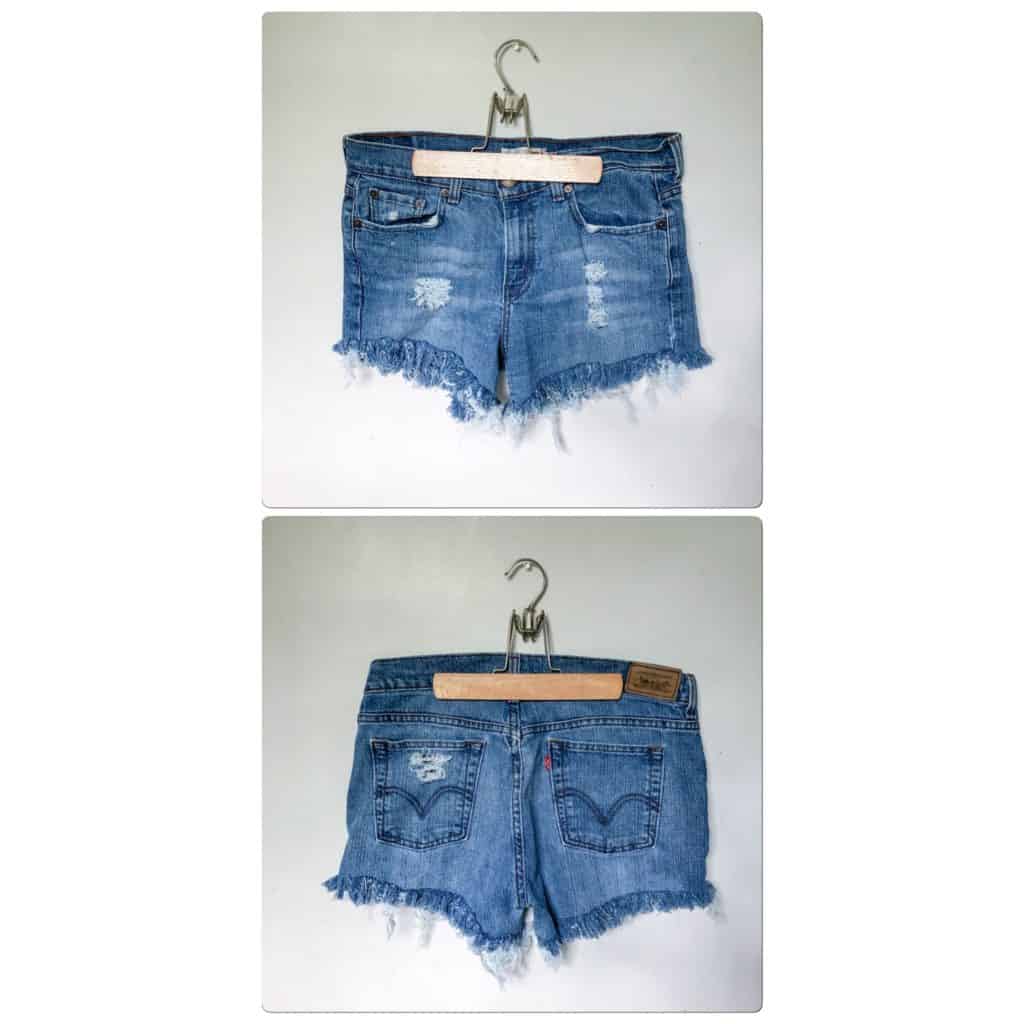
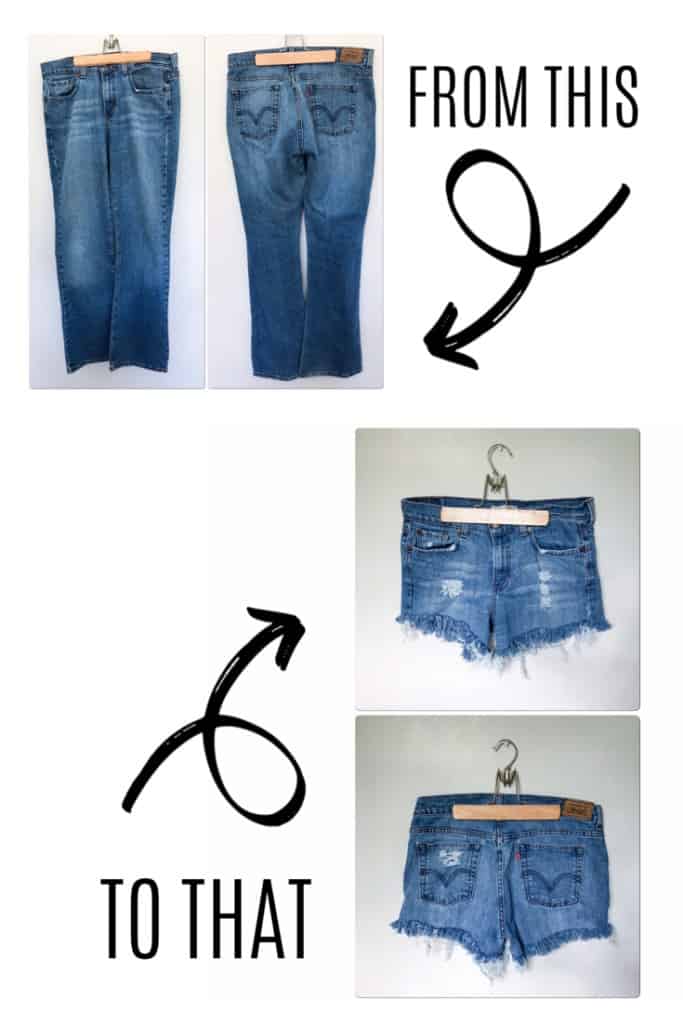
Here is the finished product! I love that they are not perfect and frayed differently, it gives them some character. I hope you found this tutorial helpful, be sure to tag me on social media if you end up trying these DIY denim shorts! Let me know what you think of the transformation in the comments below! See you next time. 😊
