Spring Thrift Store DIY’s | Plus An Easy 5 Minute Craft
This post contains affiliate links for which I earn a small commission at no extra cost to you, should you purchase through them. Learn More.
Hey Guys!
I just got up all of my spring decor and I love how alive and cheerful it looks in here! I have a couple of fun spring thrift store DIY’s I wanted to share with you plus a super easy and quick sign you can make (we’re talking maybe 5 minutes.)
I wanted to add some new things to my spring decor and I had a few thrifted items I had been holding onto for future DIY projects. So I started brain storming and came up with some perfect pieces that I love.
I have included step by step instructions in case you would like to try to recreate any of these. I also have a free printable which I made myself that you can download for your own home. I will get more into that later. Let’s first check out these DIY projects. And stay tuned until the end to take a peek at how I decorated for spring this year!
Spring Thrift Store DIY's
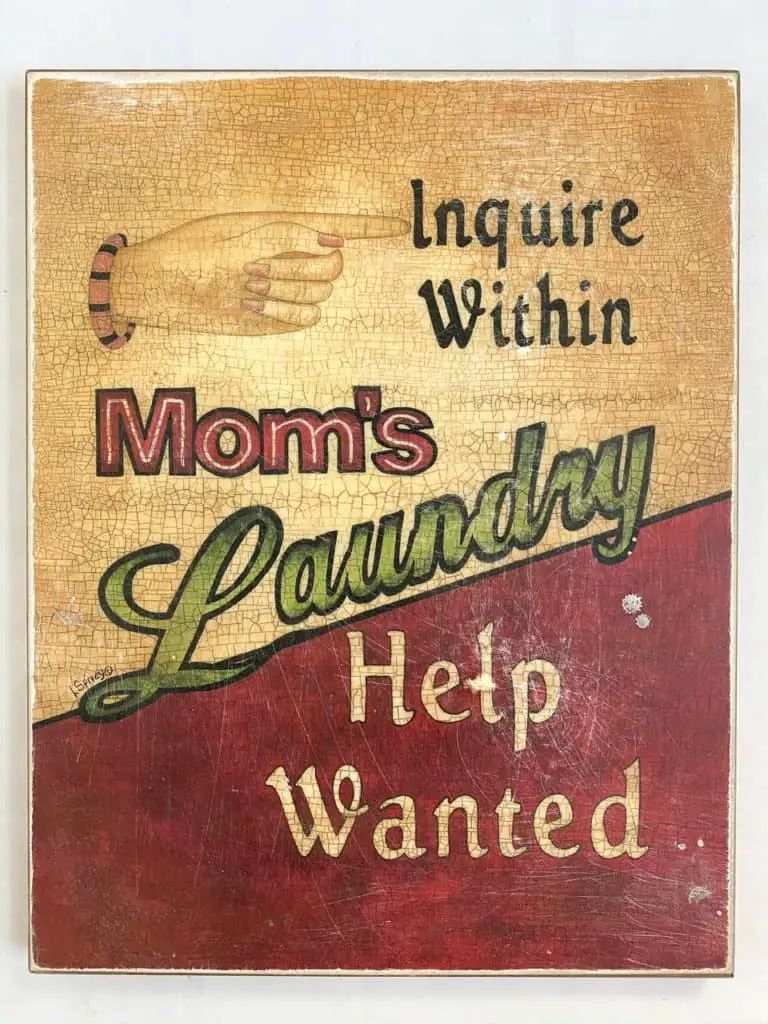
For the first of my 2 spring thrift store DIY’s, I started off with this wood sign I thrifted last year. I originally wanted to paint over it and make a new sign but I had an idea I wanted to try. I thought it would be cool to glue a bunch of faux flowers to this and make a backdrop for this cute wooden “hi” that I have.
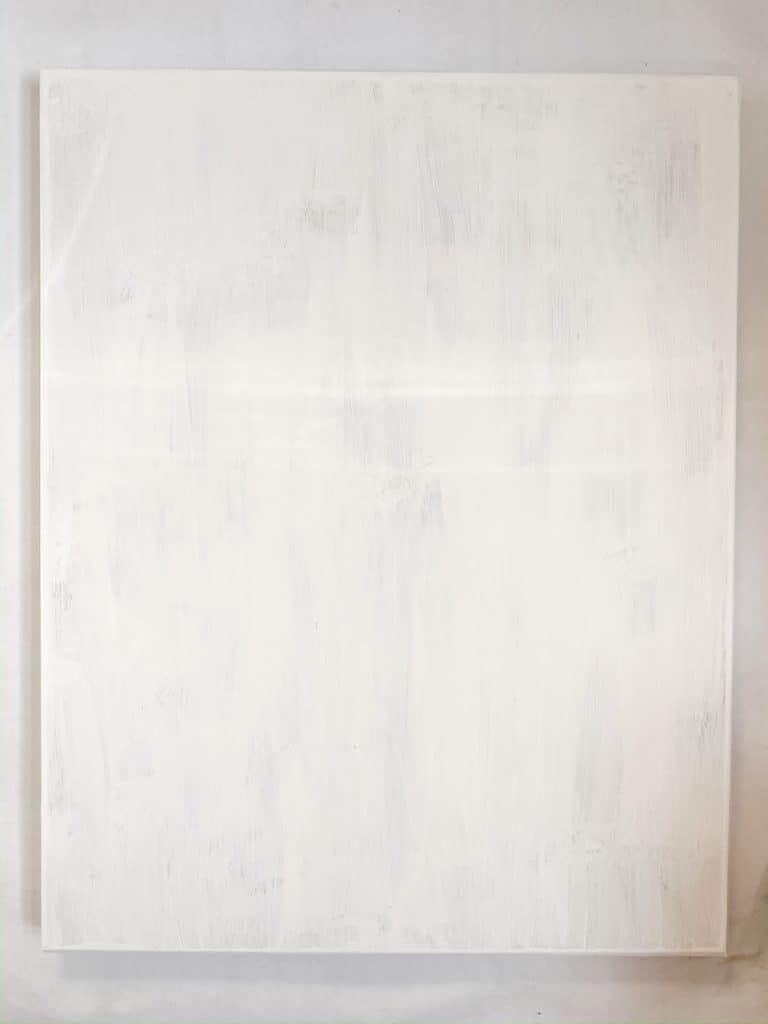
First I painted the front with 1 coat of white paint and the sides with 2 coats. I knew the front would be almost entirely covered with flowers so I didn’t need to have 2 coats to completely cover the front, just enough to hide most of the color on the original sign.
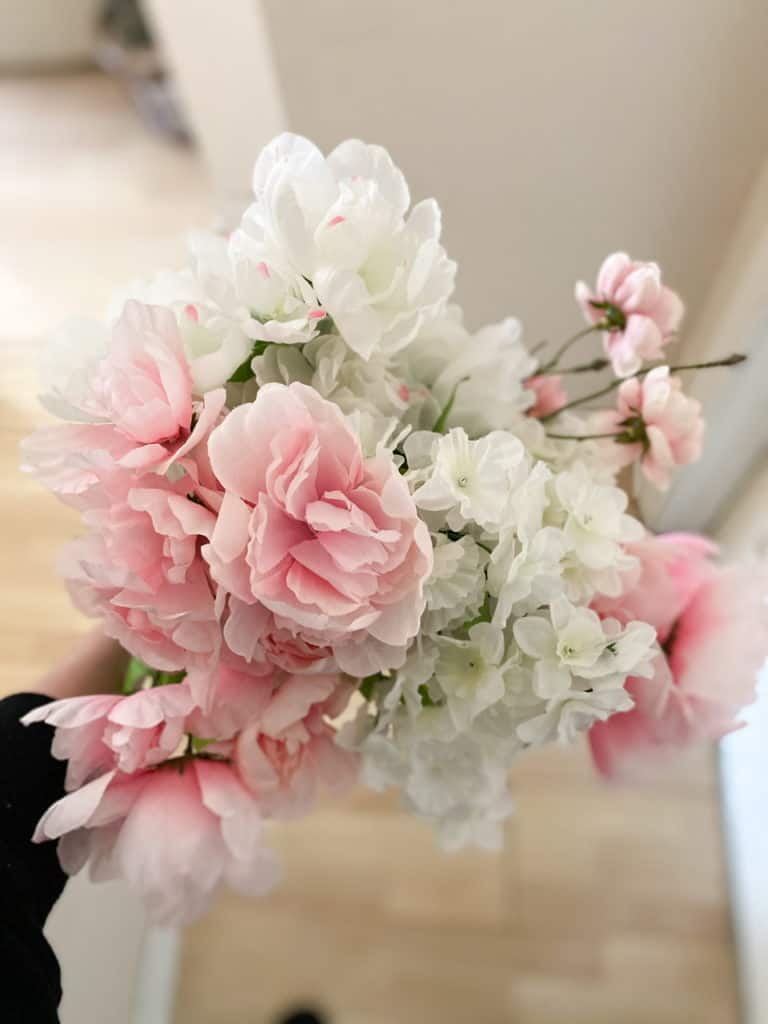
I actually found all these faux flowers at The Dollar Tree! I was pleasantly surprised, I don’t usually have the best luck with florals there. I got 4 different styles in varying sizes but within a similar color scheme.
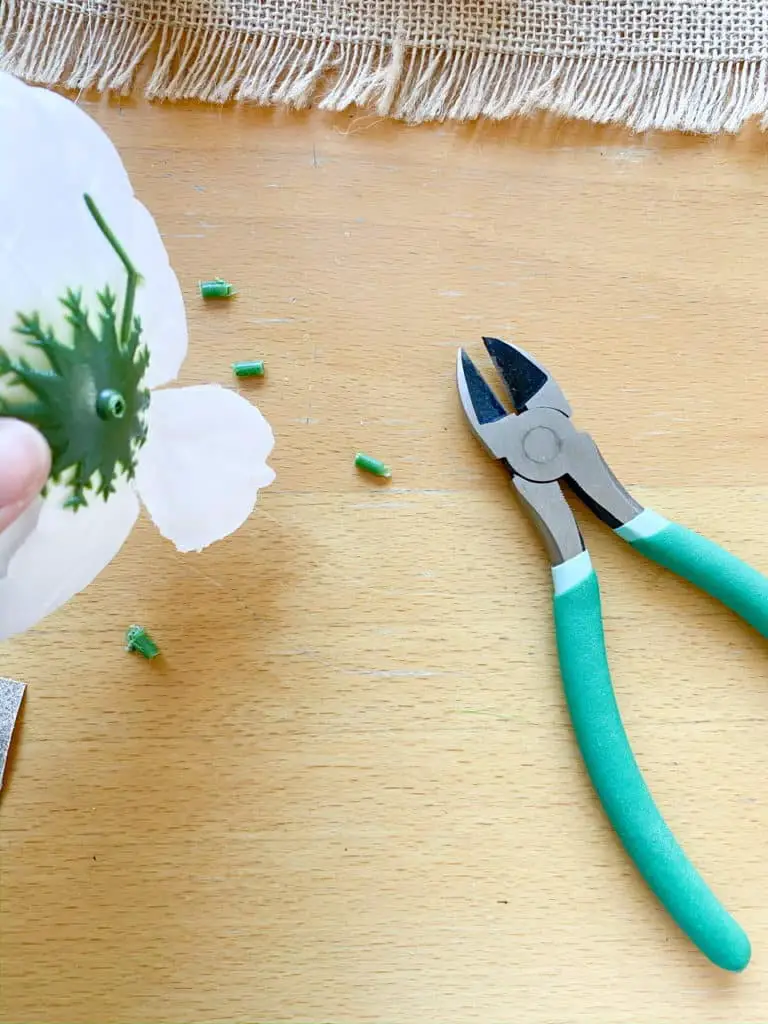
I pulled off each flower head and then trimmed down the stem as close at possible to the flower without making it fall apart.
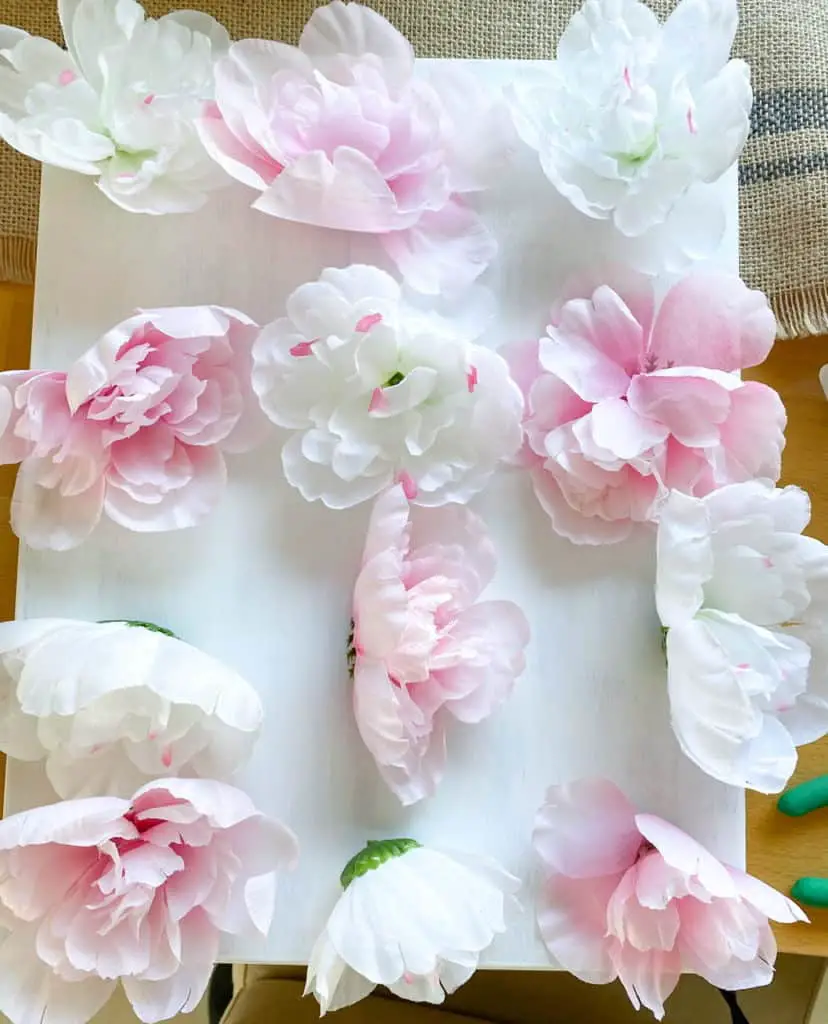
I started out with the larger flowers and placed them where I wanted them. I ended up doing a pattern because I liked how it looked better than randomly placing them.
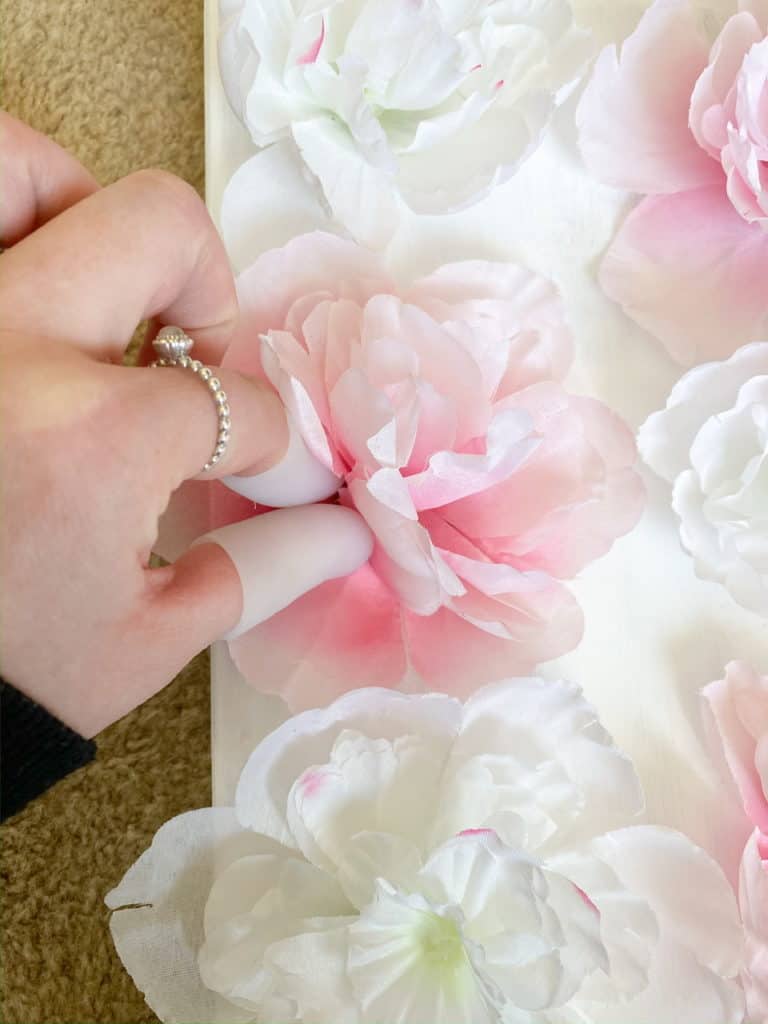
I used my hot glue gun to glue them on and I made sure to only press on the petals that were closest to the sign so that the rest of the petals would be able to move still and look more realistic.
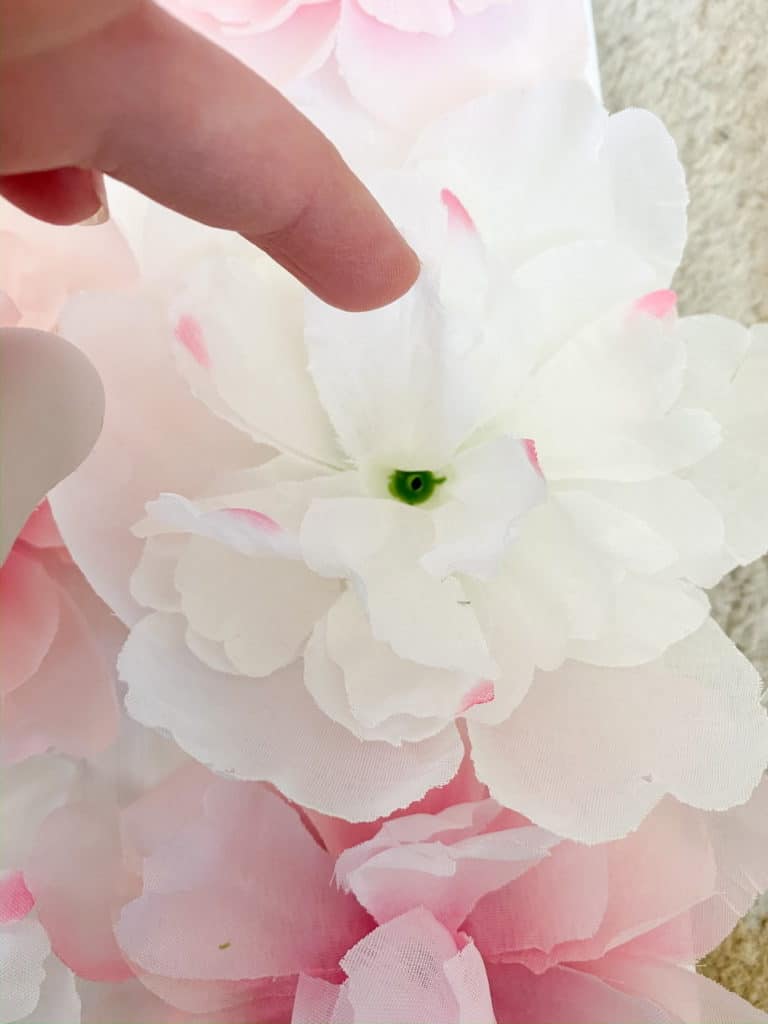
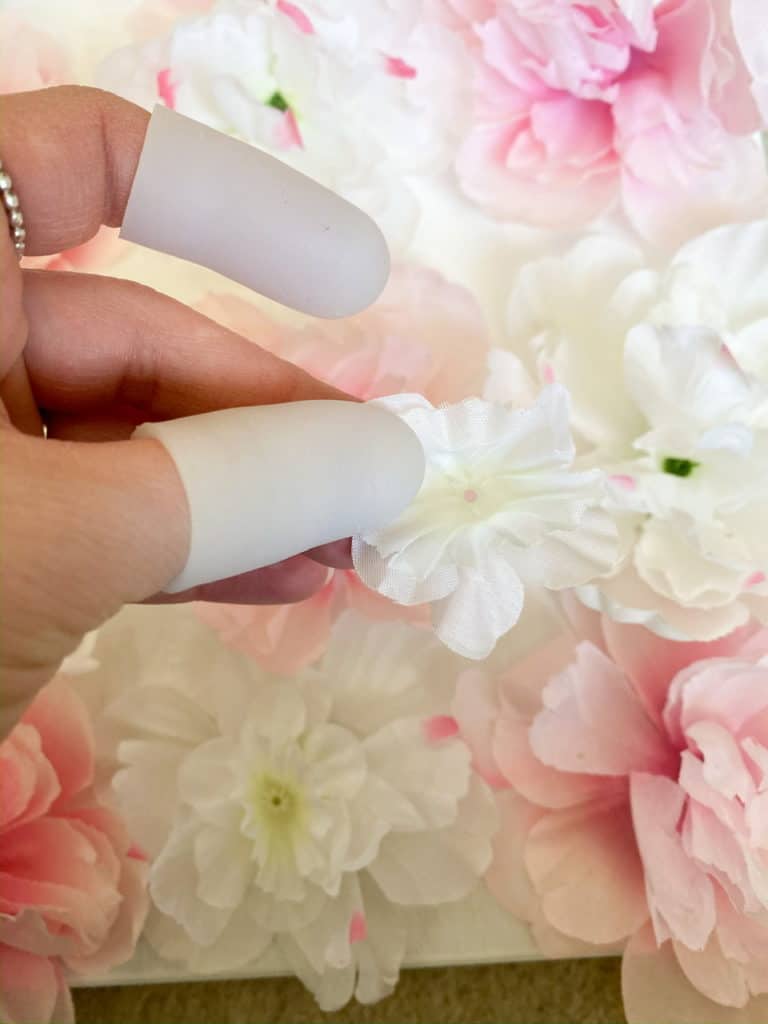
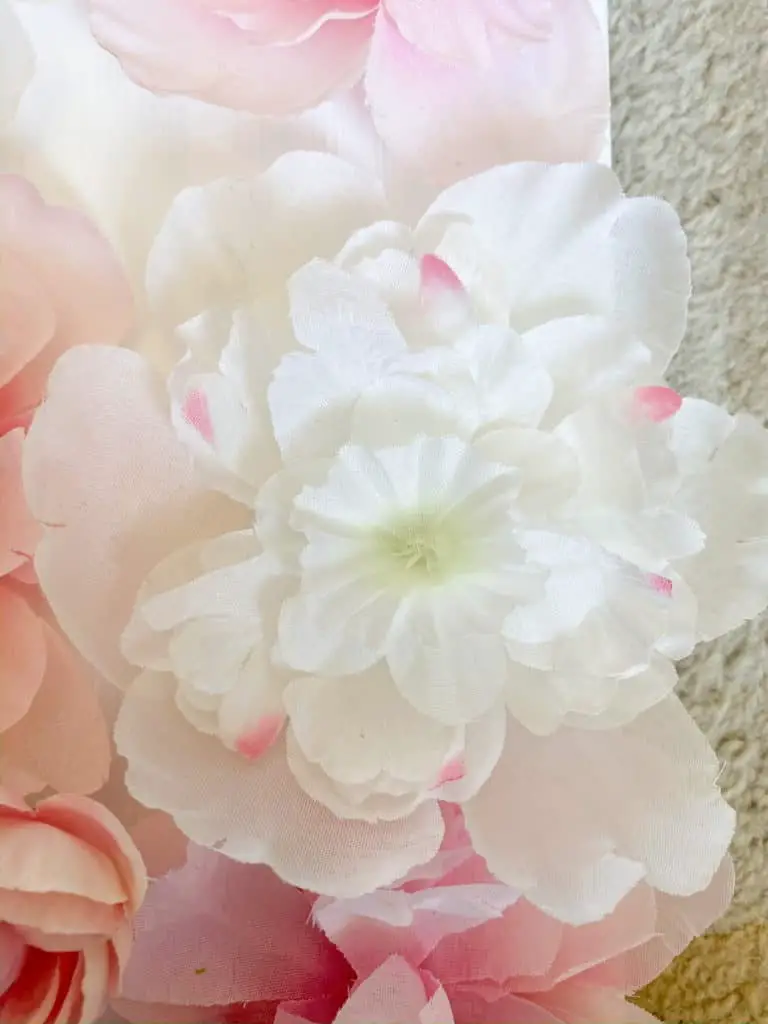
I noticed that the center of the flowers had this ugly green center poking through and it was bothering me (lol) so I took one of the smaller flowers and glued them onto the centers of each flower. I love how it gave them more volume!
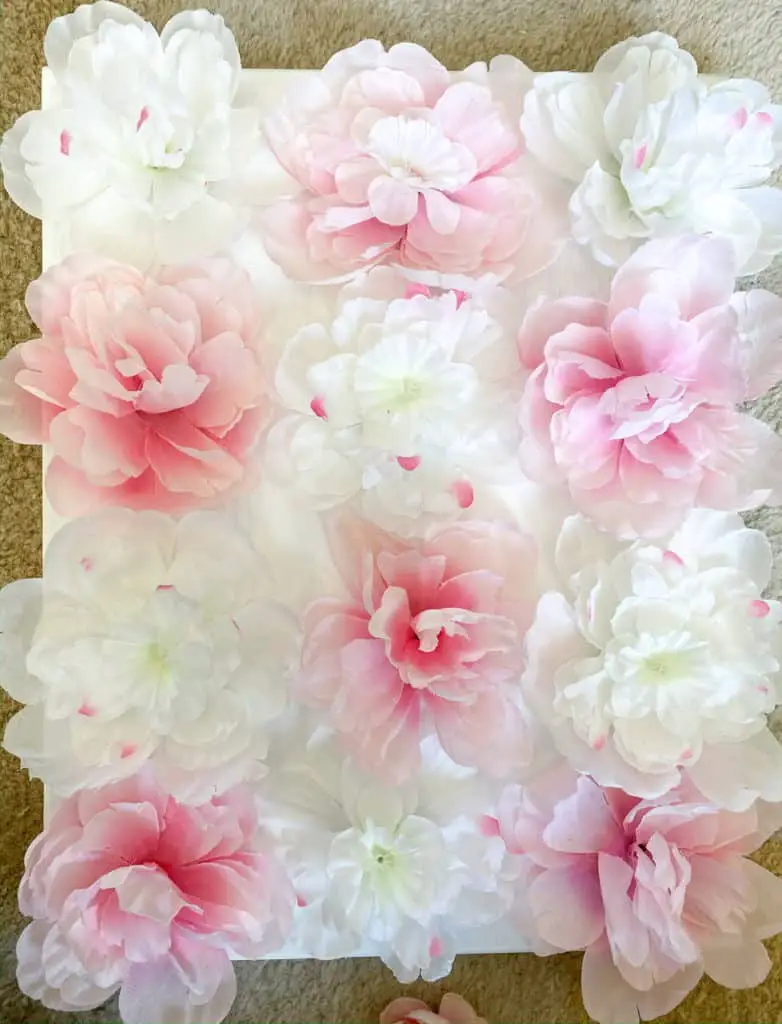
Here is how it looked after they were all glued on.
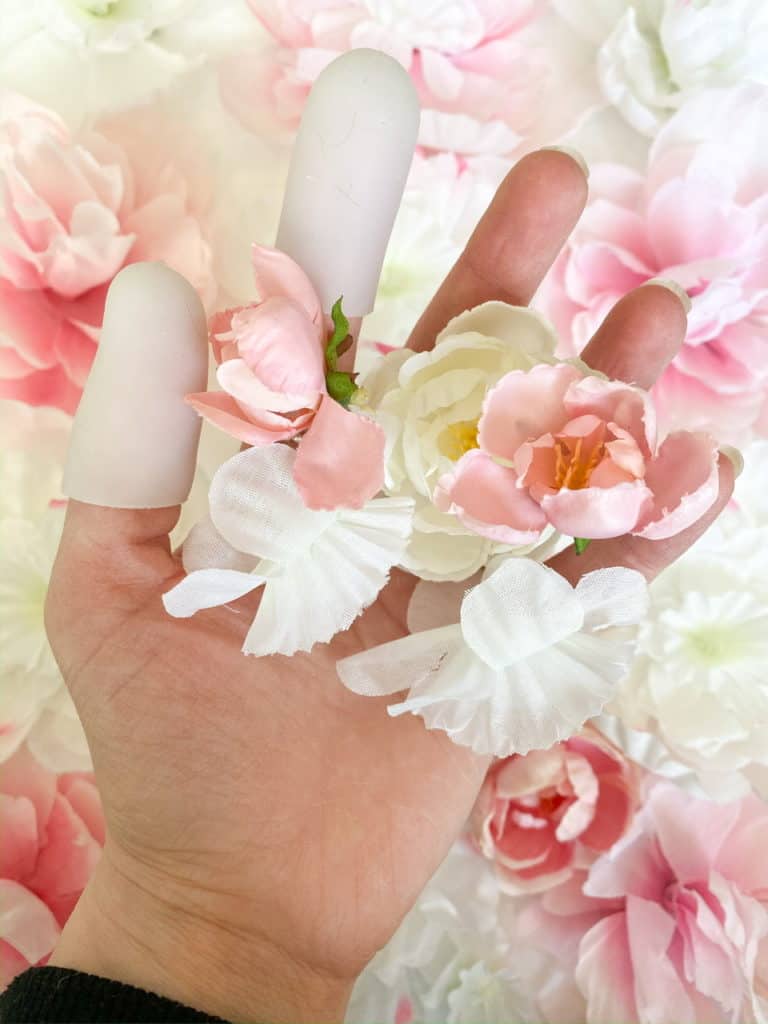
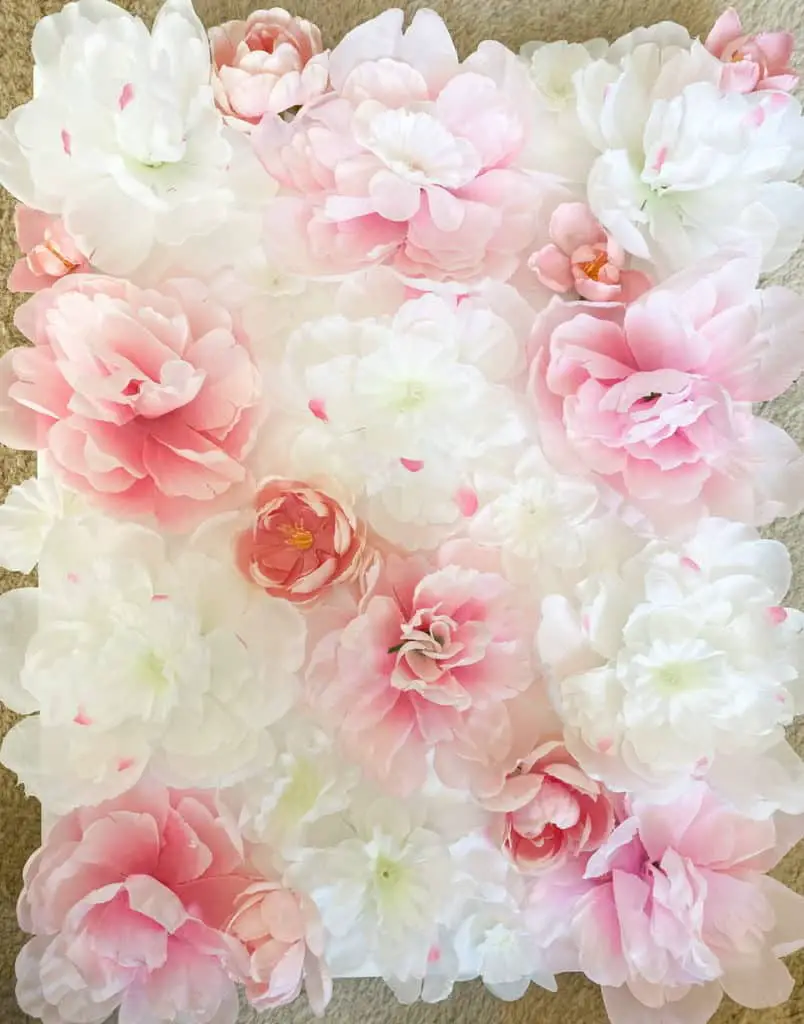
Then I took the rest of my smaller flowers and used them to fill in any open spaces. I kind of did an alternating pattern down the center with the small pink and white flowers on a diagonal. Then I just added a few randomly to any edges where there were still open spaces.
And then you can see the finished product. I think this turned out so beautifully and since the florals were all from dollar store (I used 5 in total) this project cost me under $10 (not including my glue gun and paint since I always have those on hand.)
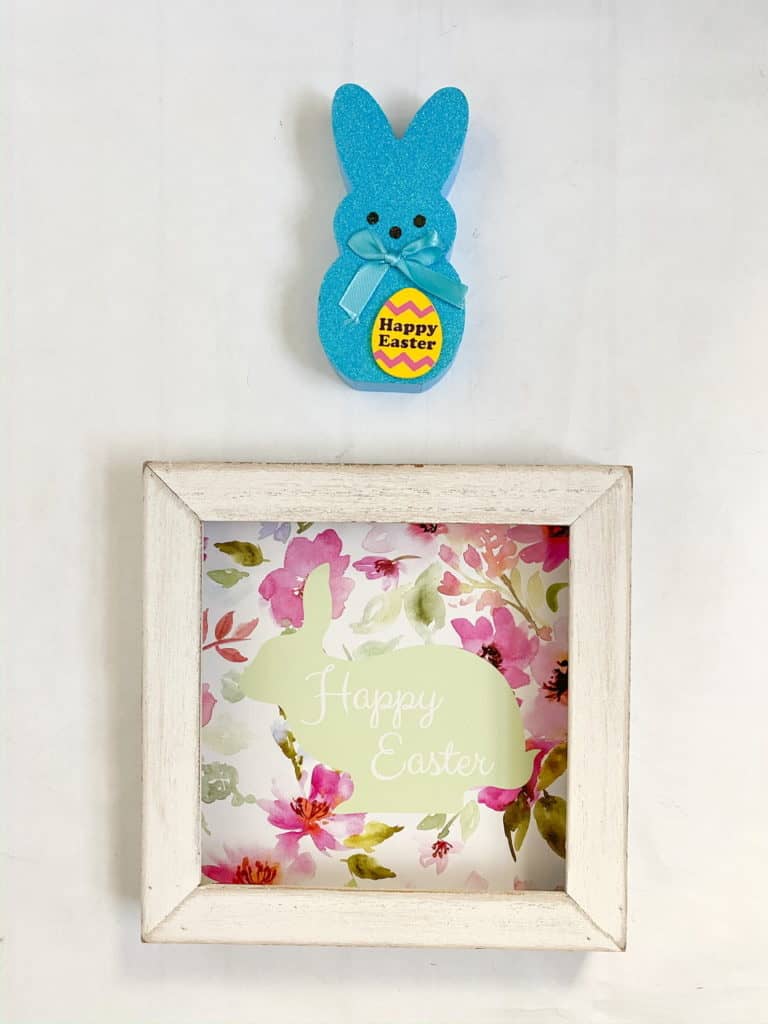
For the second of my 2 spring thrift store DIY’s I took this blue bunny and Easter sign and made them into a whole new sign. The Easter sign was cute on it’s own, but I had another idea in mind for it that would better fit my home decorating style.
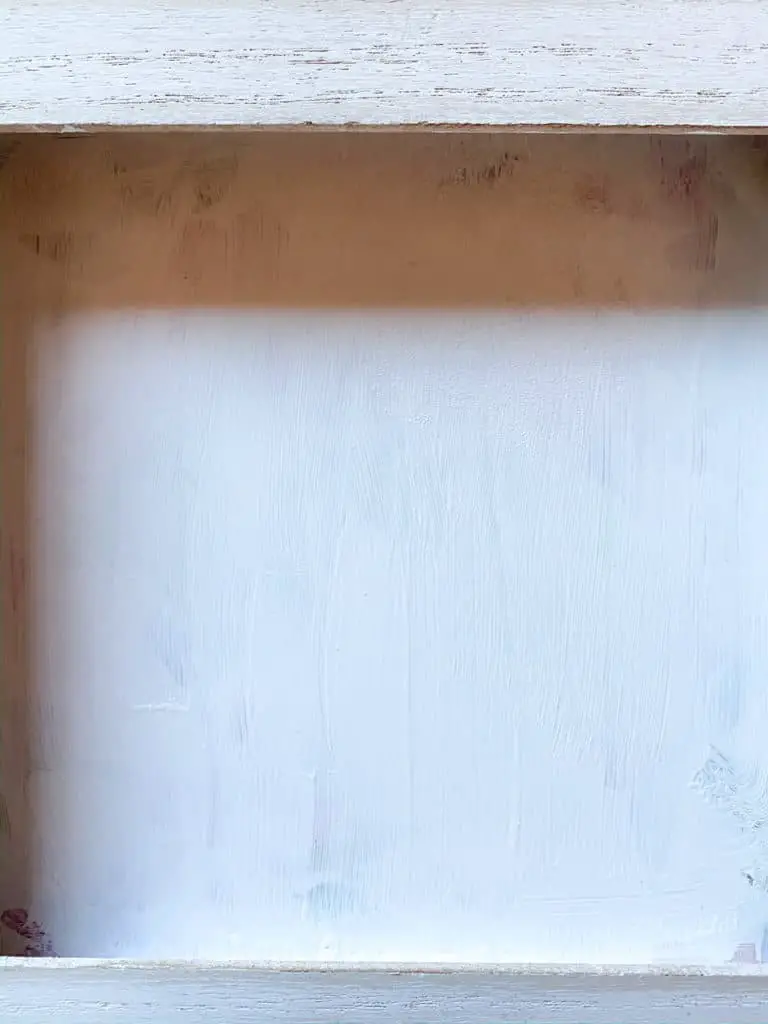
I painted 1 coat of white paint onto the sign the try to hide the image. I covered it with paper, as you will see, so I didn’t need more than 1 coat of paint. Just enough so the image wouldn’t show through my paper.

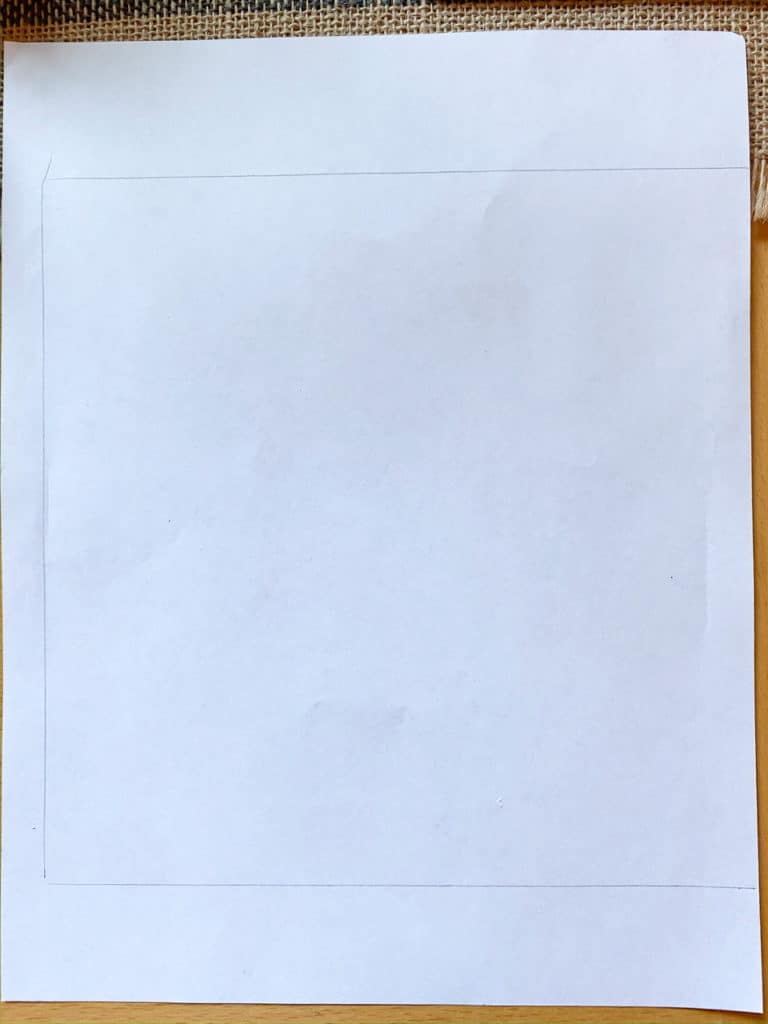
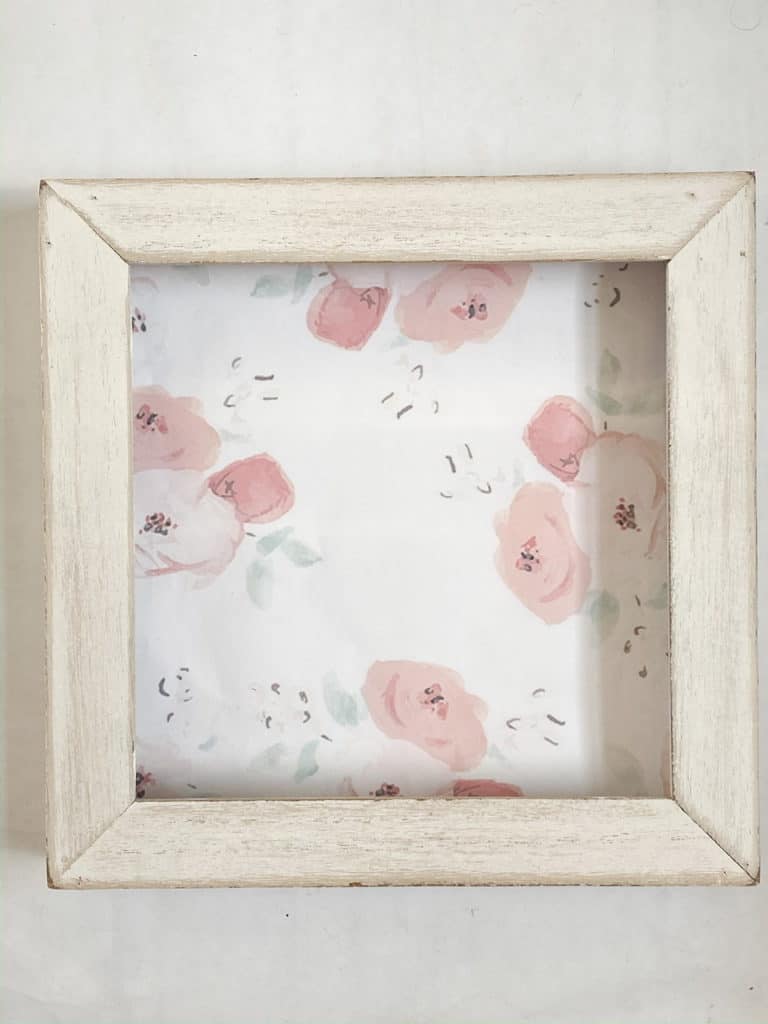
I found this image which is actually a wall paper sample and printed it out. You can use whatever image you find that you like, here is where you can get this image if you want the one I used.
I figured out what part of the image I wanted to use, then I traced the outside of the frame on the back of the paper and then cut it out with my paper cutter.
I made sure to cut a little inside the lines so it would fit properly inside my frame box. Then I just used a glue stick to glue it in place. I didn’t want the glue lines showing through so that’s why I went with a glue stick.
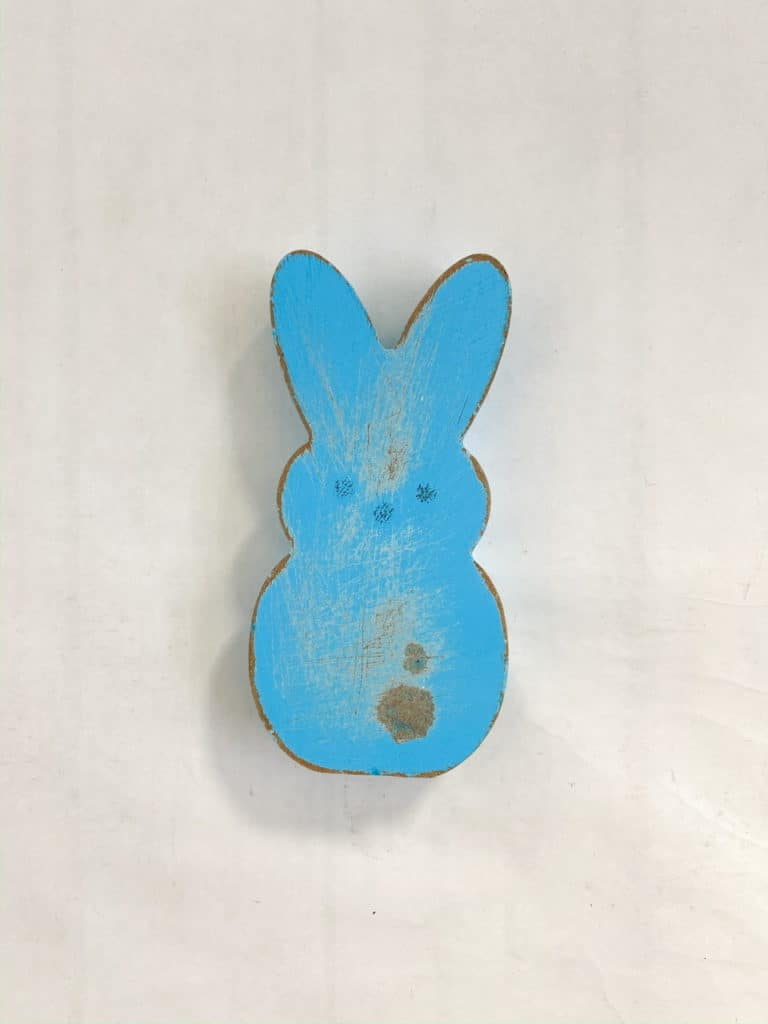
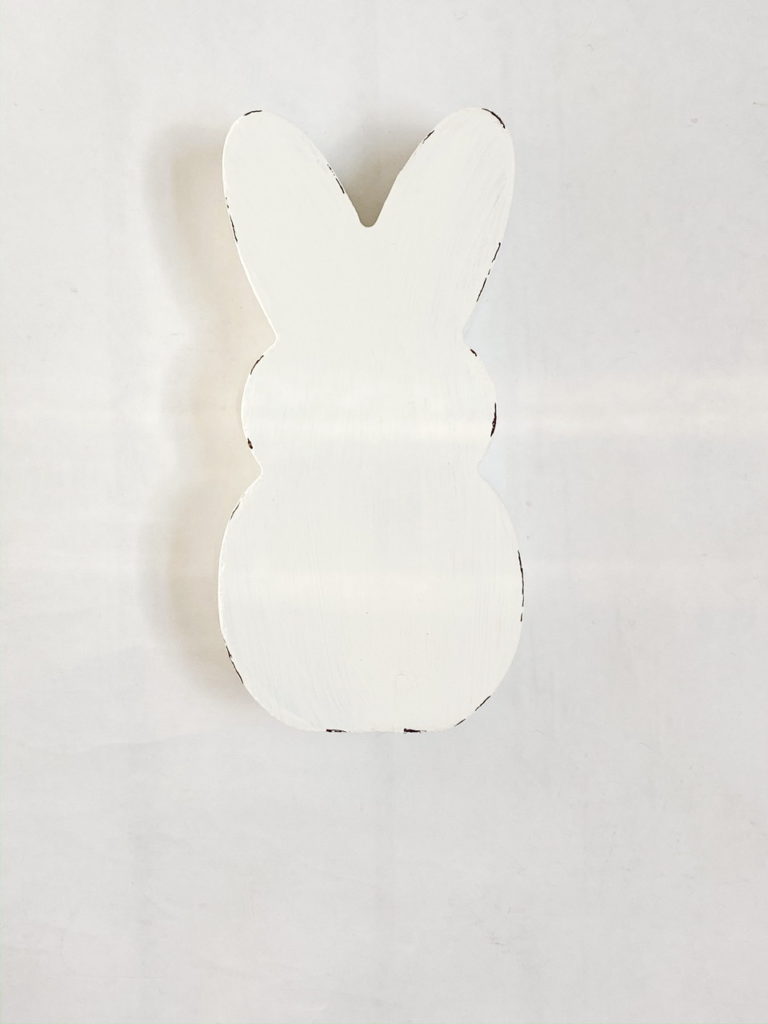
I took off the bow and egg on the bunny and then sanded off all the glitter and got it as smooth as possible. Then I painted it with 2 coats of my white chalk paint.
I used a sharpie to add some distressing. I couldn’t sand it because some of the blue would show through. If you are using a bunny that is natural wood you could just sand it to distress it.
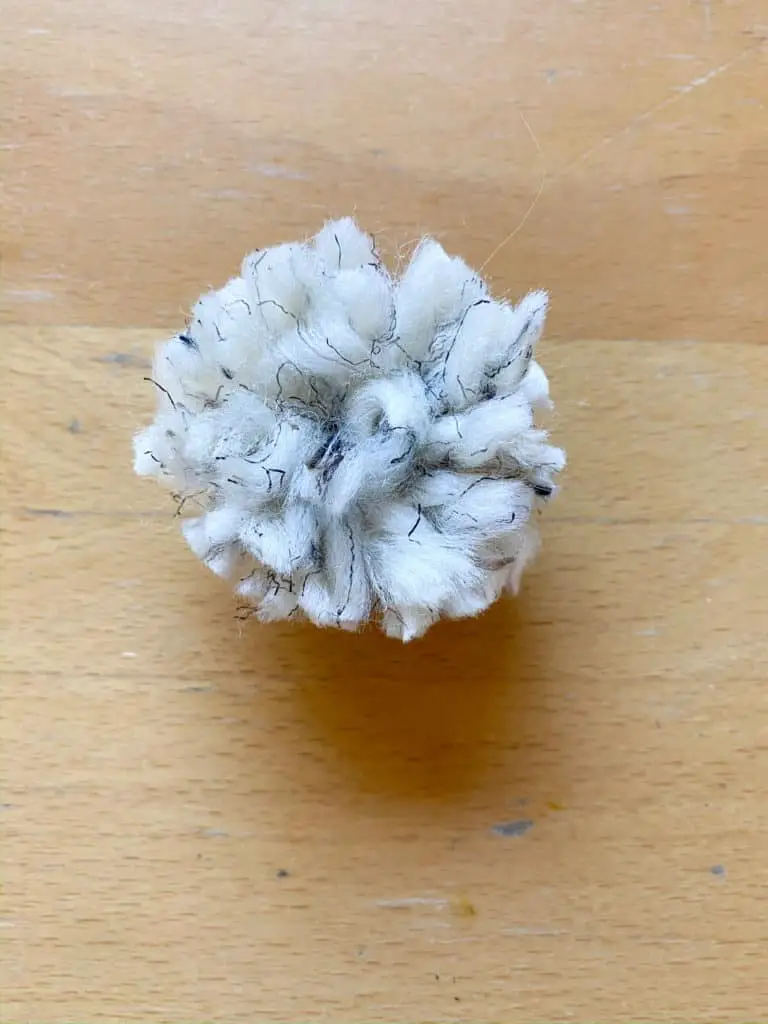
Next, I wanted to make a little fluffy bunny tail to add to my bunny so here is how I did that. Feel free to ignore my incredibly dry hands, thank you winter, you may leave now.
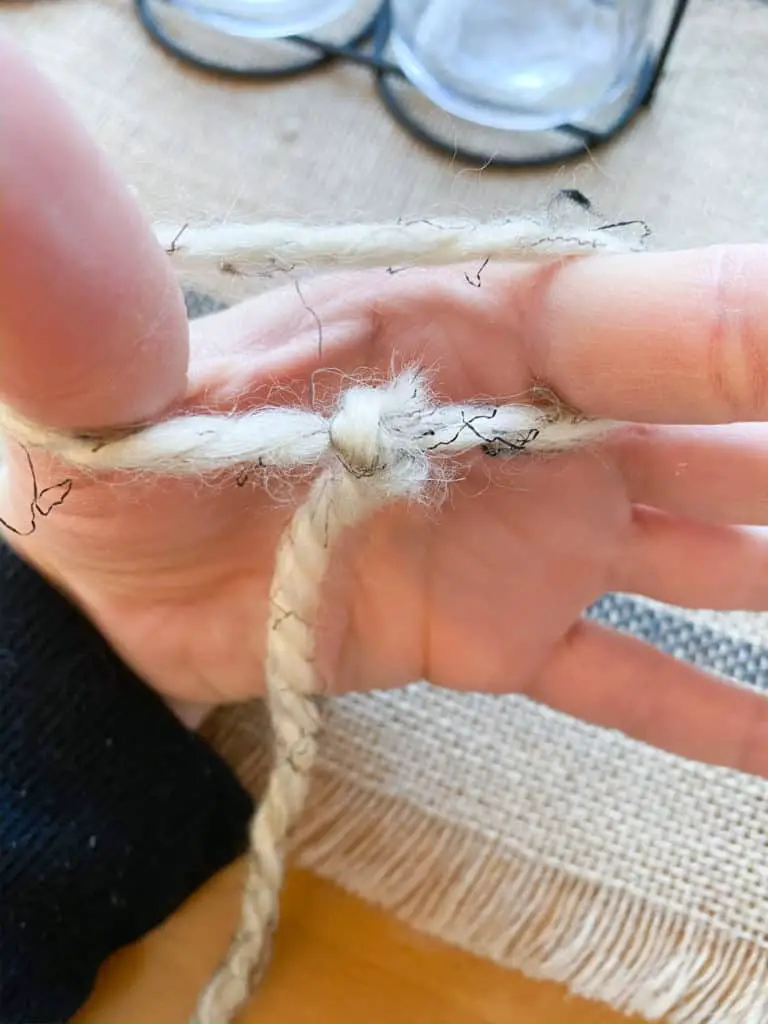
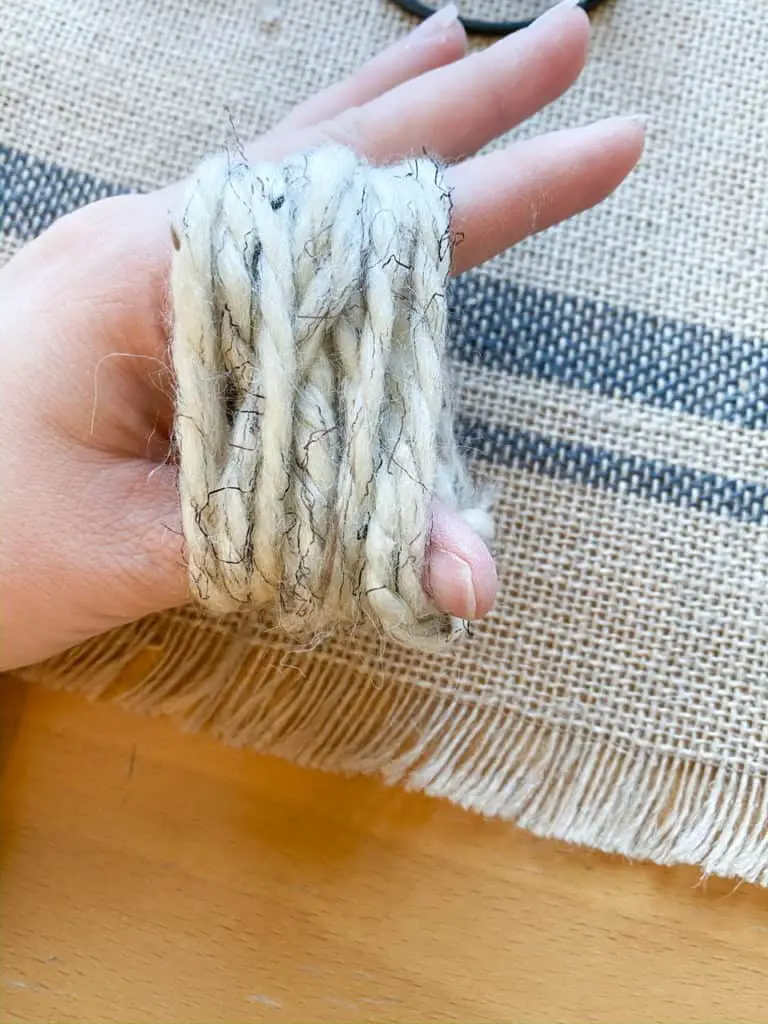
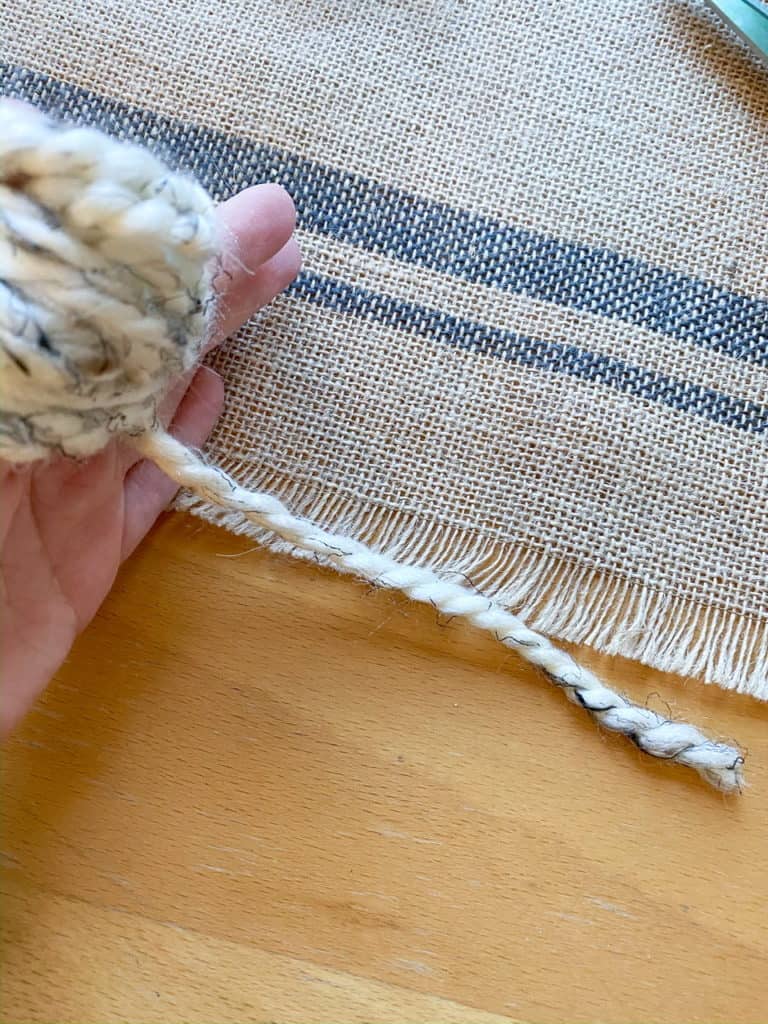
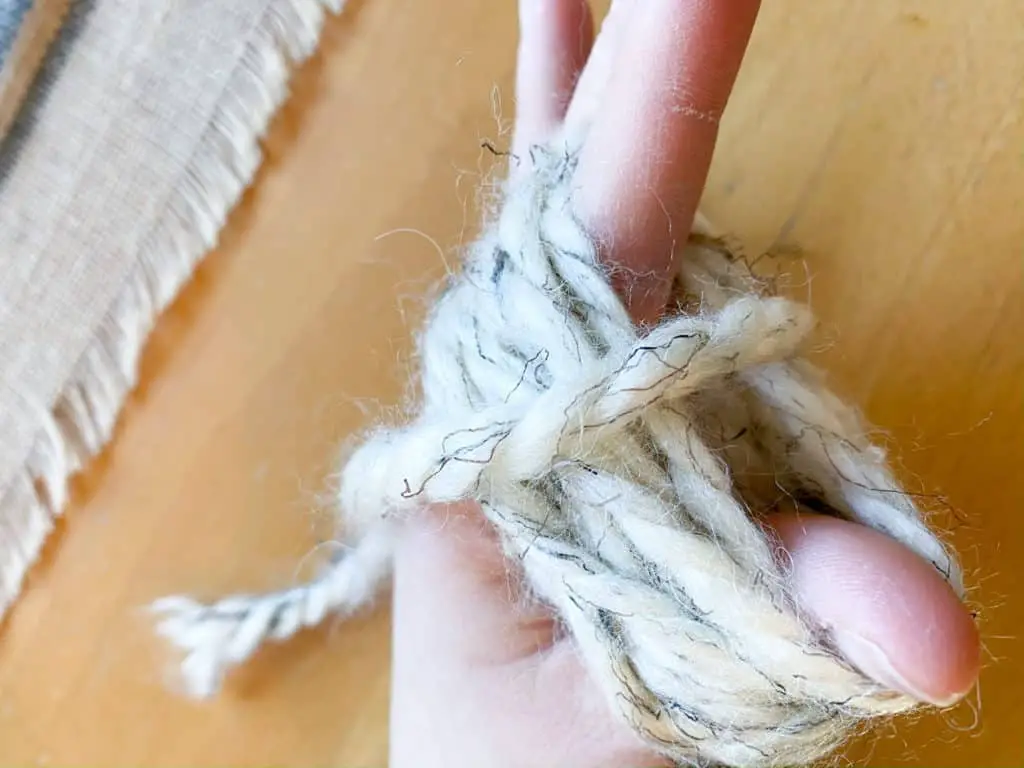
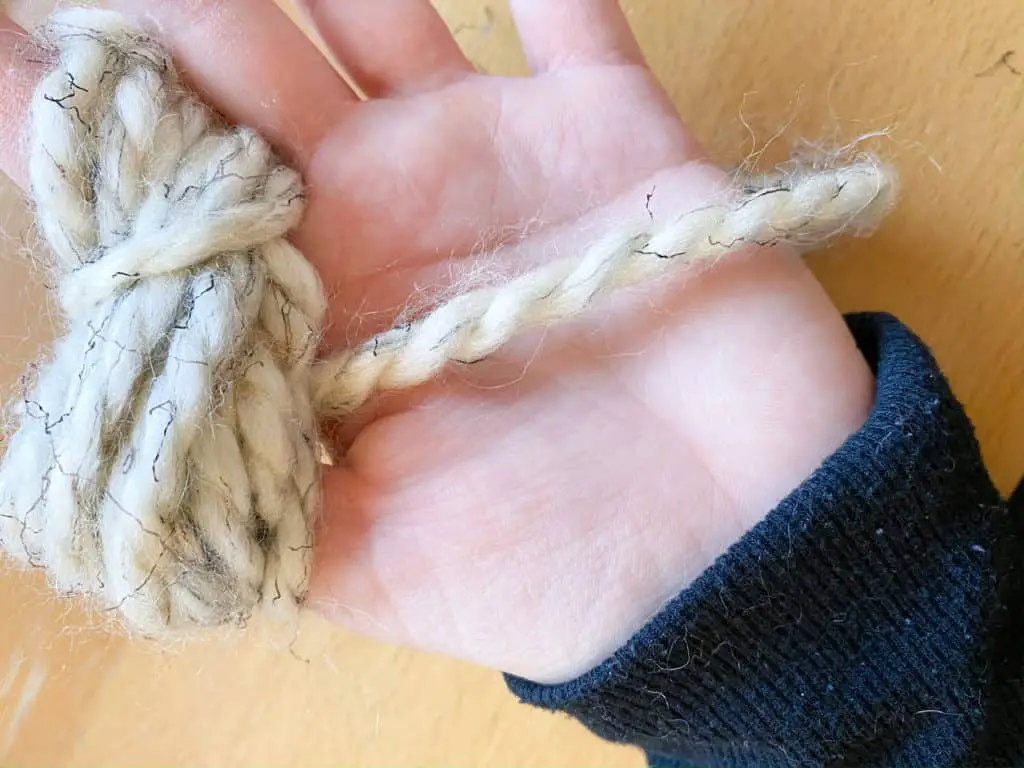
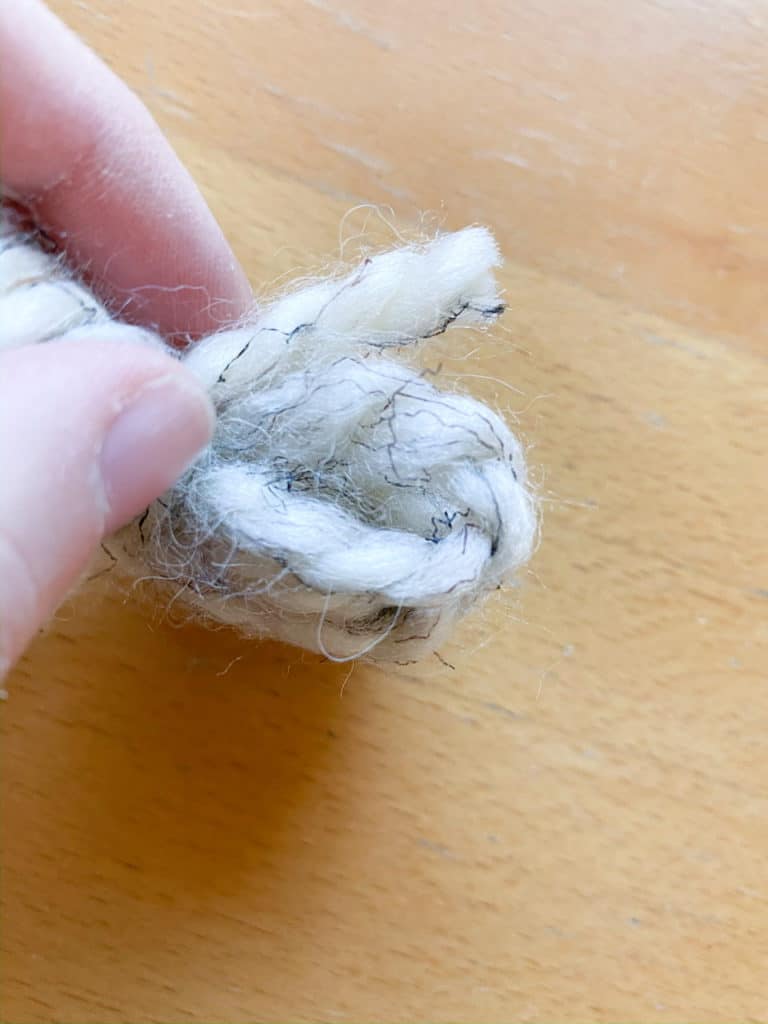
I wrapped my yarn around my pointer finger and thumb and tied a knot. Then I wrapped the yarn around my fingers 13 times and cut the yarn about 5 inches to have a tail. I took the tail of the yarn and pulled it up over the top of my wrapped yarn.
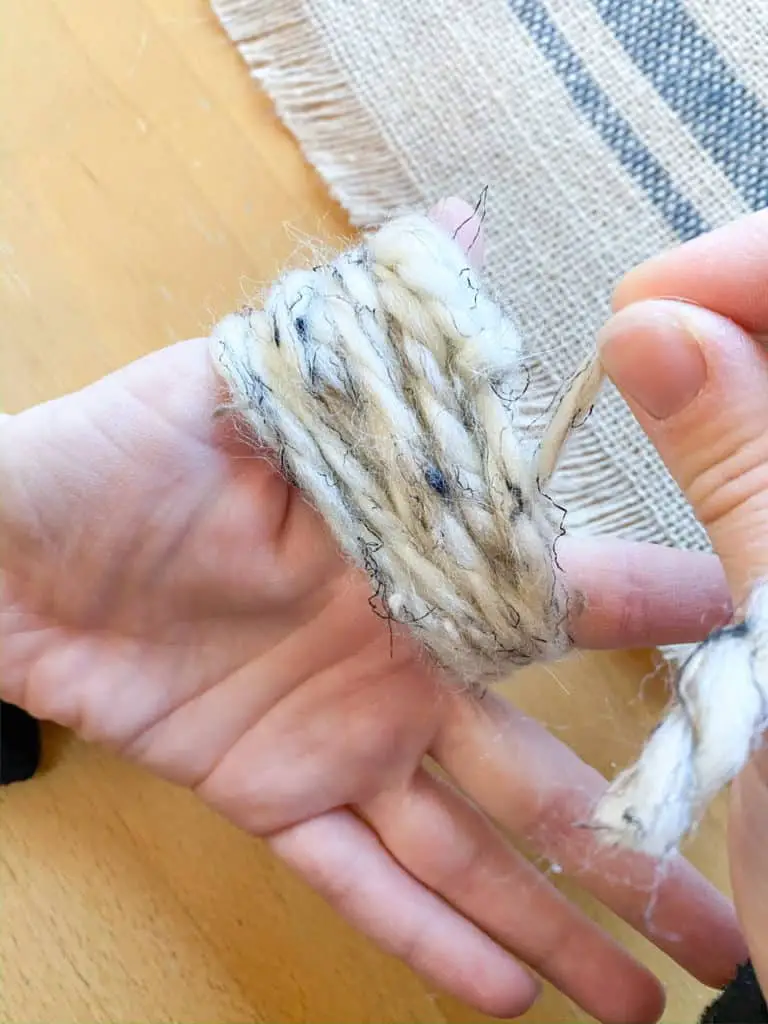
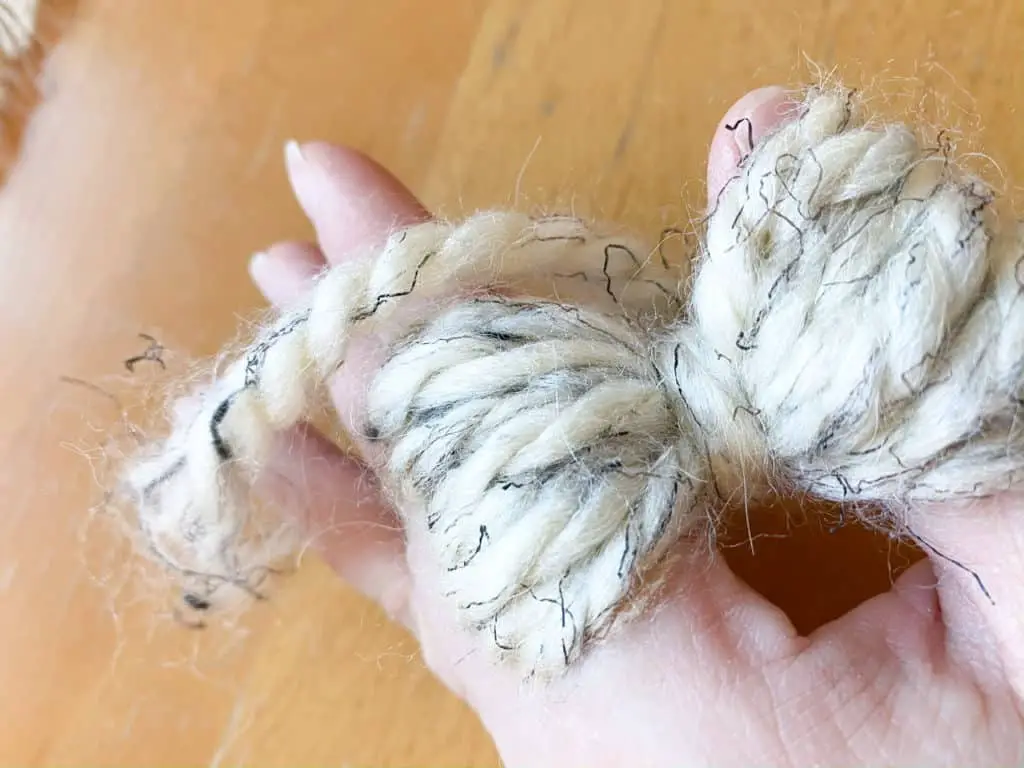
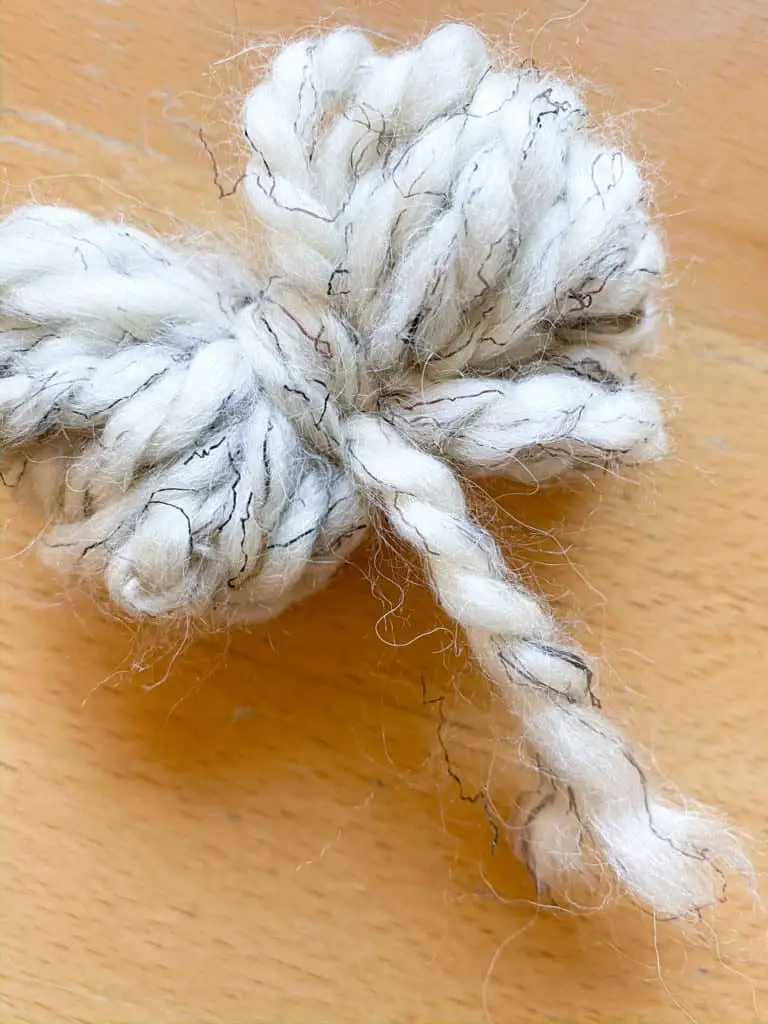
After pulling it up over the top, I pulled it through the bottom of the wrapped yarn and then repeated that 2 more times while pulling slightly to make a bow shape out of my wrapped yarn.
I tied a knot to secure the tail of my yarn and then trimmed it to match the length of my yarn bow.
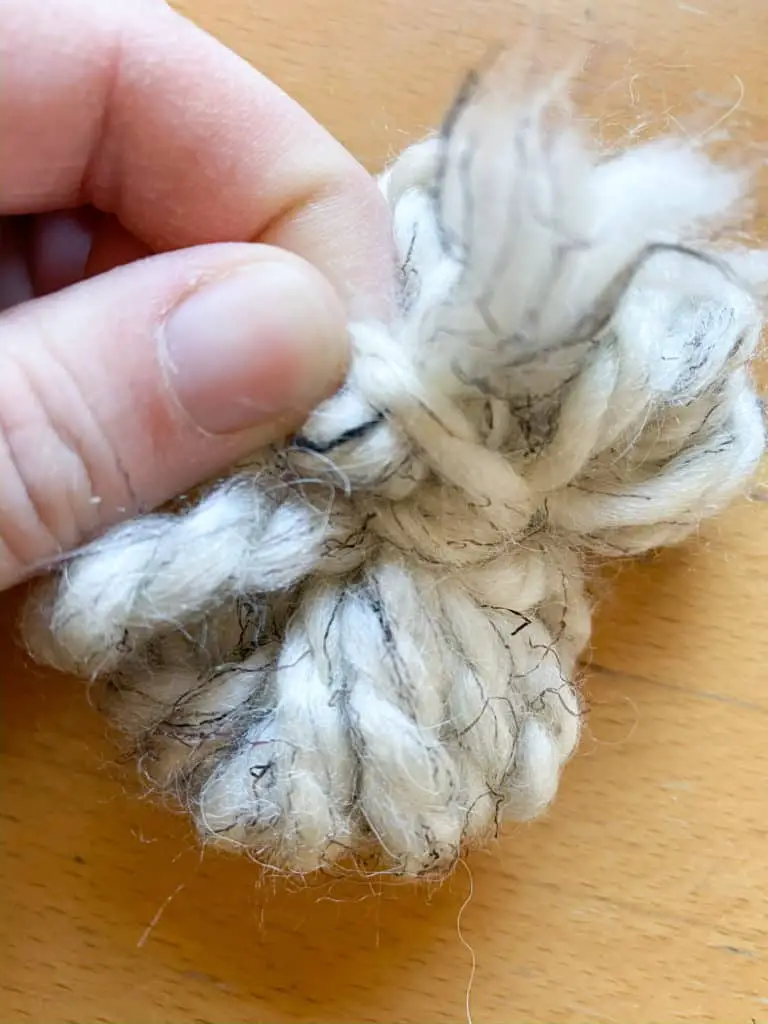
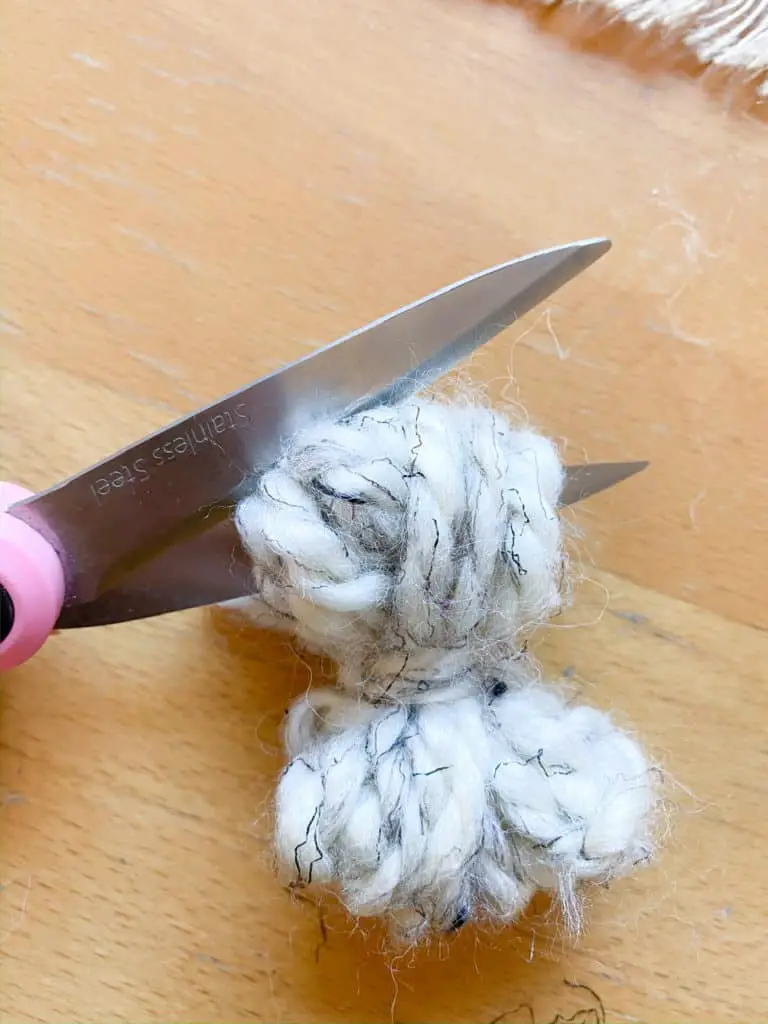
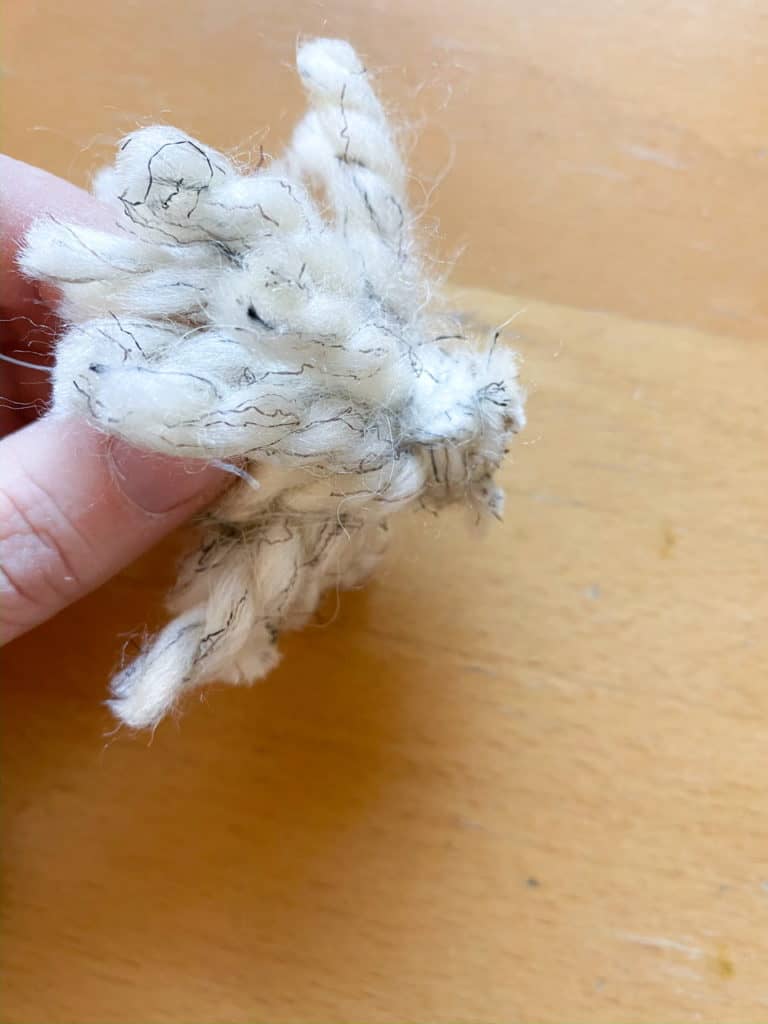
Using my sewing scissors (they’re nice and sharp) I cut through the center of the loops on one side of my yarn bow. Since I am making a tail, I needed one side to be flat so I just trimmed off the other side of the bow just below where I had tied my yarn tail. Then I trimmed down my fluffy bunny tail to the size I wanted.
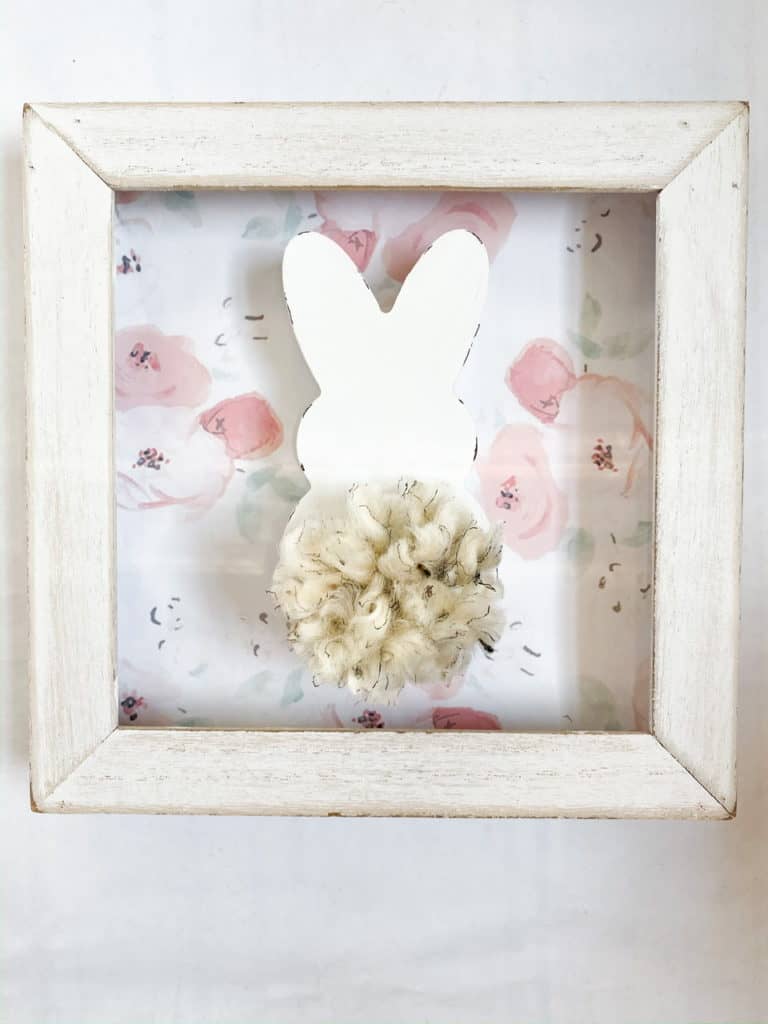
I used my trusty E6000 glue to attach the bunny to the sign and his tail to him. And then you can see how it turned out. I think this is just the cutest little sign! The bunny and frame cost me $6, the yarn, paint, and glue I already had on hand, and the image was free since I just printed it so this was one cost effective project!
5 Minute DIY Sign and FREE Printable
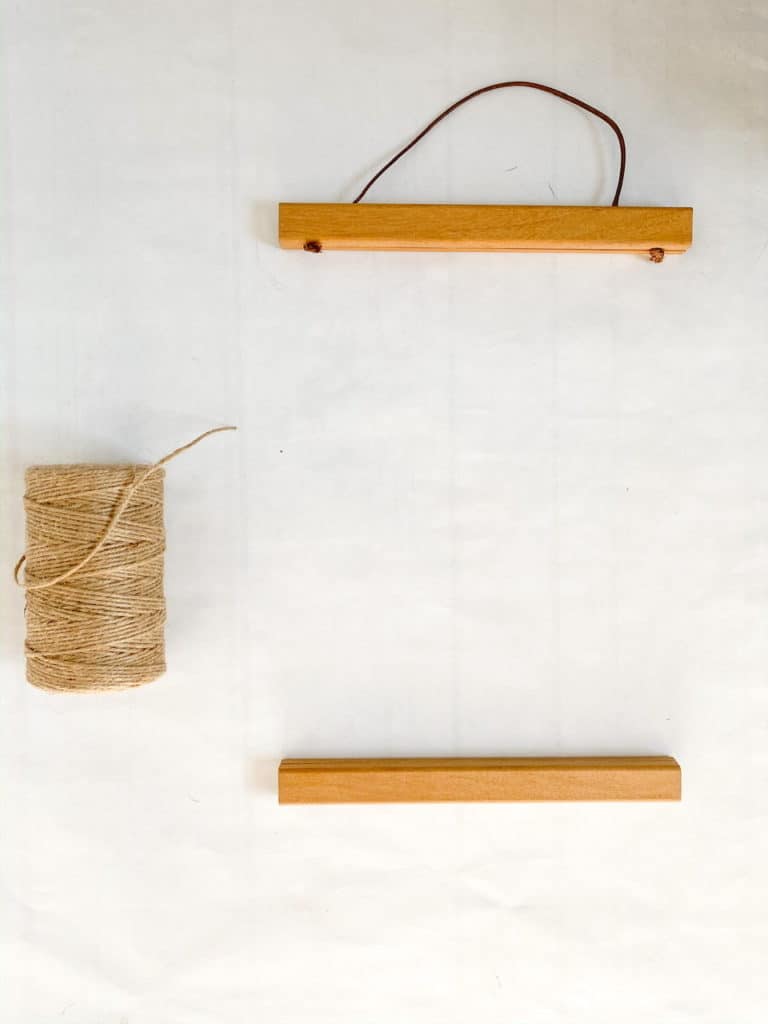
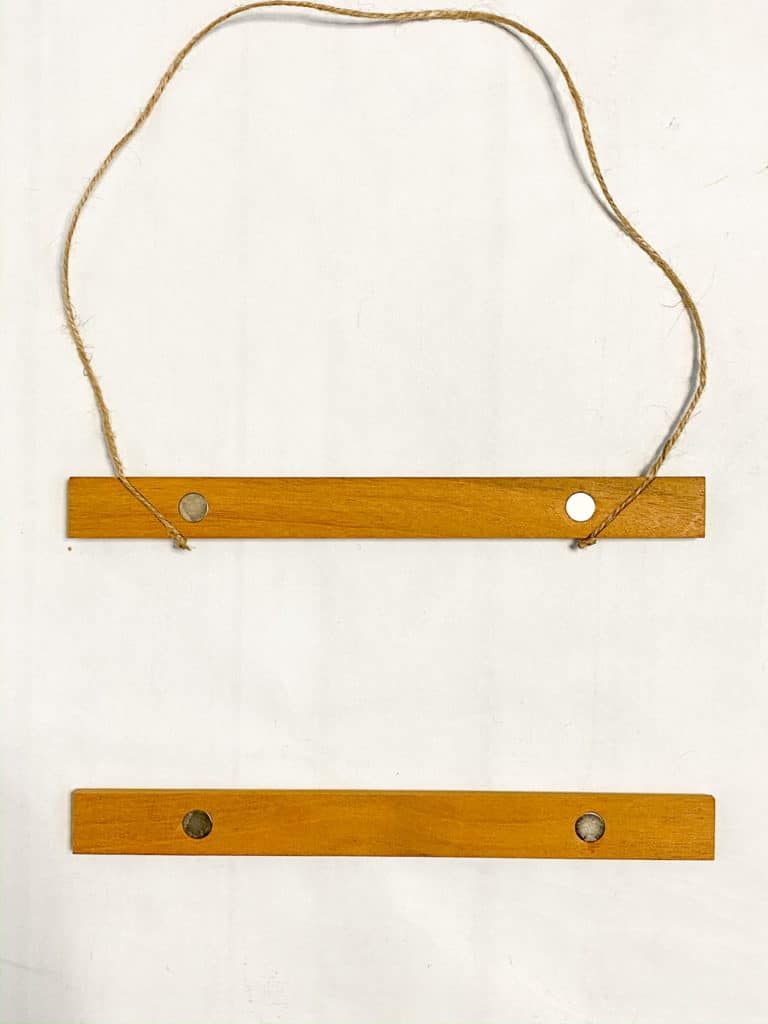
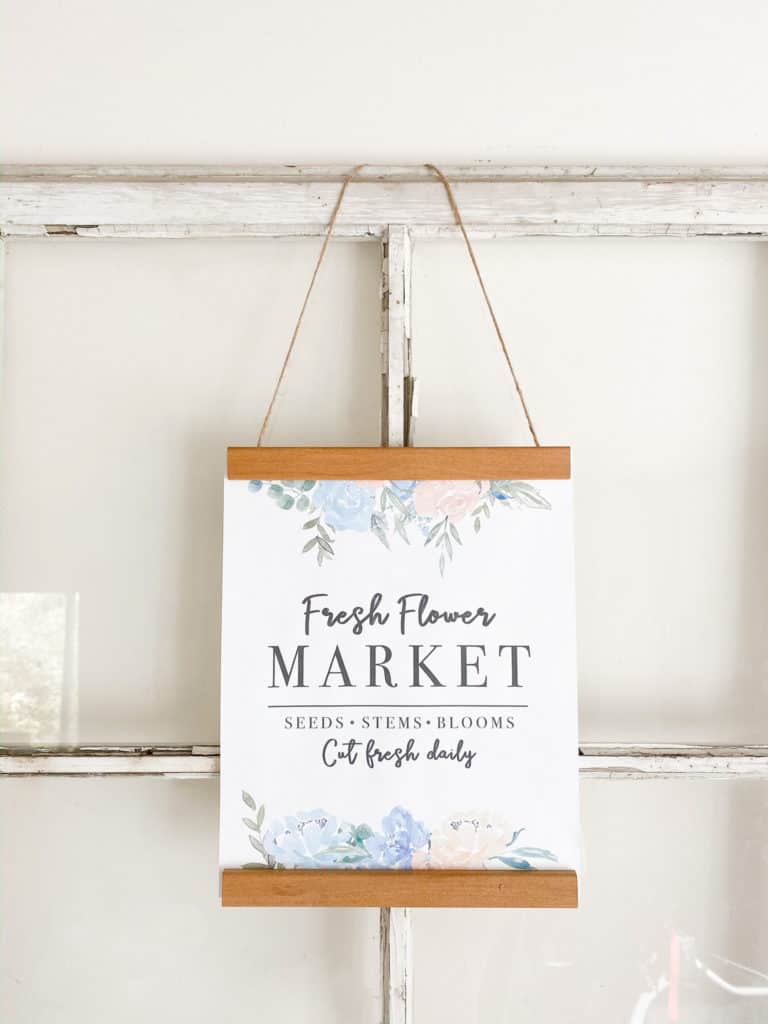
This is seriously as easy as downloading and printing an image and putting it in your frame of choice. I love how it turned out! I decided to use this magnetic frame to get the look I was picturing.
The printable is made with boarders at the top and bottom to allow for this type of frame but you can always trim that part off and use it in a regular frame as well!
This frame originally came with a brown string to hang and I wanted to use hemp. It was so easy to make this switch. I simply opened the frame took out the brown string, cut my desired length of hemp, tied a knot at each end, and placed it in the slots on the frame.
I thought about staining it but the color I have in mind, I don’t own the stain for it and I didn’t want to have to buy it for just one project so I decided to leave it. I might try to sand it down some or maybe bleach the wood a little to get a lighter color. We’ll see.

Here is the printable I made, you can get the PDF file to download here. I wanted something very springy and colorful. I love the farmhouse kind of feel this has. (Big surprise, I know.)
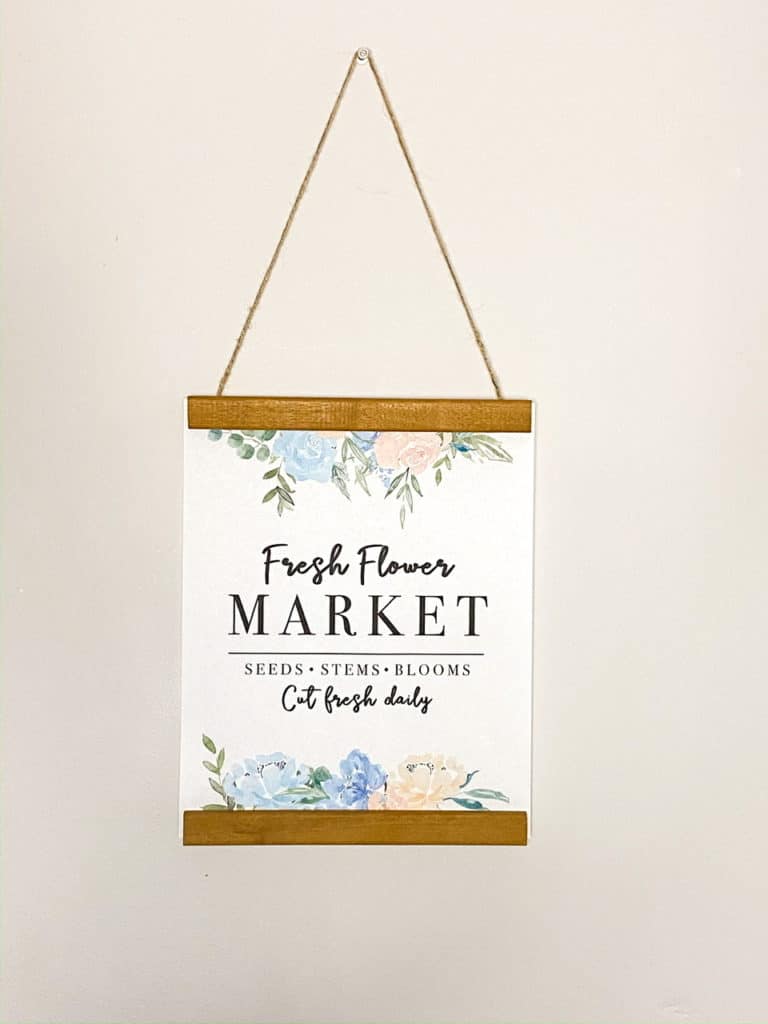
I printed it and lined up the magnetic frame pieces to make sure it was even on top and bottom and that’s it! Here is how it looks with this type of frame. So cute right?
Spring Home Decor Tour
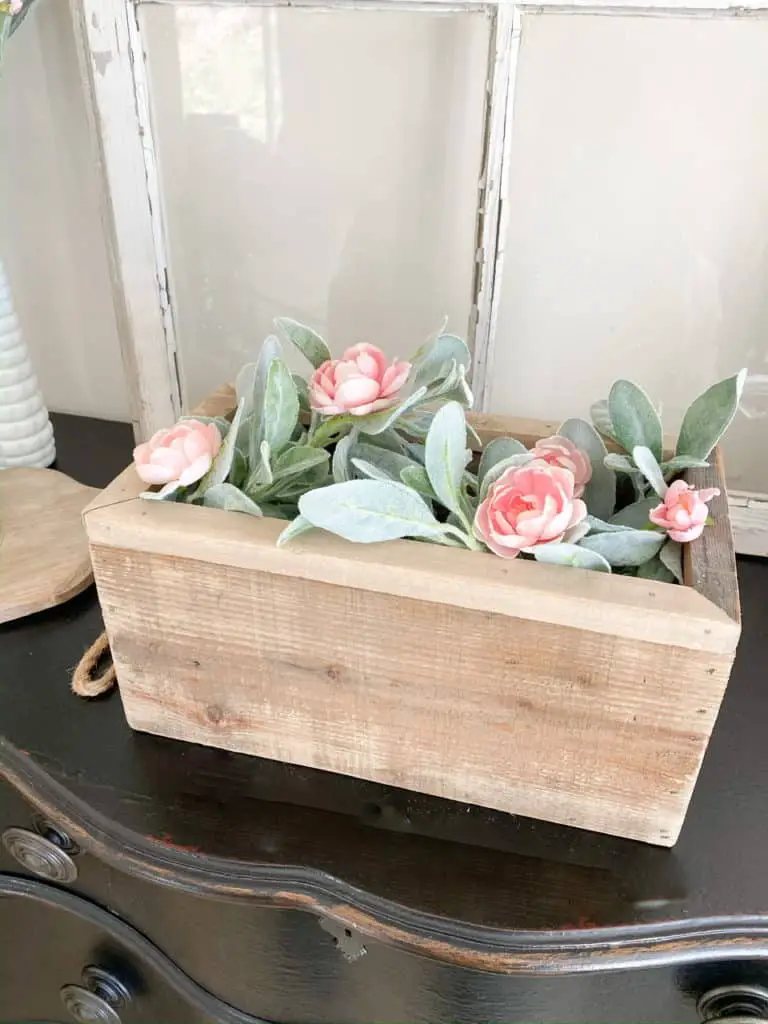
And now for the best part, check out a mini home tour of all my spring decor; including my spring thrift store DIY’s and that awesome DIY flower market sign!
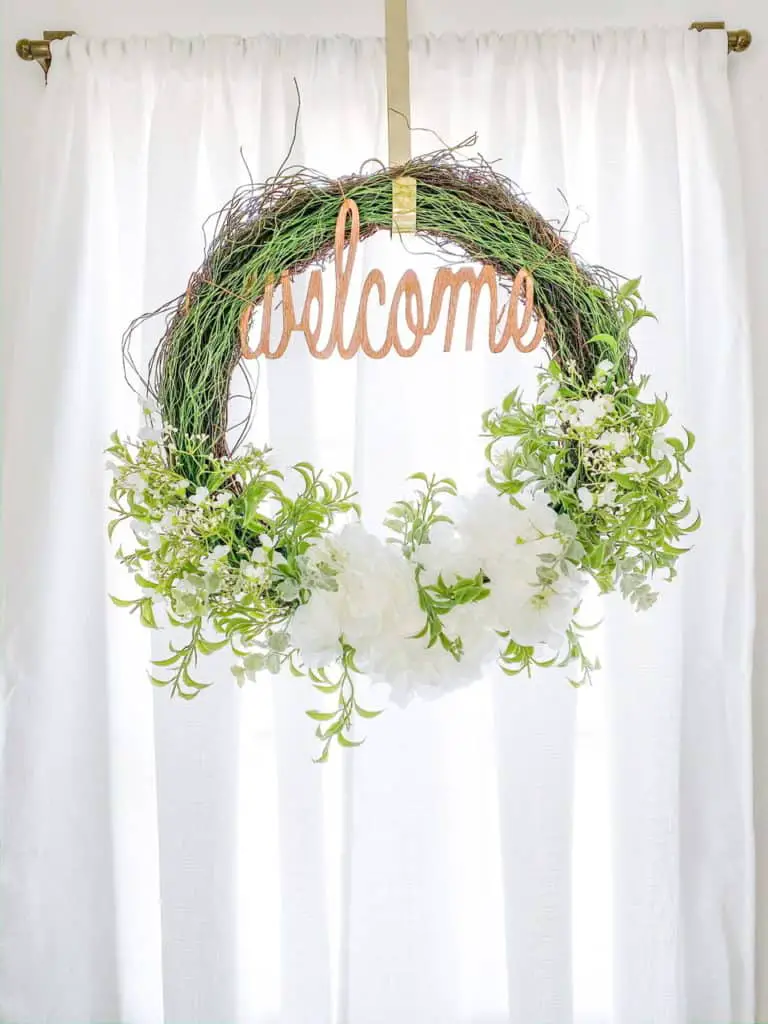
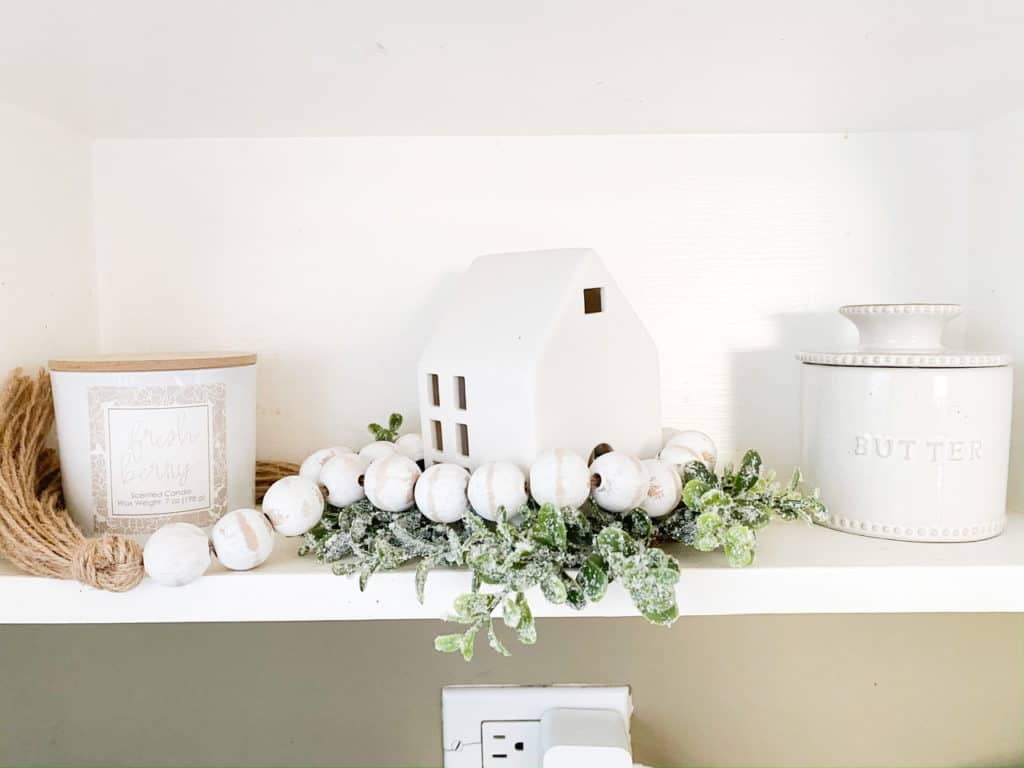
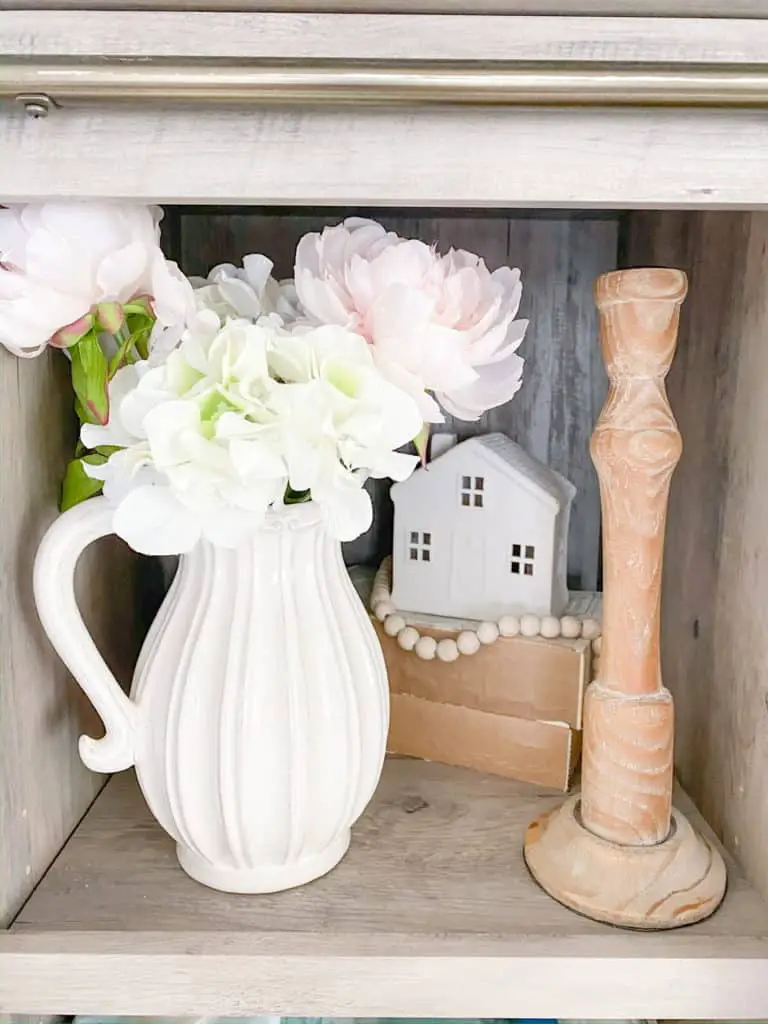
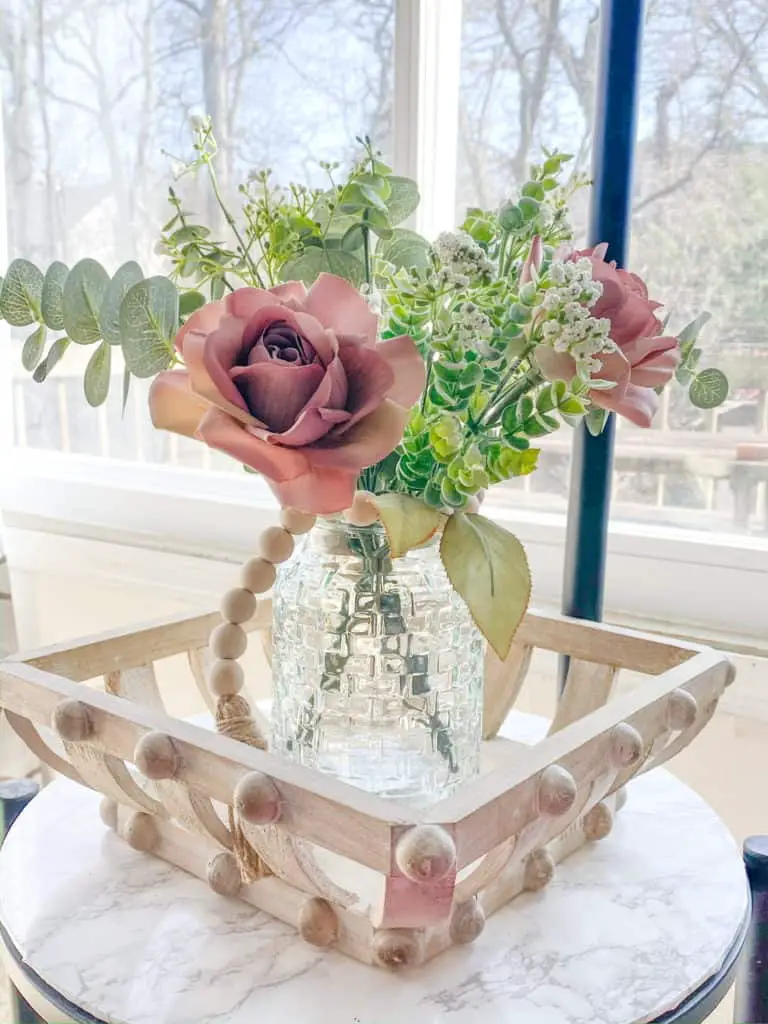
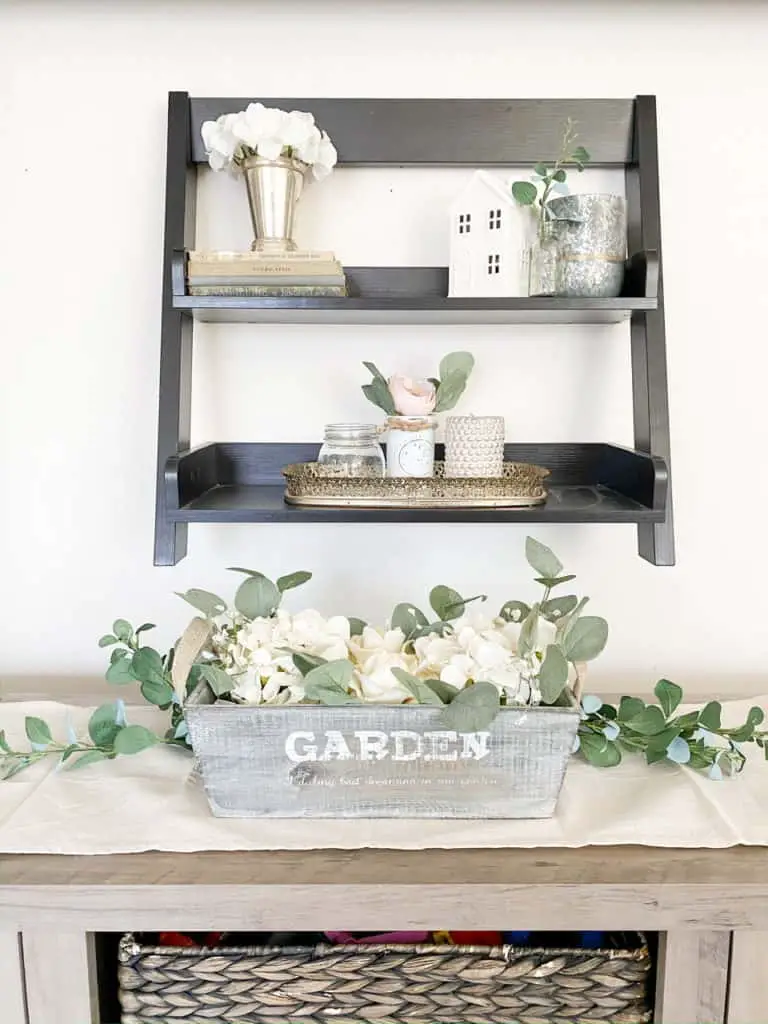
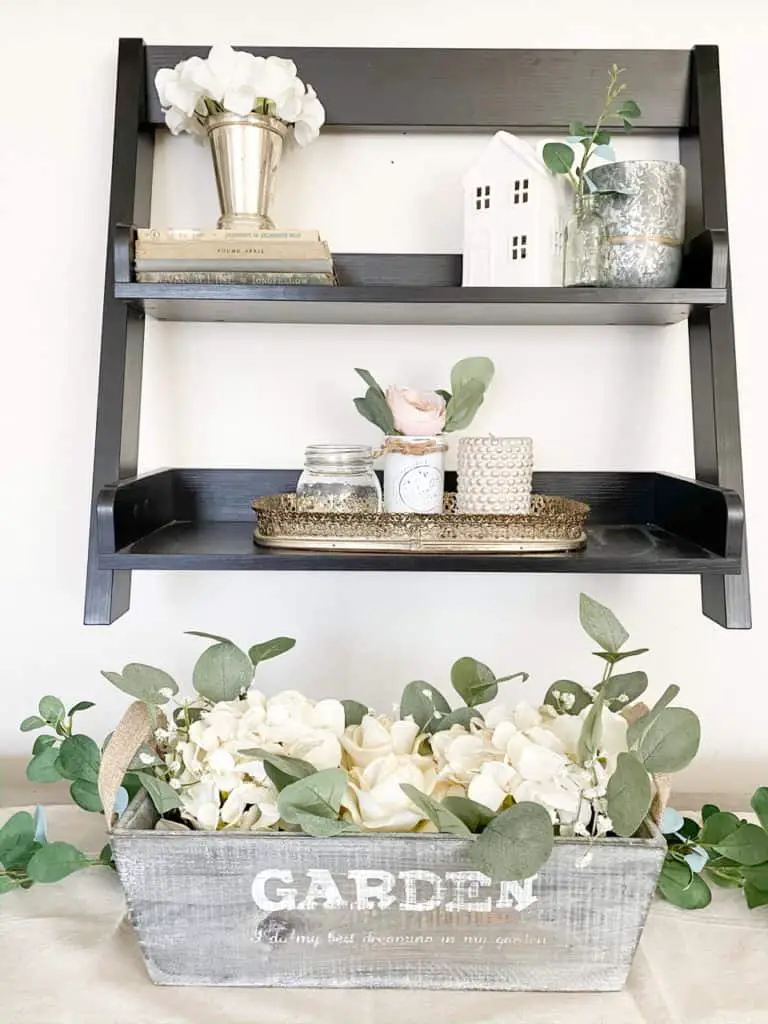
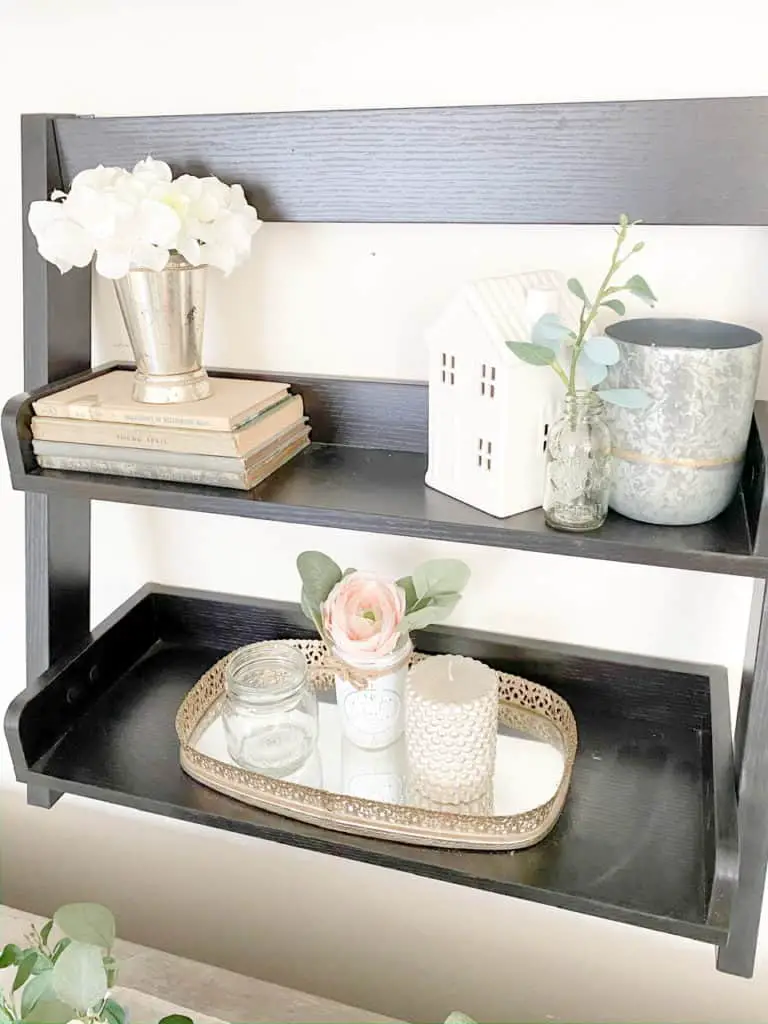
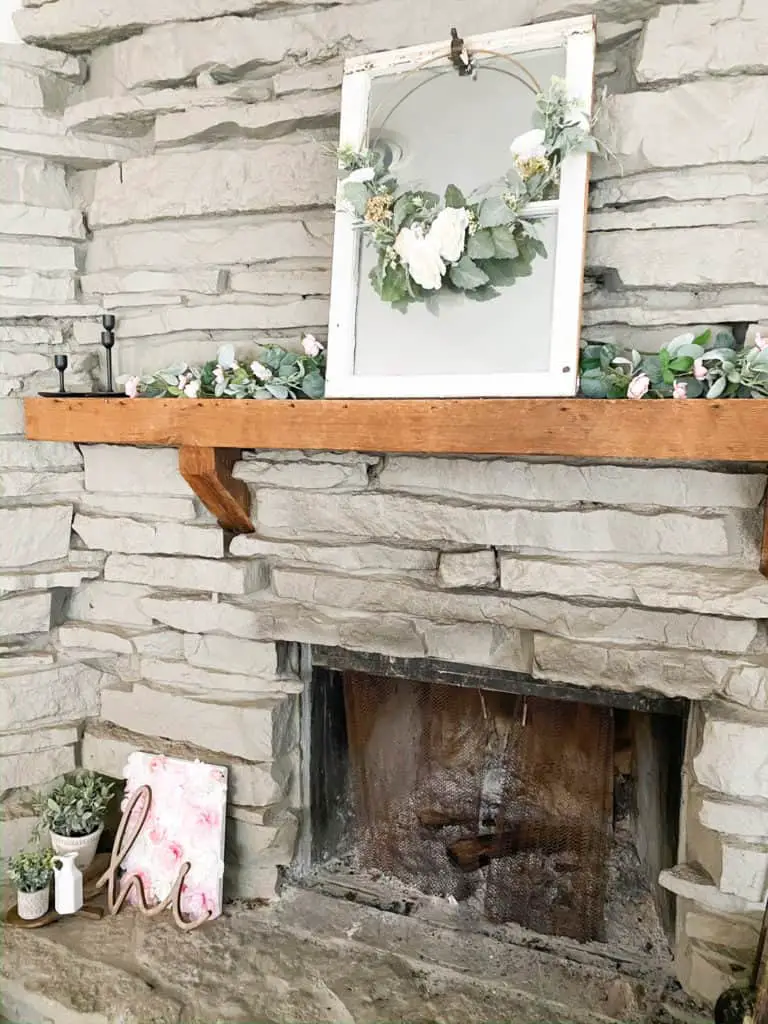
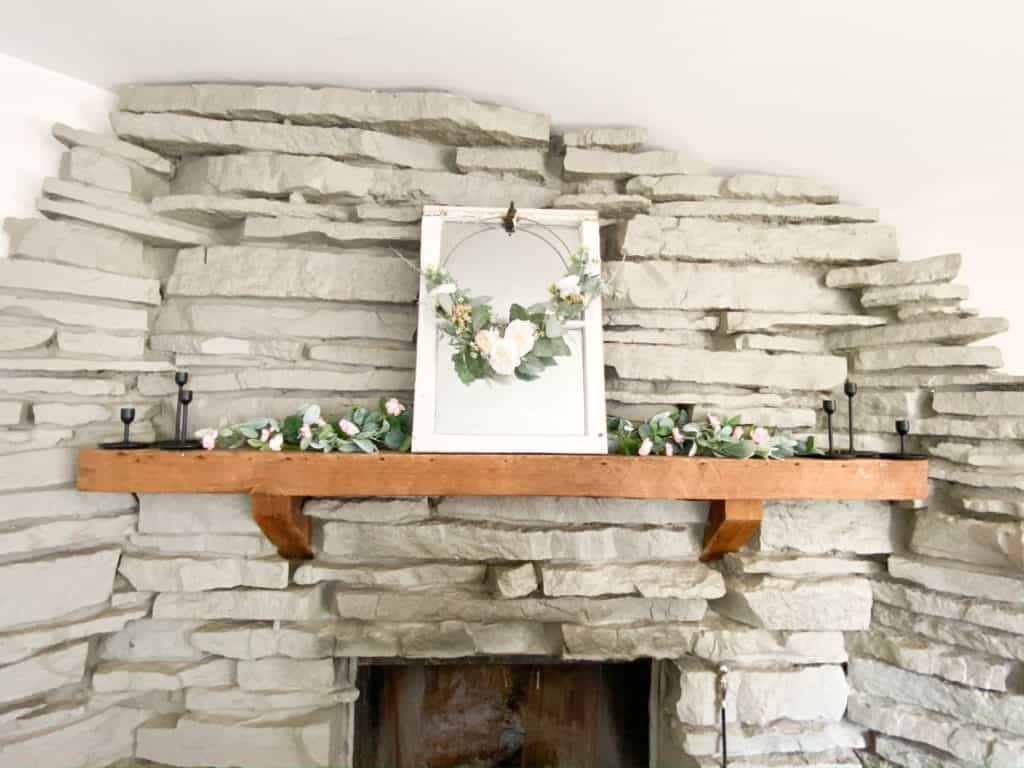
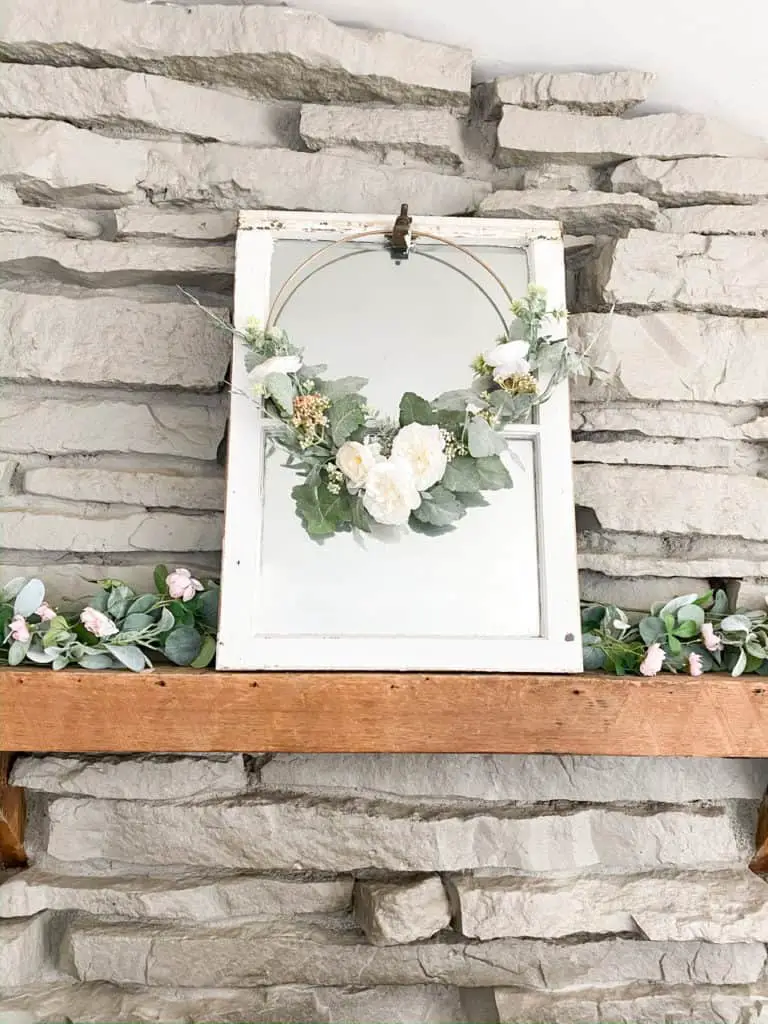
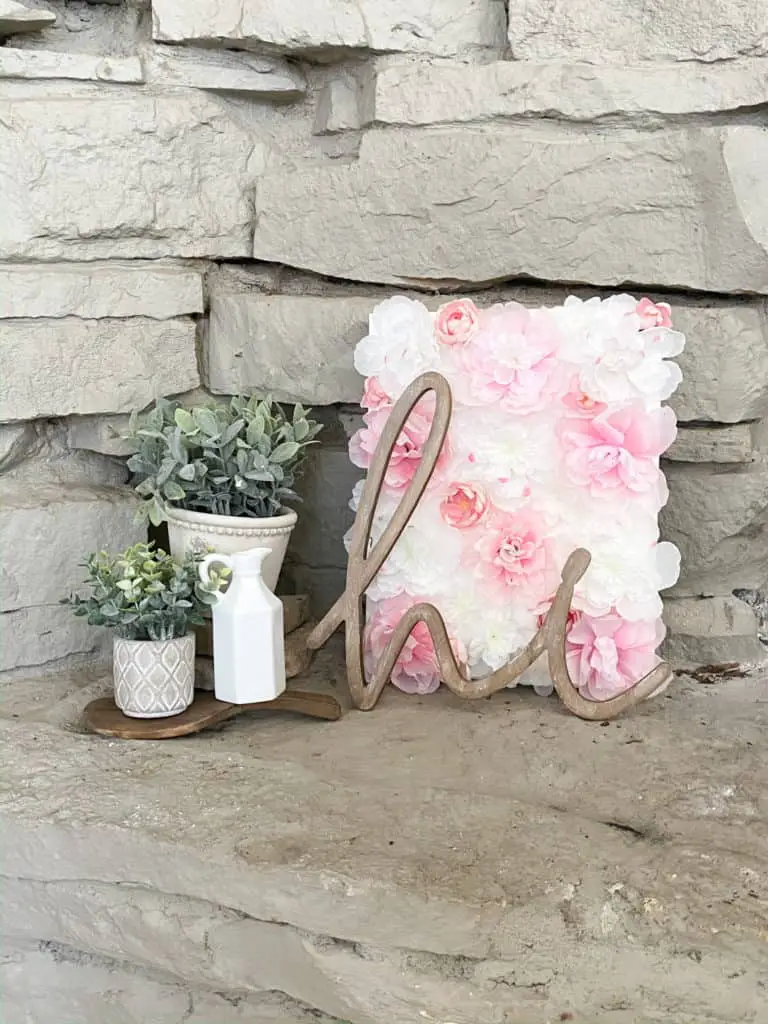
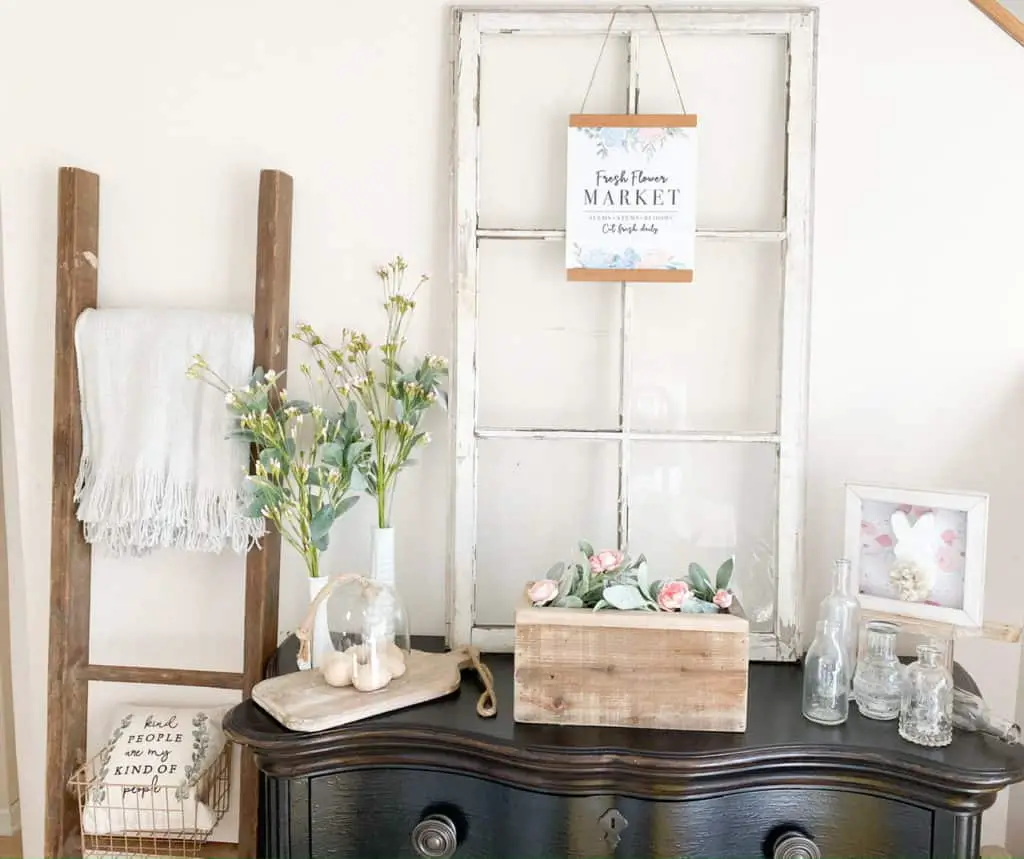
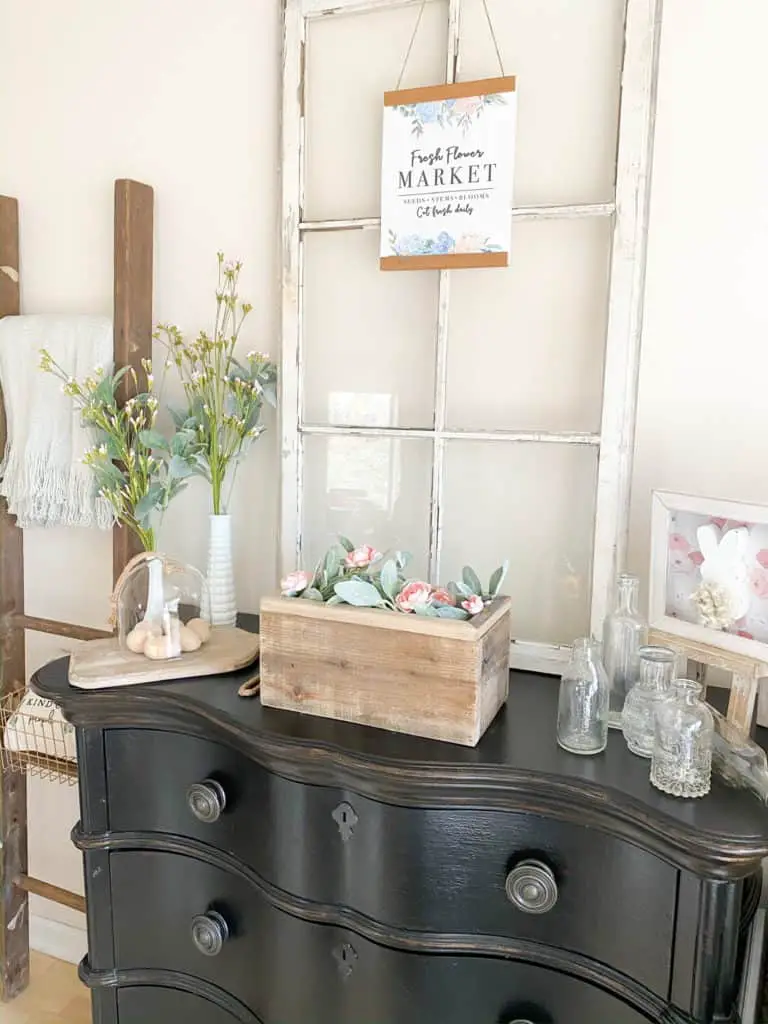
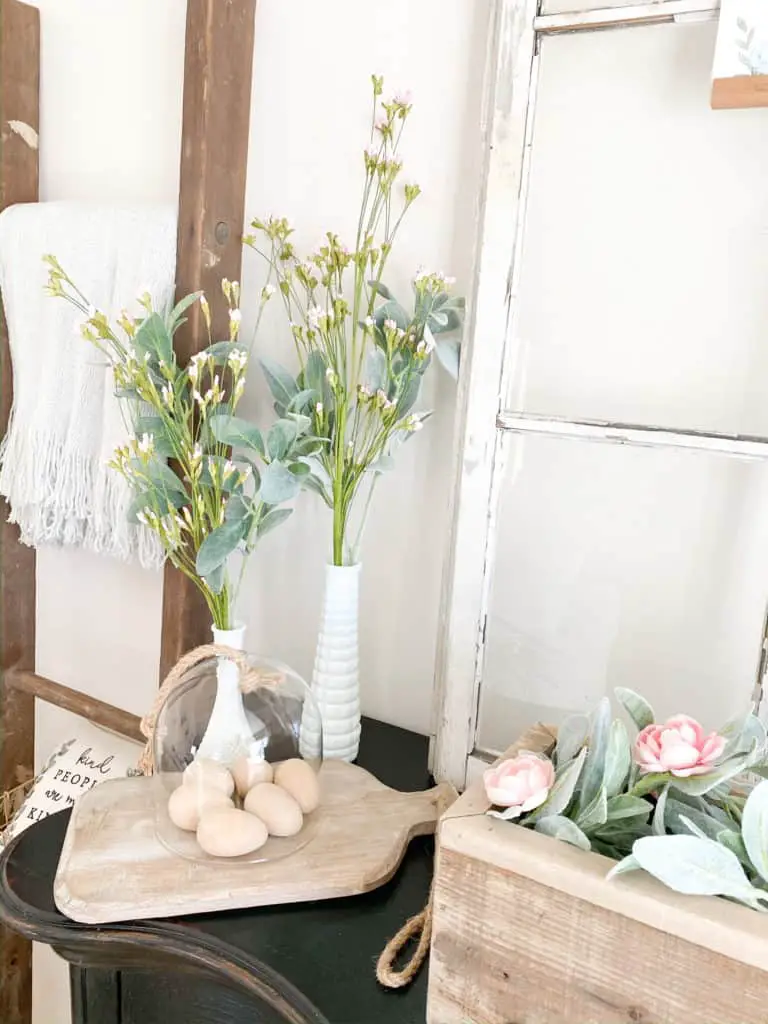
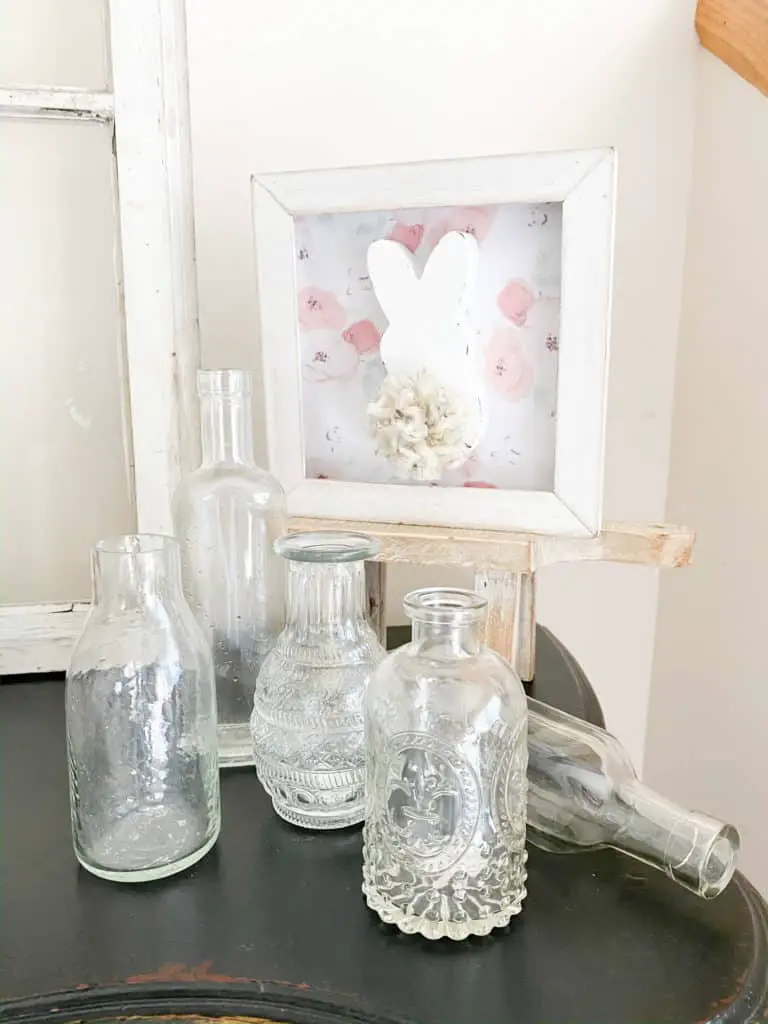
You made it to the end! I hope you enjoyed and are inspired for your own spring decor. Be sure to let me know what you think of my spring thrift store DIY’s and that super cute DIY sign. Where might you use them in your own home? Let me know in the comments below and I will see you next time. 😊
