How to Make A Fake Tree That Looks Like It’s Real
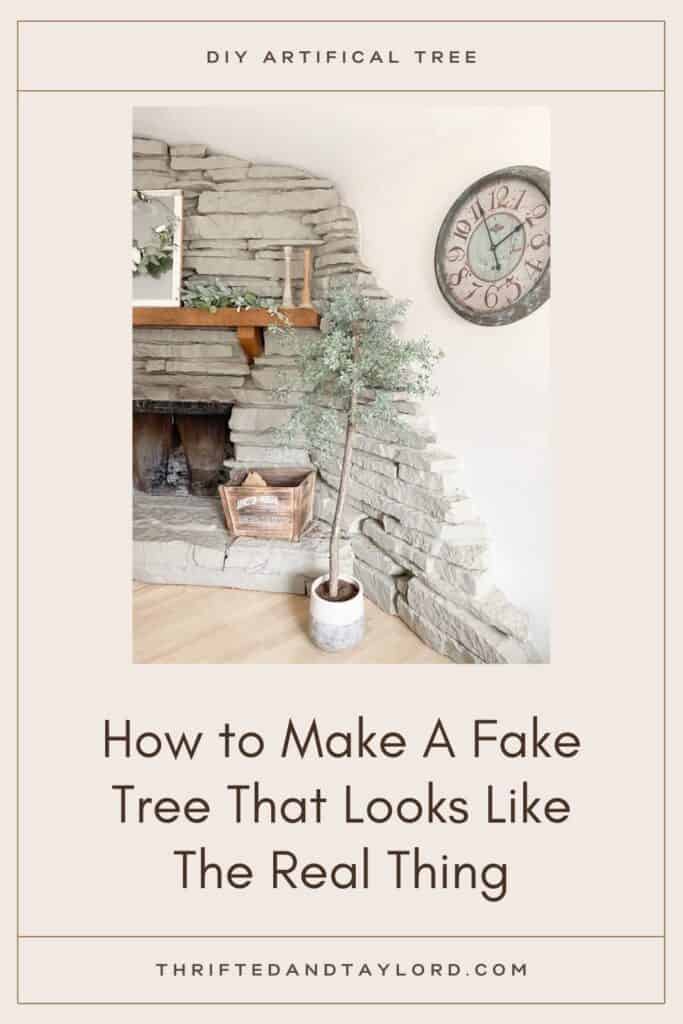
Adding indoor plants to your home has become increasingly popular, but not everyone has a green thumb (or the desire) to keep plants alive. Artificial plants are a great option for those people (myself included…) I have been eyeing an artificial potted tree for a while but just can’t stomach spending over a hundred dollars to get the quality I want. So I made my own. Find out how to make a fake tree that looks anything but fake for your own home for a fraction of the price using the same steps I took.
I originally was going to do a fake olive tree but they were sold out of the stems I needed so I went with a different one, which actually goes better with my décor anyways so it worked out well! I have to be honest, I don’t really know what these stems actually are supposed to be. They are called “frosted green and charcoal spray” at Hobby Lobby. So your guess is as good as mine. I just loved the color tones of them so I went with it.
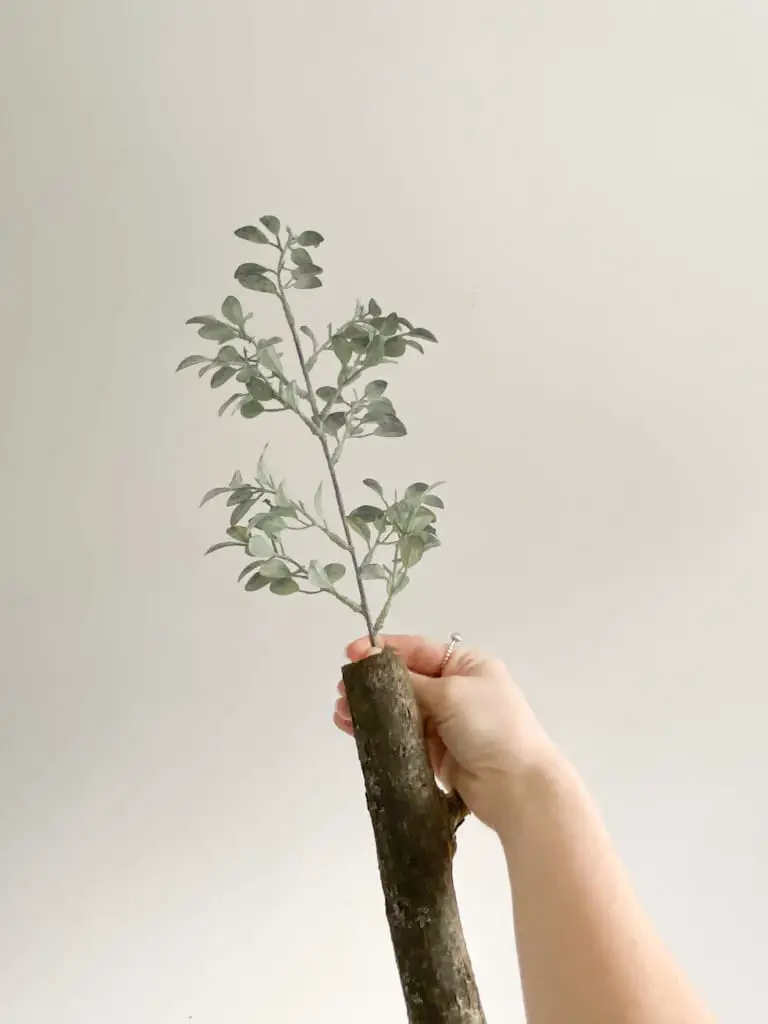
I had to do some figuring out before starting my project because I knew I wanted a realistic looking tree so I wanted to use a real tree branch as the trunk of the tree. I was going to use floral tape to attach the branches but I didn’t love the idea of the tape being glaringly obvious so I decided to drill holes into the tree branch and glue the stems in place. I will get into more details on everything in just a bit.
First, kind of a funny story. So like, I totally could have done this the smart way and used a measuring tape but I thought I’d be fine eyeballing it. I roughly wanted to find a branch that was on the thinner side and about 6 ft. tall.
So I roped my husband into grabbing the saw and heading out back with me to find said branch. And let me just say… they look a lot smaller in the tree than they actually are. We cut this sucker down and I immediately realized it was bigger than I thought. So I have the hubs trim it down. We bring it inside. I stand it up inside the pot and put it in the spot I initially thought it would live (more on that later,) and I realize it is WAY too big. Like it was probably over 7 ft. tall.
No idea how I didn’t realize this as my 6’2 husband was carrying it inside and it was towering over him.
So this time I actually marked the spot I wanted to cut (shocking revelation!) and had him trim her down one more time and it was good to go. He is an angel for putting up with my antics.
Alright, let’s dive deeper into the details of how I went about making a fake tree.
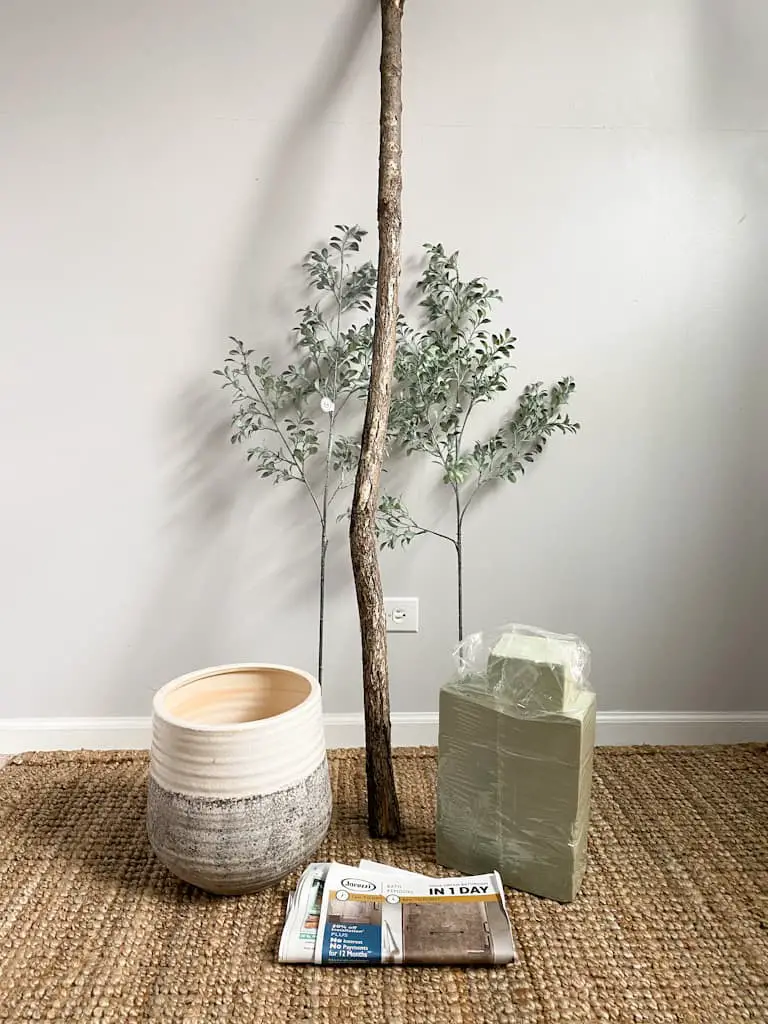
Supplies For Making A Fake Tree
This post contains affiliate links for which I earn a small commission at no extra cost to you, should you purchase through them. Learn More.
- A Pot
- Fake Greenery Stems
- Floral Foam
- Potting Soil or Moss
- Strong Hold, Quick Drying Glue
- A Drill/Screw Gun and Drill Bits
- Recycled Newspaper
Depending on your craft arsenal, you may not need to buy everything listed here, which will in turn make your fake tree cost even less. I started out trying to thrift a large pot to put it in, with the intention of painting it if need be. But I just could NOT find any pots that were big enough. I found my pot at Hobby Lobby and at 50% off it was only $10 so I was pretty pleased with that.
The stems I also got on sale from Hobby Lobby so they were $5 each and for my tree I ended up using 6 so $30 altogether. The floral foam I already had but you can get some at Hobby Lobby (again, wait for them to be half off for the best deal, the ones I used were $5.99) or grab these ones on Amazon.
The tree branch is free (if that wasn’t obvious) however, if you don’t have access to a tree they do sell branches at Hobby Lobby as well. Lastly you can grab some potting soil to really make it look real for $4.50 at Target or pick it up anywhere that sells gardening supplies. Alternatively, you could also use moss which they sell at Dollar Tree.
And last up is the glue. This was a whole other…ordeal. I originally thought using my trusty E6000 glue plus some hot glue to hold it in place while the E6000 dried and set, would do the trick. But it didn’t work. The hot glue for some reason did not want to stick to the stem branches so they kept turning around in the holes and were not staying where I wanted them to. Talk about frustrating.
So I did a little searching and decided to try Loctite super glue in the gel formula which worked better. It set much quicker so the branches stayed where I wanted them to. But you do need to use a good amount of glue. Luckily it is under $4 most places, you can check it out here on Amazon.
So my total cost ended up being $44 for my tree. Pretty dang good in my opinion.
I recommend getting some inspiration on Instagram or Pinterest to get an idea of the type and style of tree you are going for. It will help a lot when deciding what stems to use, where you want to place them, how full or delicate you want your tree to be, and things like that.
How To Make A Fake Tree
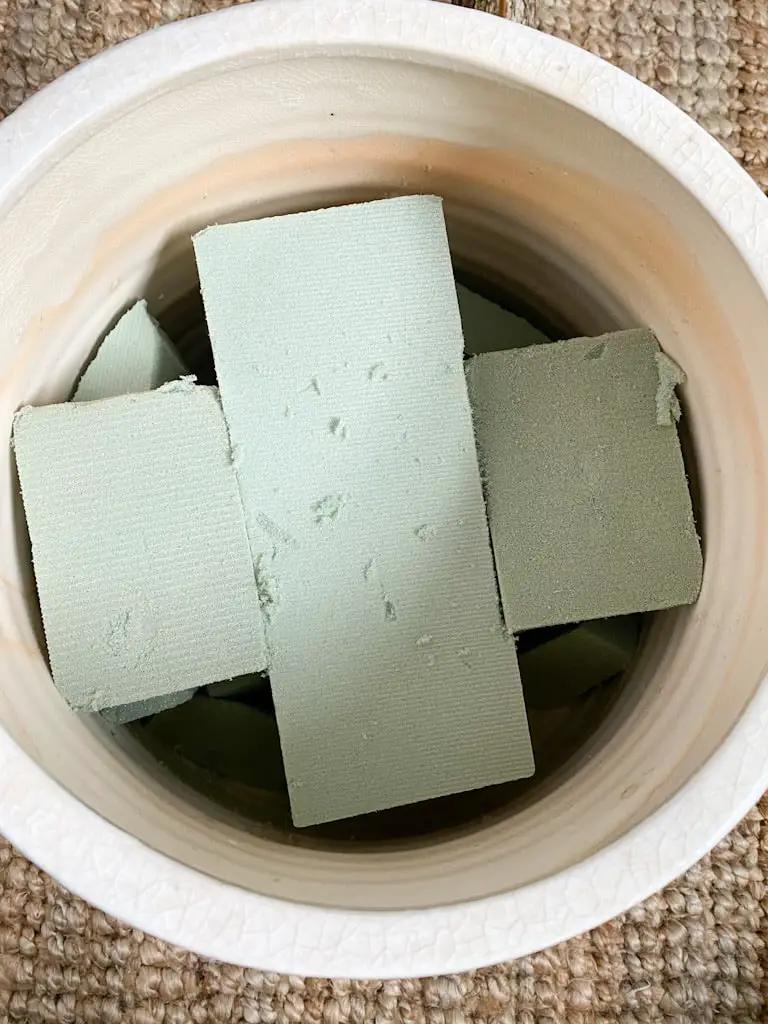
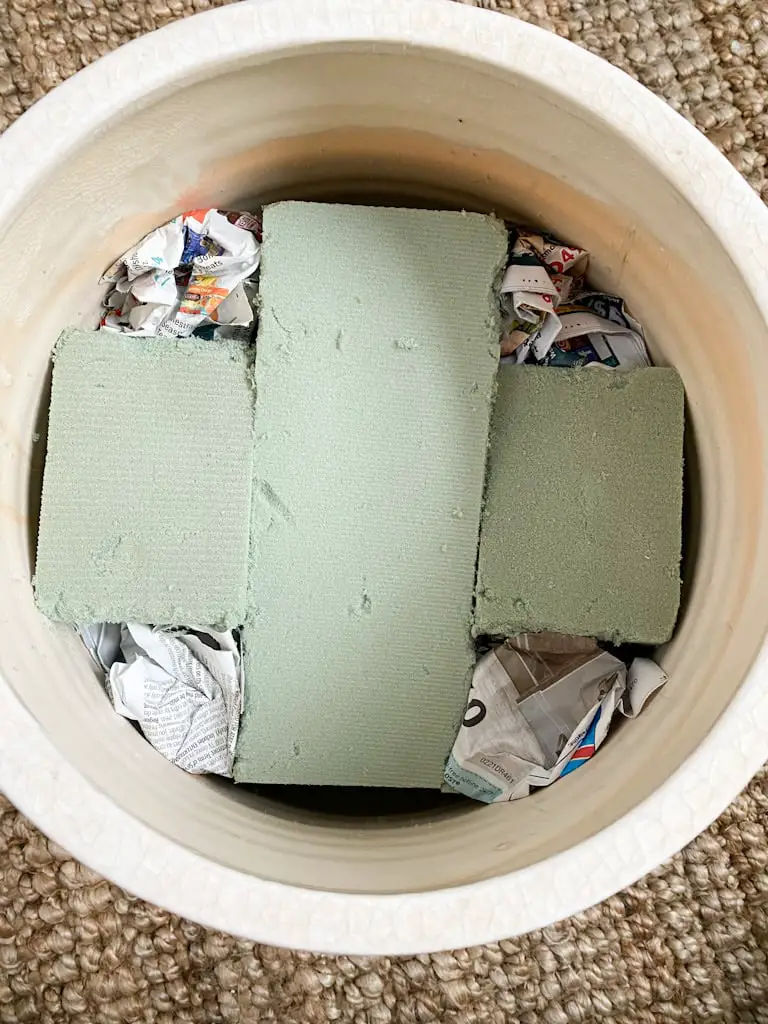
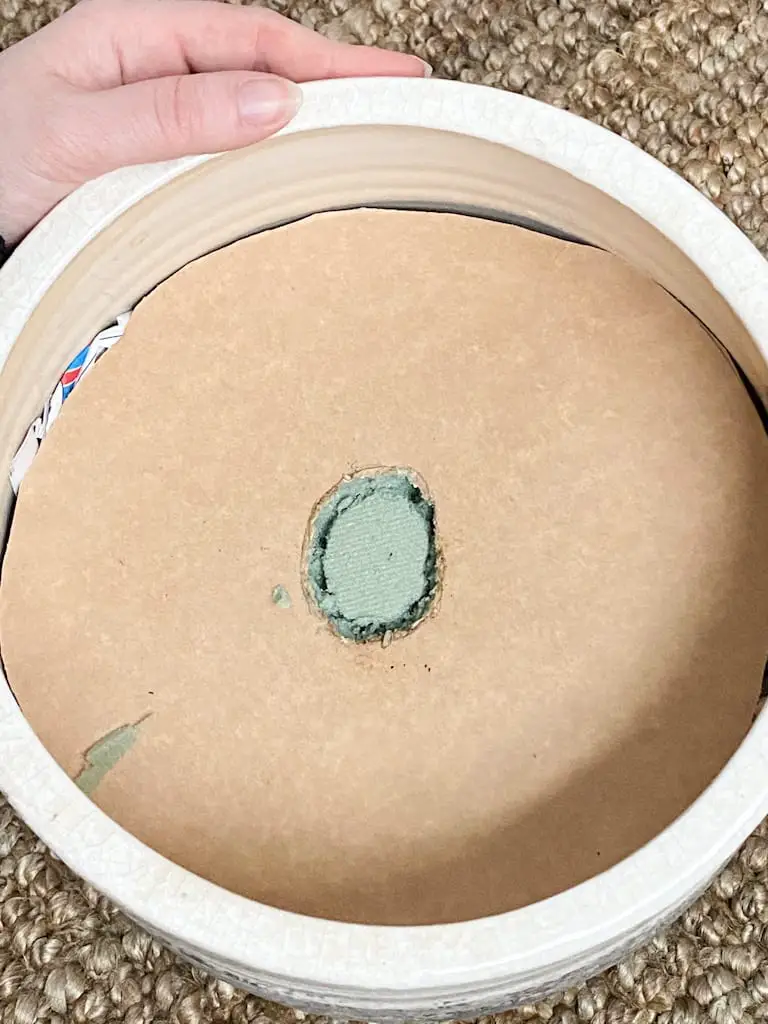
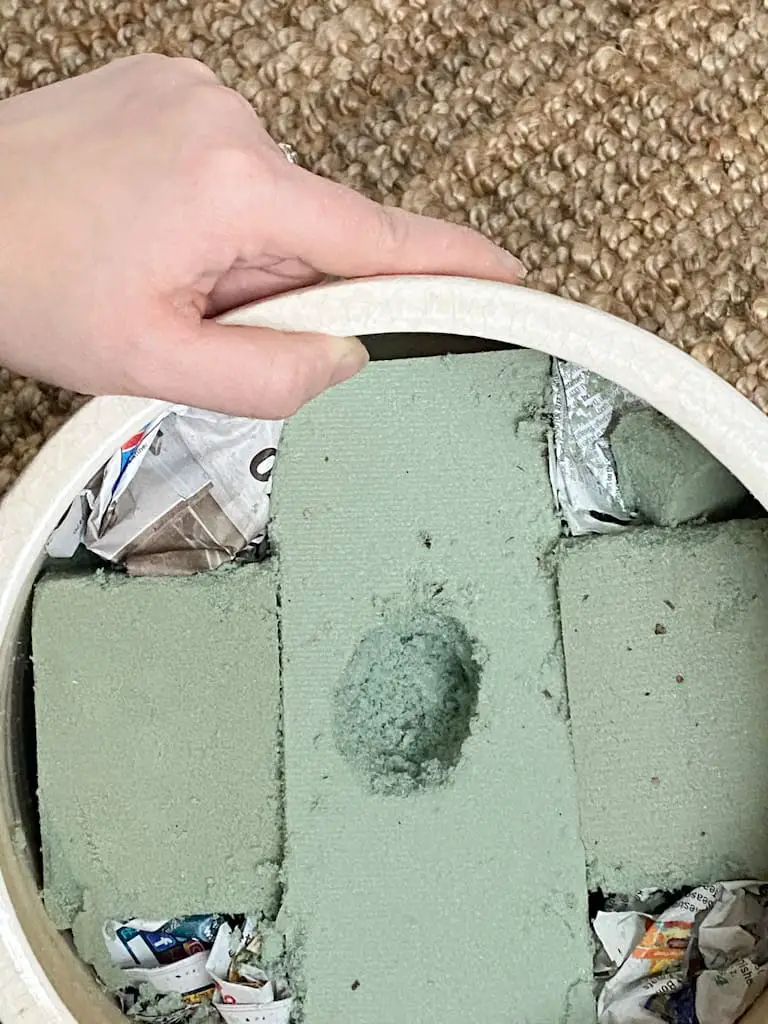
Now that we have the supply list, let’s get into the details of how I made my tree. We already went over the branch fiasco. So the next thing I did was cut my floral foam blocks down to get them to fill in my pot as best as they could. Then I used recycled newspaper to fill in the holes.
I originally was going to put a piece of cardboard on top so that the dirt would sit on top of it but my husband suggested letting some dirt fill the pot to help weigh it down since the branch was pretty heavy.
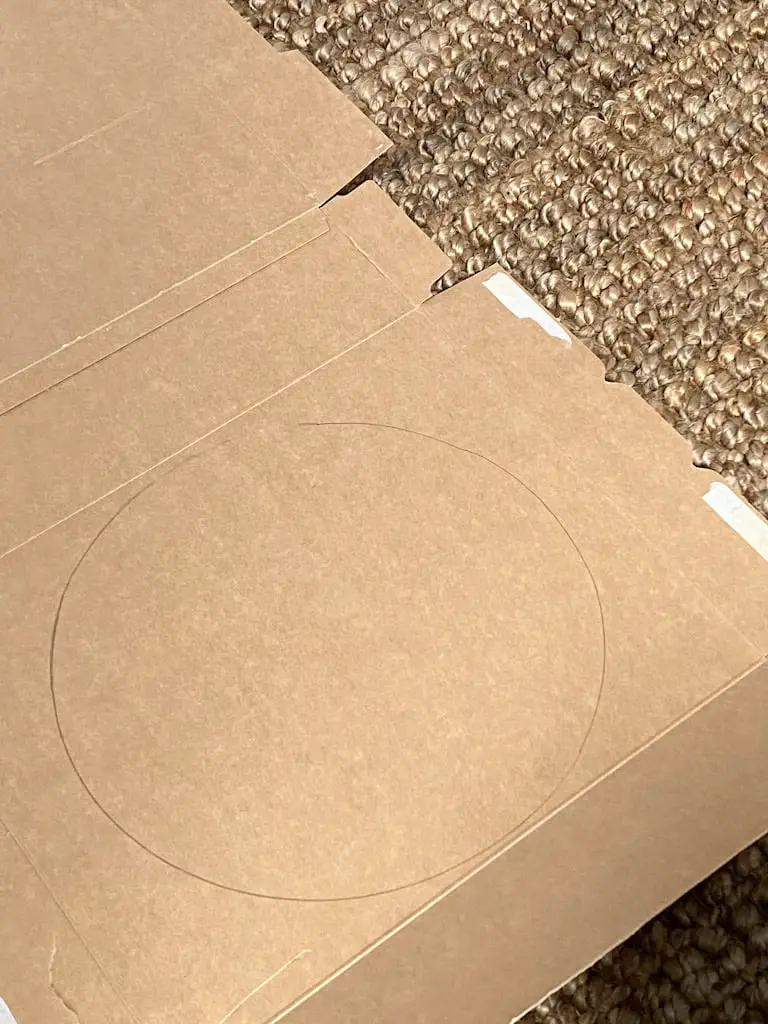
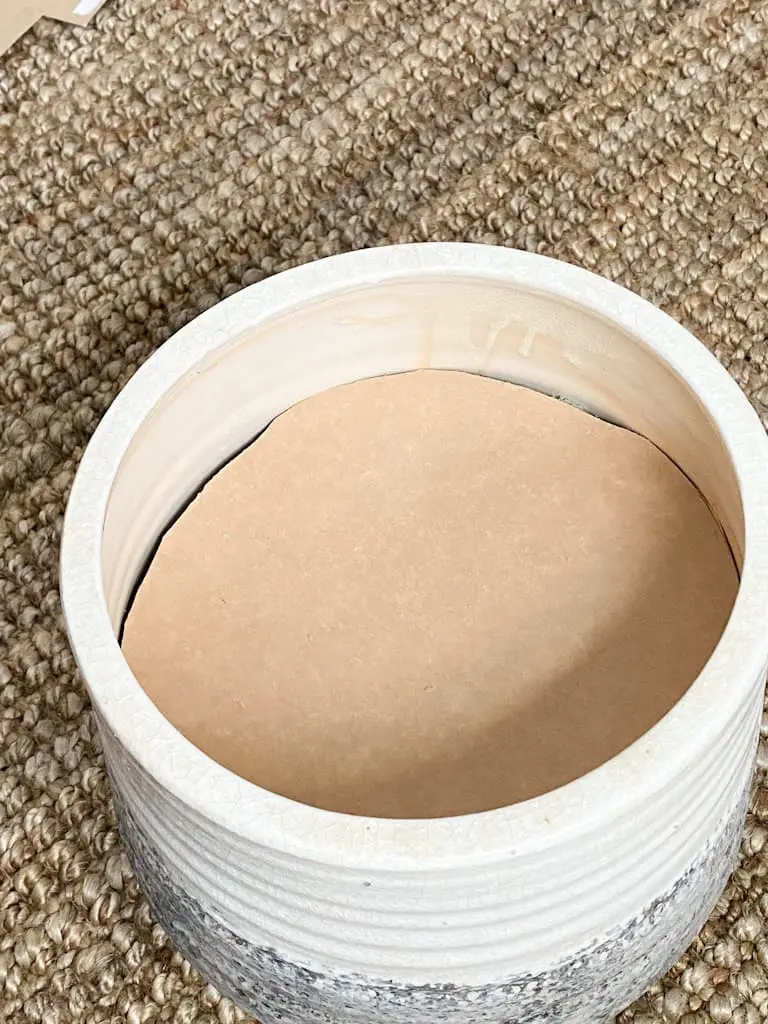
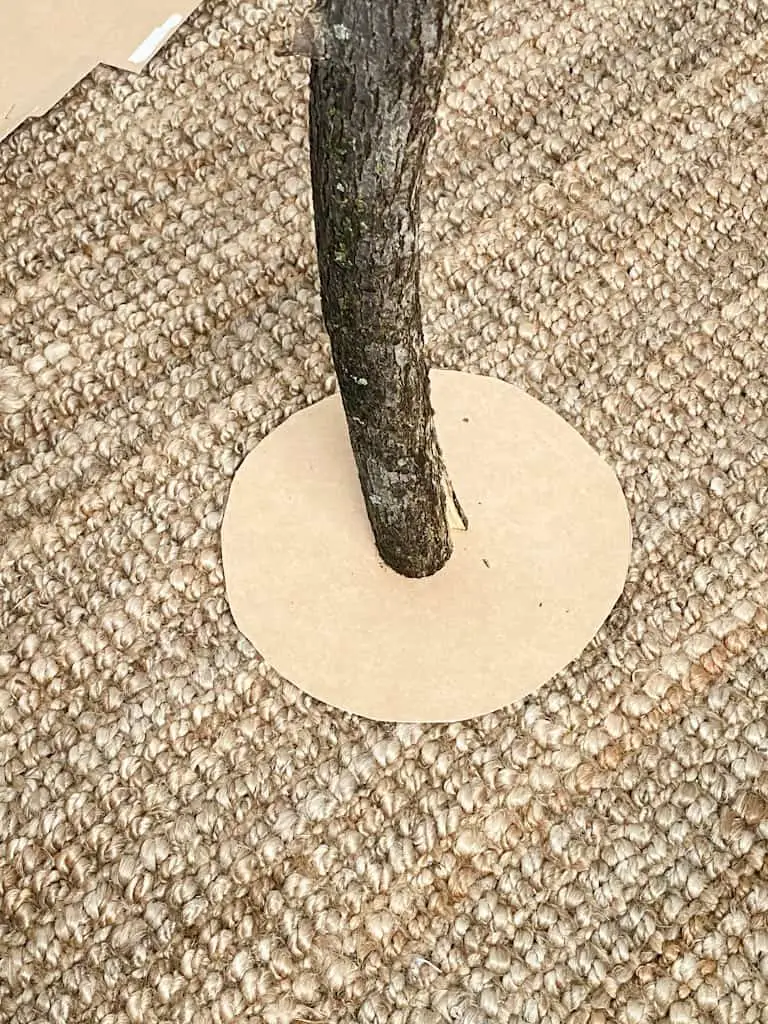
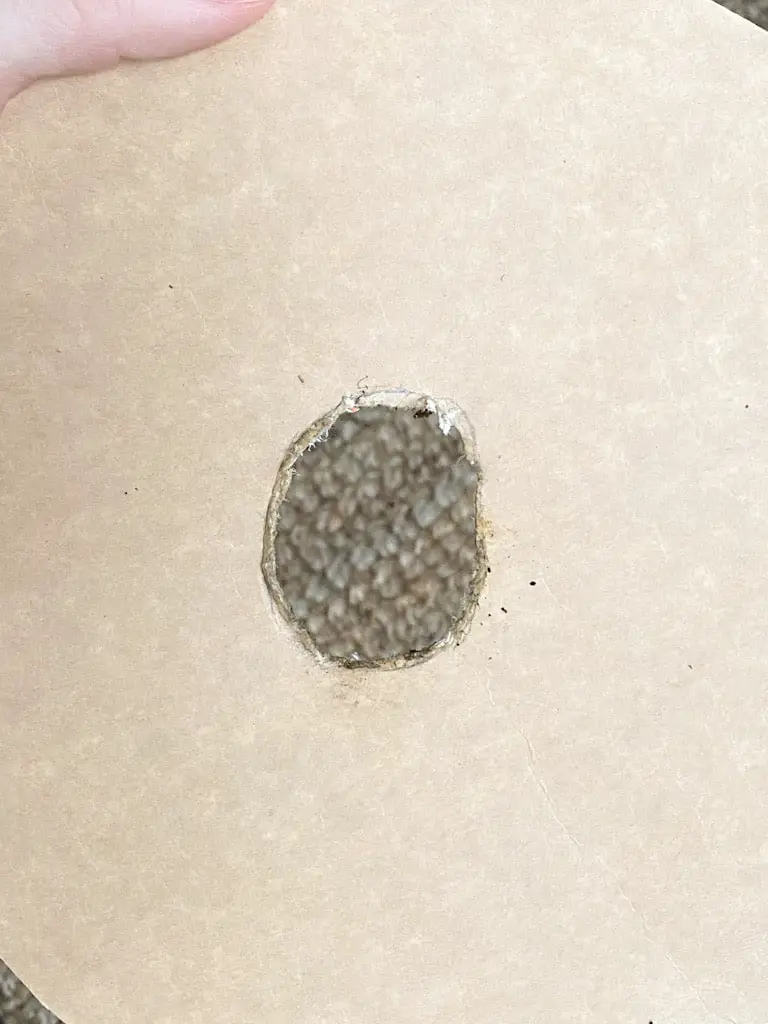
So if you want to use cardboard, here are the steps I took. Simply turn the pot over and trace it on the cardboard, cut out the circle a little inside the line you drew so it will fit inside the pot. Hold your branch in the center of the cardboard and trace around it and cut it out. And you’re good to go!
I used the cardboard as a stencil to carve out the center of the floral foam for my branch to go in. So it ended up being pretty useful anyways. You could definitely just trace the branch on the foam if you don’t want to do the cardboard step, but I will say, it made it easier to not go outside the circle while carving to have the guide on there.
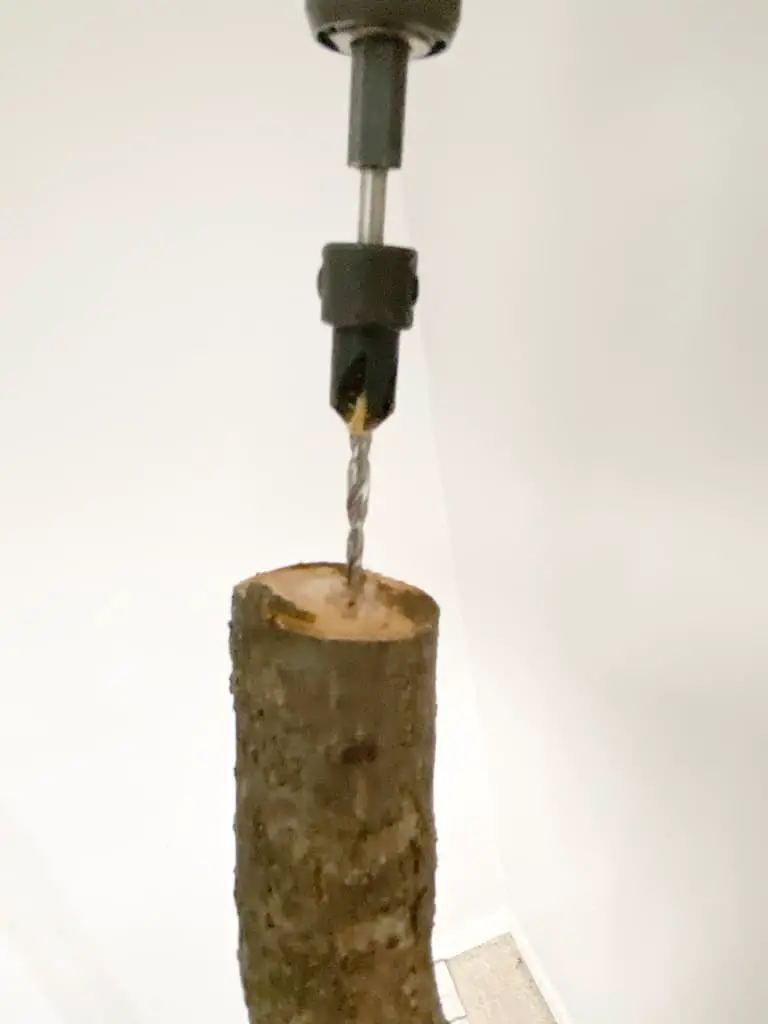
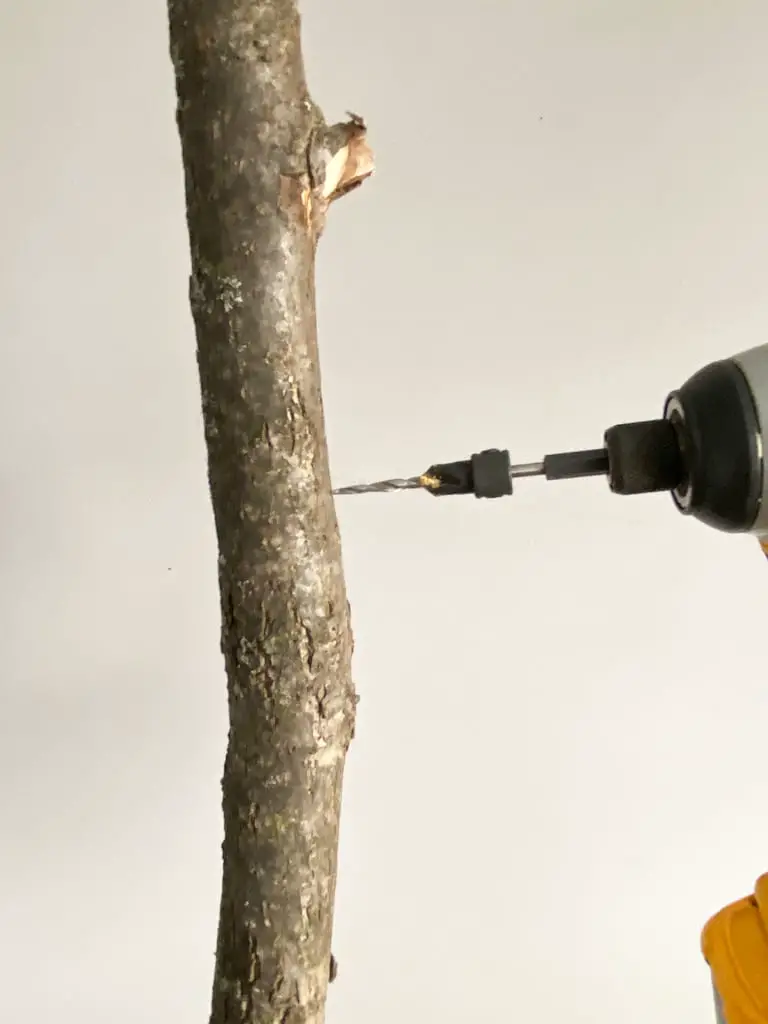
I used our screw gun with these countersink drill bits you can get at Home Depot, I ended up using the smallest and the largest sizes for my stems. This part will kind of be up to you and your stems. But I took 2 of my stems and cut off each of the little branches individually to use for the top half of the tree.
I just held them 1 at a time where I wanted to see how it looked, and then drilled the hole and put the branch in. For my particular stem branches, I had some that were bigger than others so I used the smallest at the top and got bigger as I went down.
Make sure when placing your stems that they aren’t directly across from one another or you may risk drilling into the other hole which could mess up your gluing process, so just make sure to stagger the branches.
I held off on gluing until I had all my holes drilled so the branches wouldn’t be moving all over while they were trying to set in place.
For the longer branches near the bottom of the tree, I just cut the long, empty stem off the bottom and then cut the rest into 2 pieces, one slightly bigger than the other. And used the largest attachment to drill the holes for them.
For the glue, I put some glue inside the hole as well as on the end of my stem and then held it in place in its hole for about 30 seconds. Then I took some glue around where the stem met the hole to have a more secure hold. And I left it overnight to set fully.
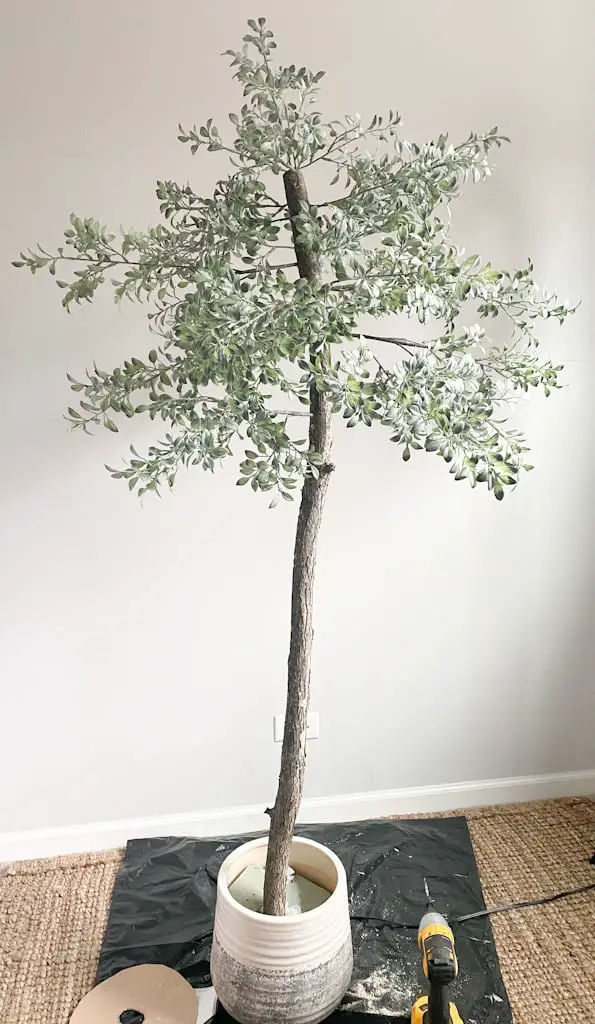
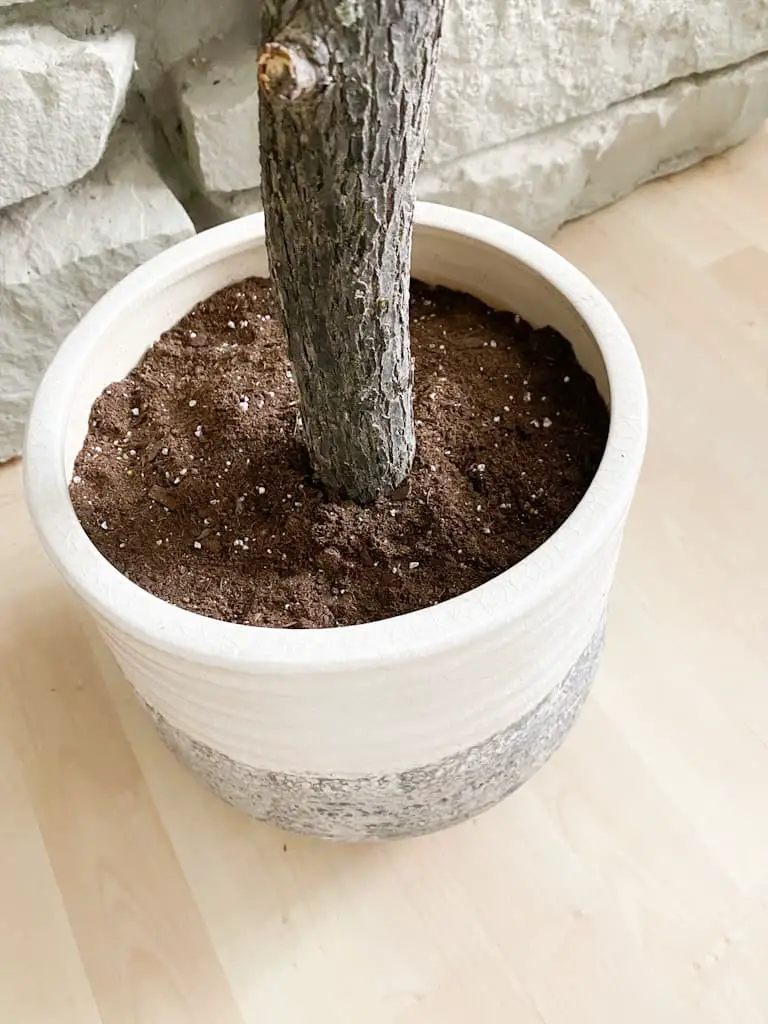
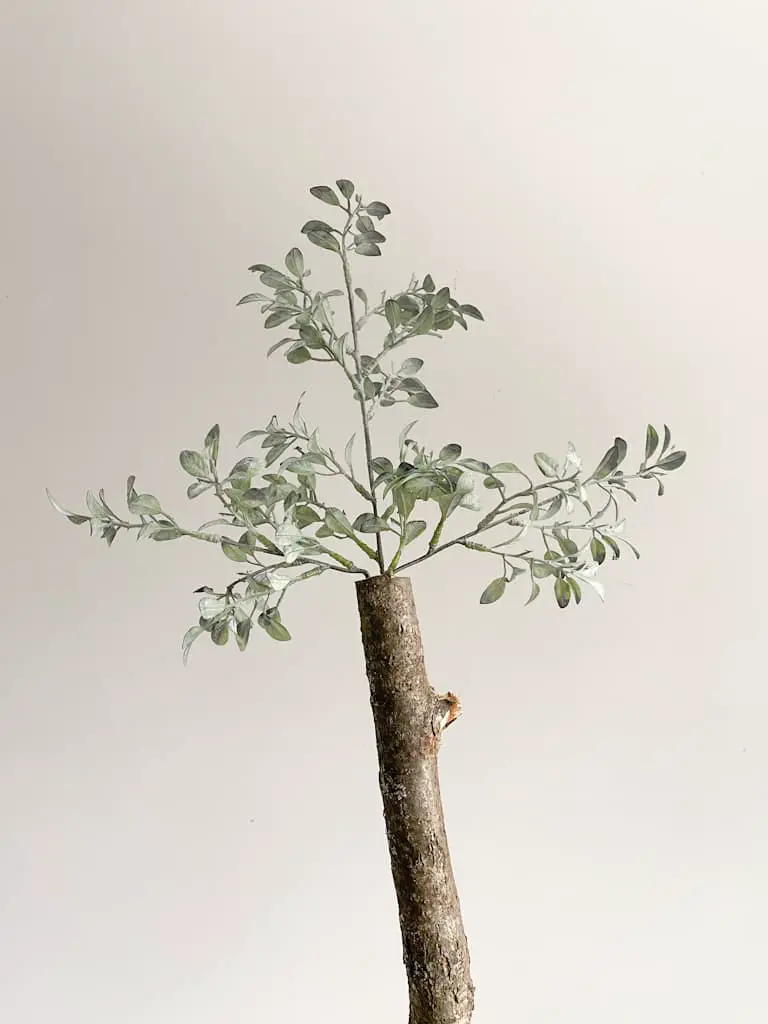
Here is how it looked after it finished setting, but before I went through and rearranged the branches how I wanted them. I went ahead and adjusted each branch where I wanted them to be and then added in my potting soil.
Then I went to move it to the spot I wanted it to live. And wouldn’t you know it, it’s too big (giant face palm.) I mean, come on now! Really? It couldn’t have just been the perfect fit as I pictured it?! Nope.
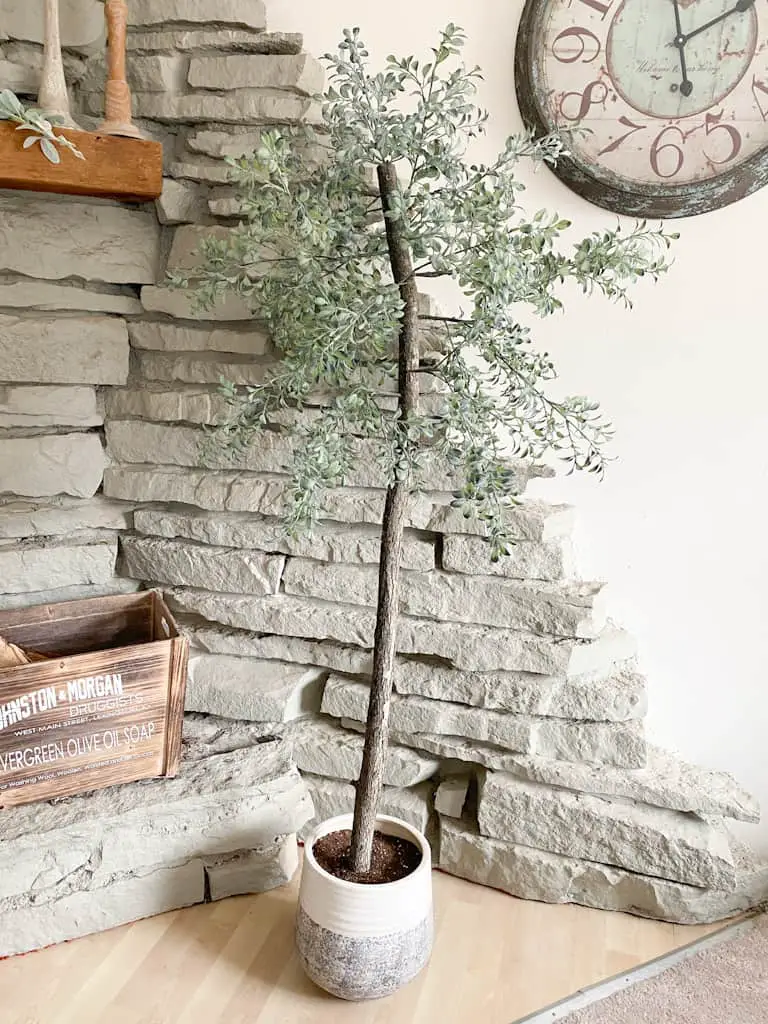
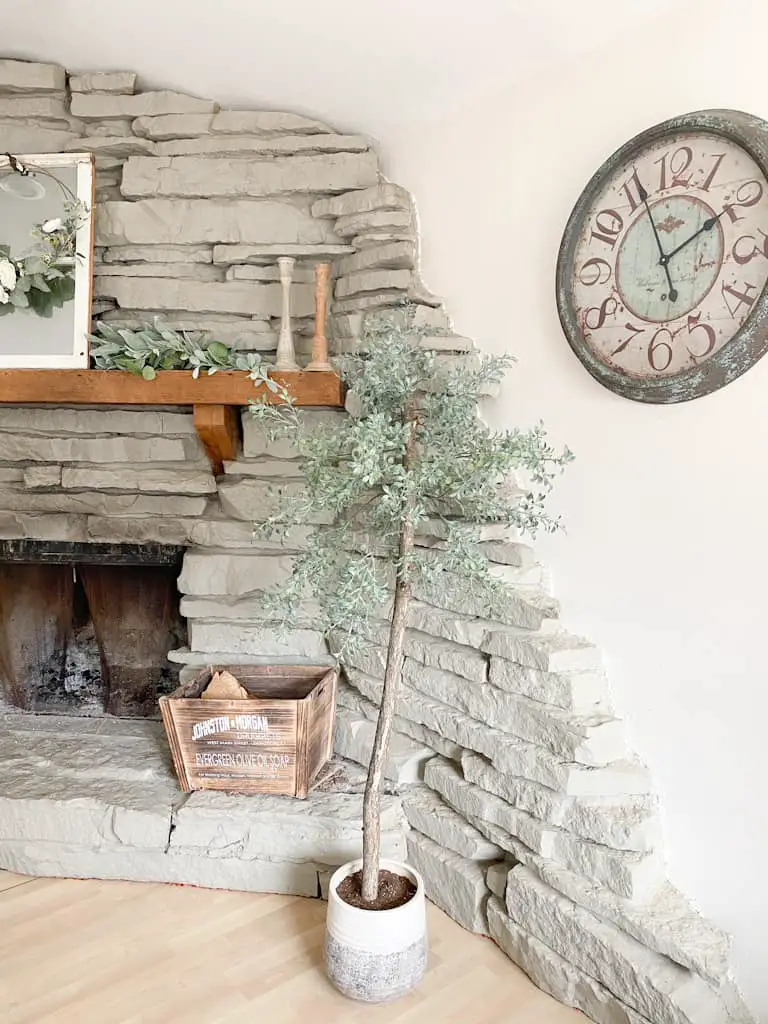
So after trying 2 other locations, I finally decided on this spot near our fireplace. I do actually like it here, I just don’t know how well this will do considering this is where my son plays most of the time, and in the not so distant future we will have our very curious baby boy playing here as well. So for now, here she will stay. But I’m not sure if it will be permanent. Lol. Wish me luck.
What do you think of the end results?! I think it turned out pretty awesome, I’m very pleased with it. And very happy with how much money I saved by making it myself.
And now you know how to make a fake tree yourself, it just takes a little time to figure out where you’d like to place your branches but it really isn’t all that hard!
Let me know if you end up making your own tree, and check out another one of my favorite DIY projects I did, these upcycled candle holders I made from some thrifted candle holders that were a little dated. I will see you next time!

