Gallery Wall
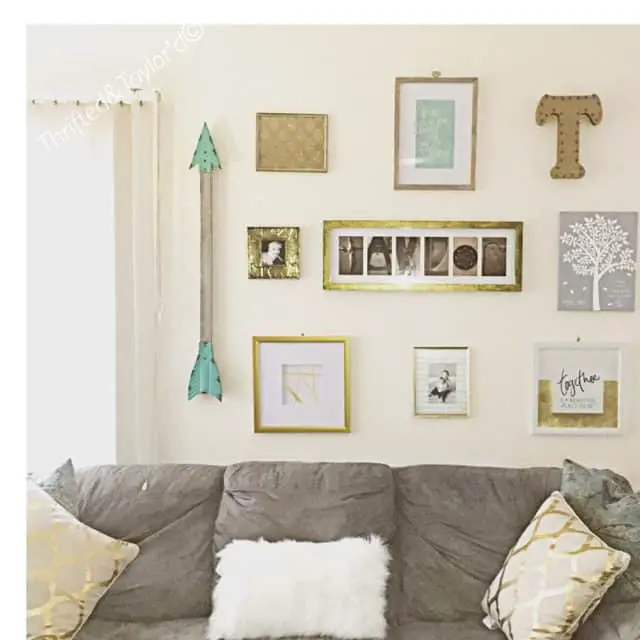
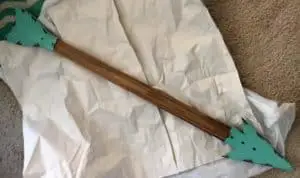
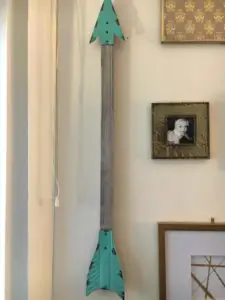
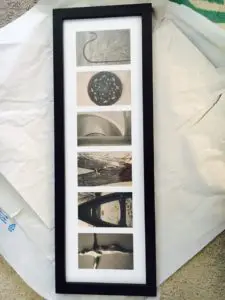
So after some serious searching and a bit of nit picking… I finally finished my gallery wall! There are a couple changes I made to some items to better fit my overall look I was going for. I included pictures so you can see the changes. The items I altered were the arrow, the long “Taylor” frame, and the two thin gold frames.
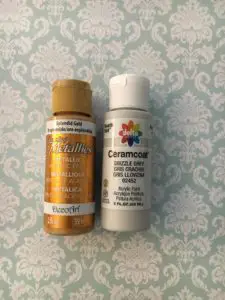
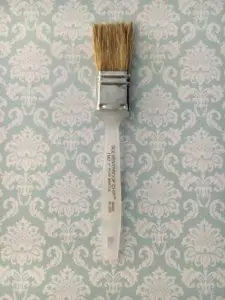
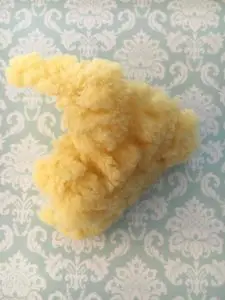
I also have pictures of the tools and paints I used, should you decide to try do some of these ideas yourself! I absolutely love how it turned out.
The arrow was originally a dark wood which I painted using this light grey acrylic paint and slightly distressed the paint by lightly wiping the wet paint with a paper towel.
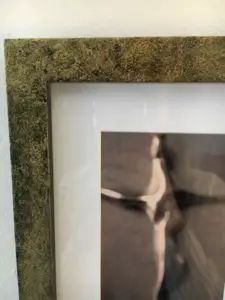
The Taylor frame was originally black and ended up looking too harsh with the grouping so I sponge painted it gold which gave it a cool texture and helped it to blend with the rest. The gold paint I used was shown earlier with the grey paint.
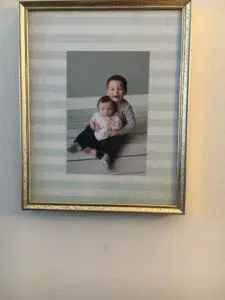
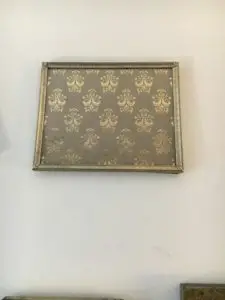
The two small gold frames were empty which I purchased at the thrift store for .99! In the bottom center frame (seen in the overall picture of the wall) I used some scrapbook paper as a background for the picture of my precious nephews. As for the frame at the top left, I used some wrapping paper with a cool golden floret design!
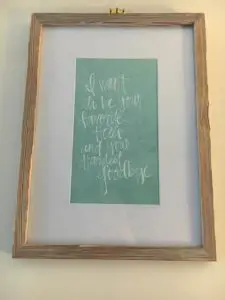
As for the other 3 framed art pieces as well as the “T”, those are from Hobby Lobby and were each 50% off and the grey tree canvas is an anniversary gift from my parents.
I laid out each piece on the floor to figure out how I wanted the wall to look to avoid putting unnecessary holes in the wall if I ended up not liking my intial layouts. Then I measured to find the center of the wall to make sure the gallery would be placed where I wanted it in respect to the couch and wall. Then my wonderful husband helped me hang everything and there you have it!
I hope you enjoyed and got some inspiration for your own home.
