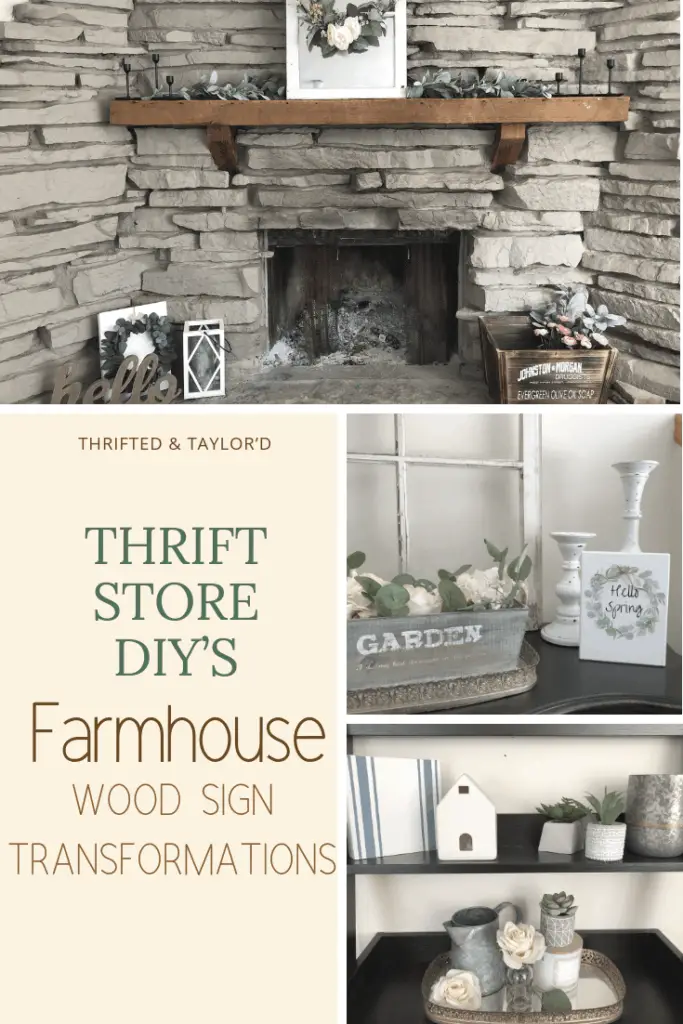
Thrift Store DIY’S | Farmhouse Wood Sign Transformations
This post contains affiliate links for which I may earn a small commission at no extra cost to you. Thank you for your support! Learn More.
Hey Guys!
I’m back at it with a few new DIY’s. This time they’re thrifted items I made into totally new things. I love doing these thrift store DIY’S. It’s really fun to take something many people might pass up or even throw away and turn it into something really cool. Plus it keeps things from ending up in the landfill which is always a bonus in my book.
You’ve seen other thrift store DIY projects of mine like this post with a few different items I painted to make over, my coffee table makeover, and this one from way back in the beginning of my blog when I made over some thrifted artwork.
This time I transformed 3 wood signs and I absolutely love how they turned out. I went with 3 different farmhouse style signs since that is my home décor style. (If you didn’t already know because you’re new here.) The best part is these were all really easy and cheap to do! So let’s jump right in and get started on these farmhouse wood sign transformations.
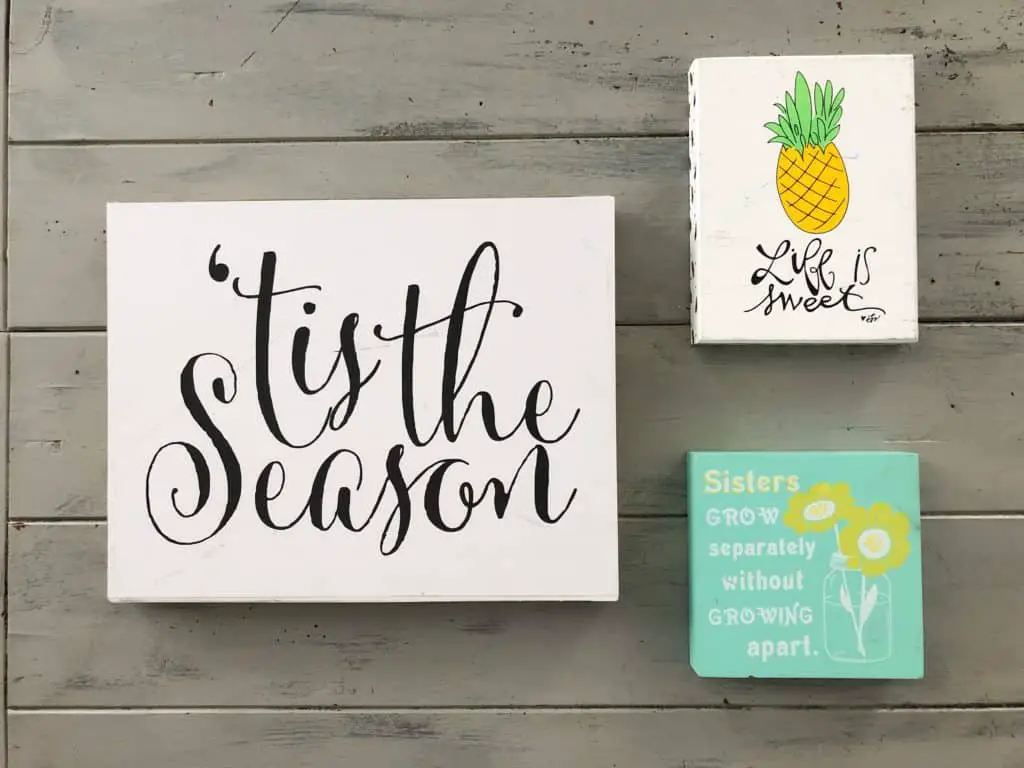
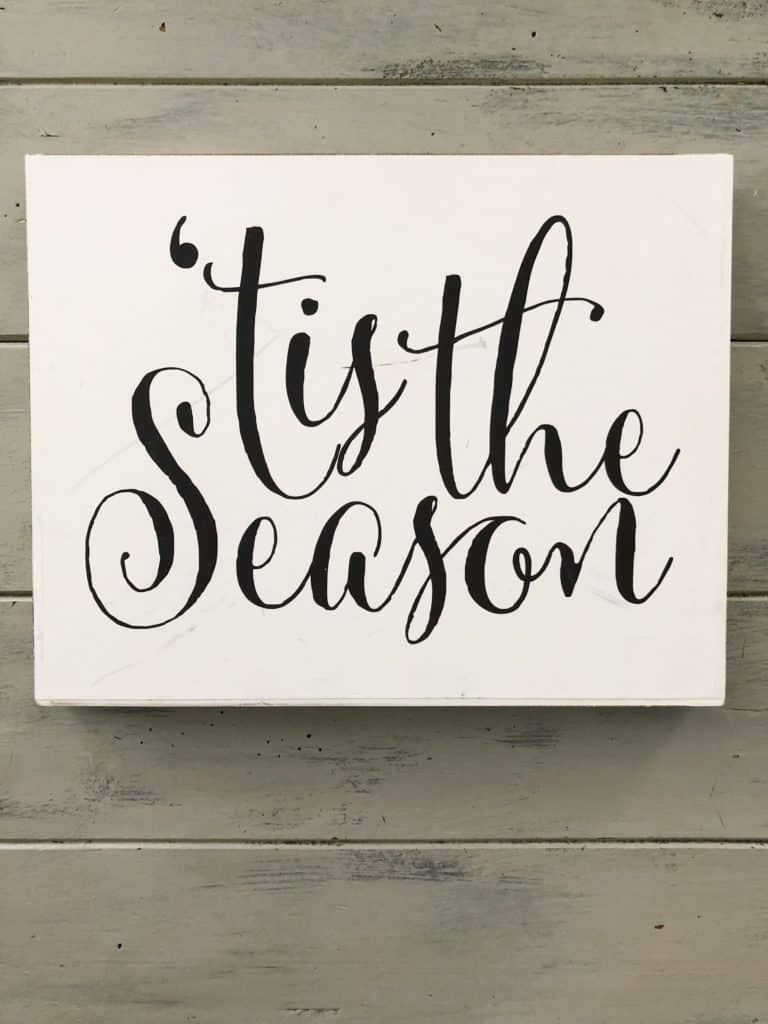
Let’s just take a quick moment to gaze at the “befores” of these signs. The holiday one wasn’t like the worst thing I’ve ever seen but it had this gold glitter on the sides and it just wasn’t my cup of tea. The pineapple one was super beat up and also very not my style. Then we have this lovely green number. Nope. Not for me. But these were all on sale for half off of .50! So I got all 3 for less than $1. Amazing.
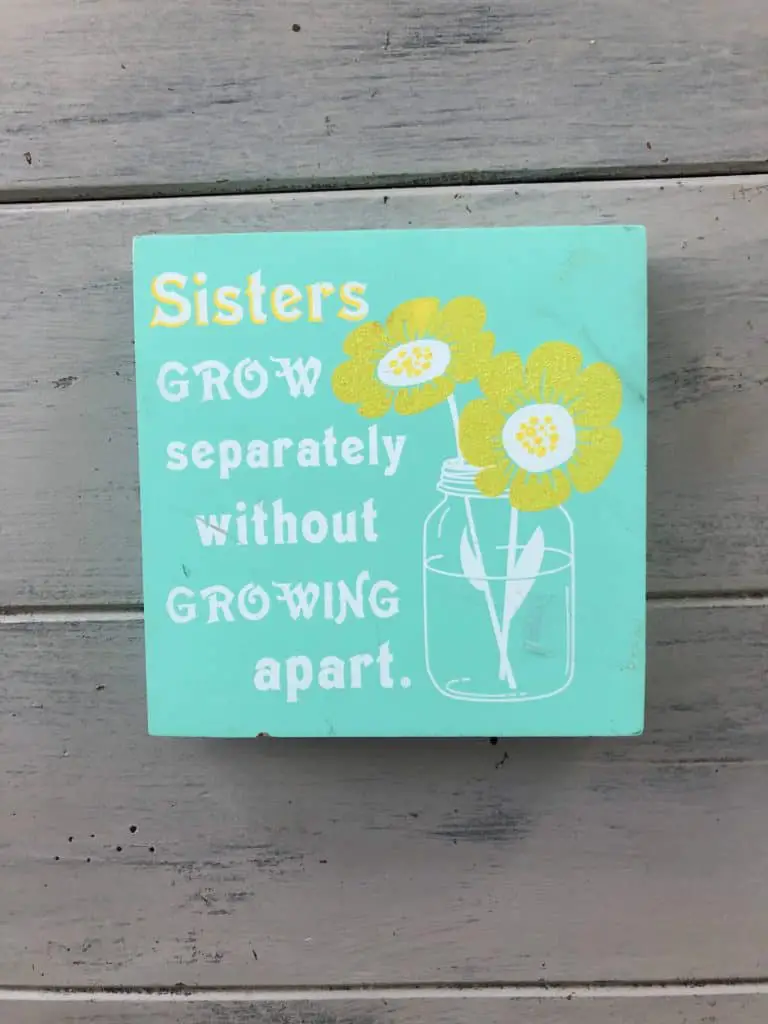
We will start off with that little green sign, it was the smallest of the 3 and ended up being the easiest and cheapest to make. We will start off with that little green sign, it was the smallest of the 3 and ended up being the easiest and cheapest to make. I painted all of them white to start off because I knew that was going to be the base for all of them.
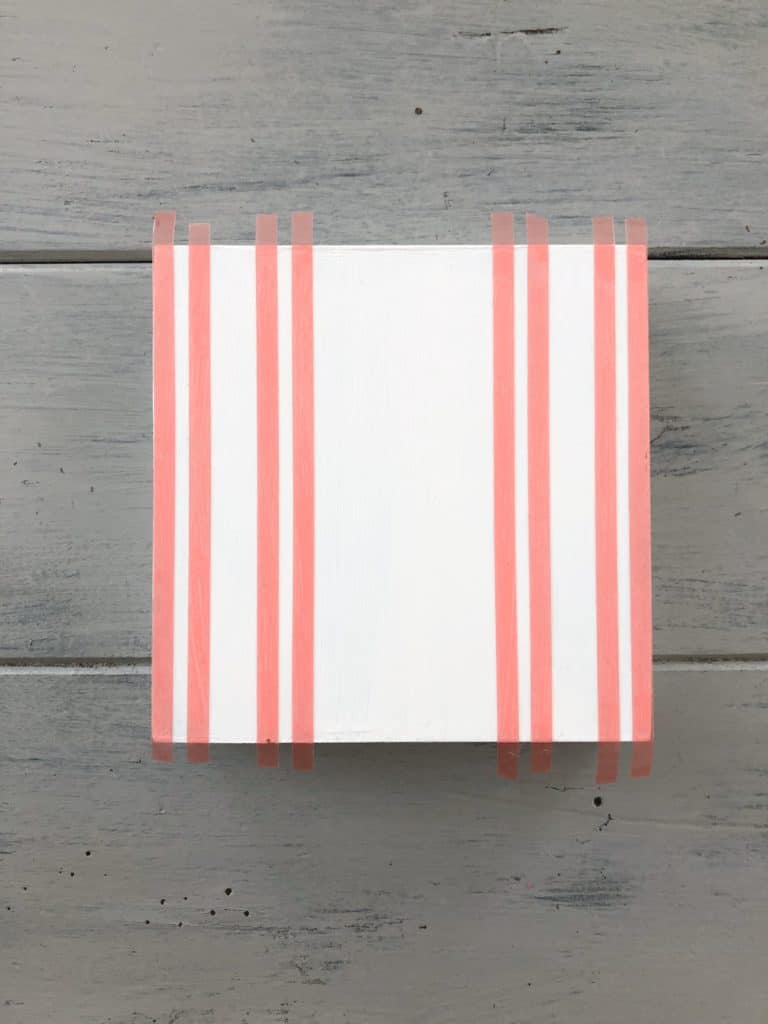
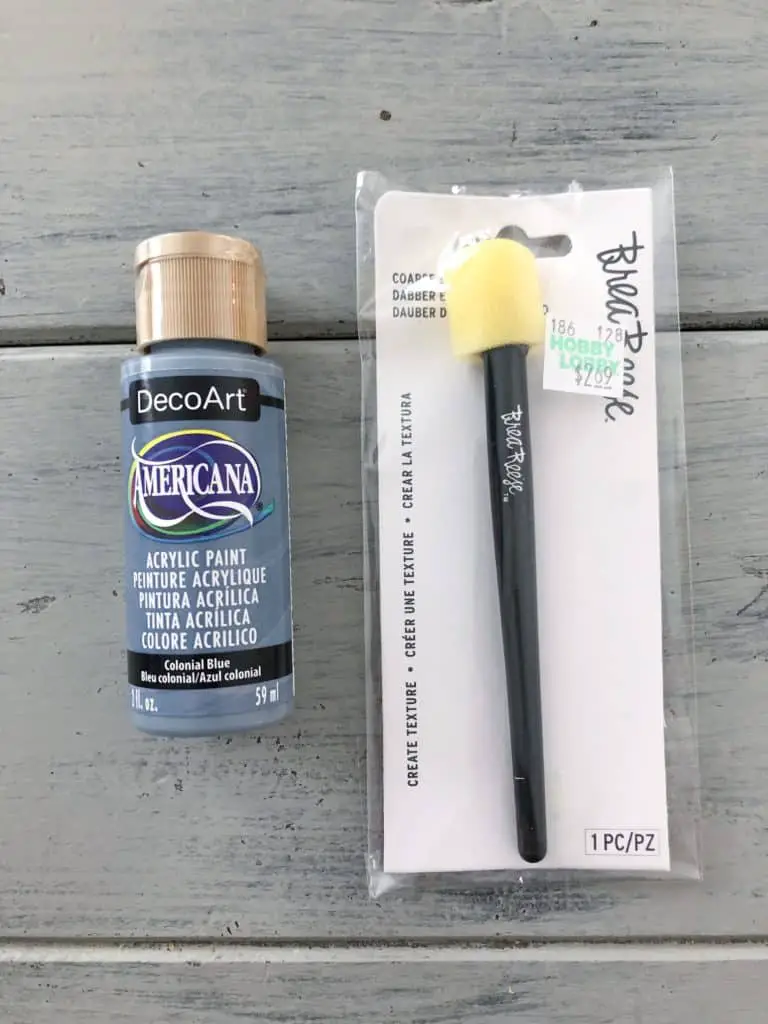
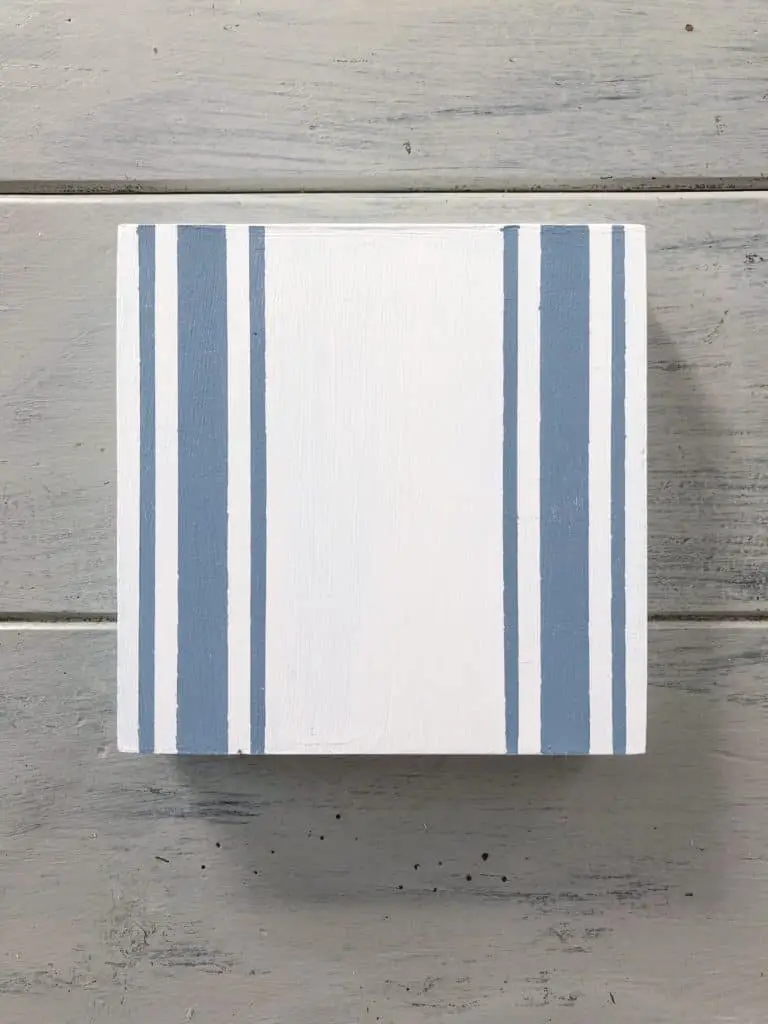
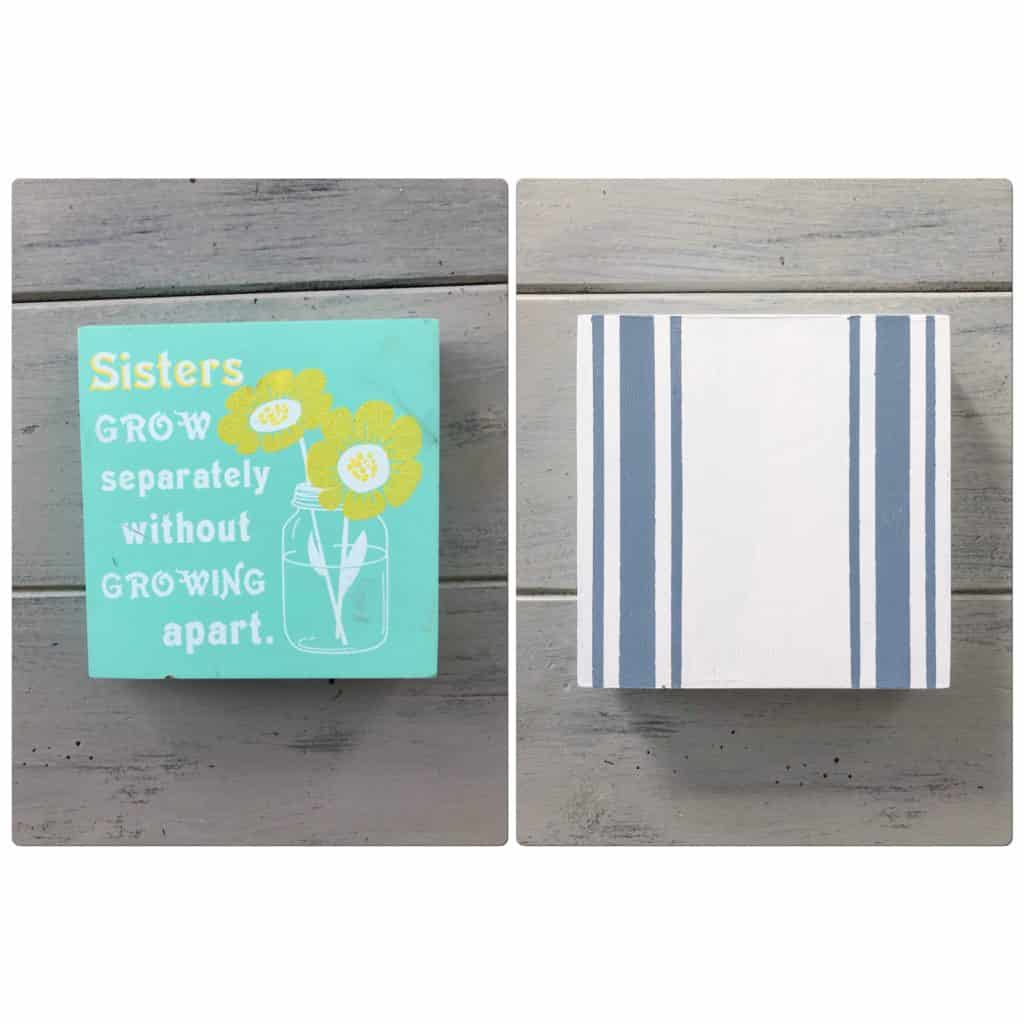
I wanted to do some ticking stripes on this one. So I taped off where I wanted my stripes to be, I really just eyeballed it. Then I used a sponge dabber and this DecoArt acrylic paint in Colonial Blue and just applied it carefully in the white spaces between my tape.
I like using a dabber to paint stenciled areas like this because the paint wont seep under the tape and it’s faster than a paint brush. I pulled off the tape right after I painted it and let it dry. That was it!
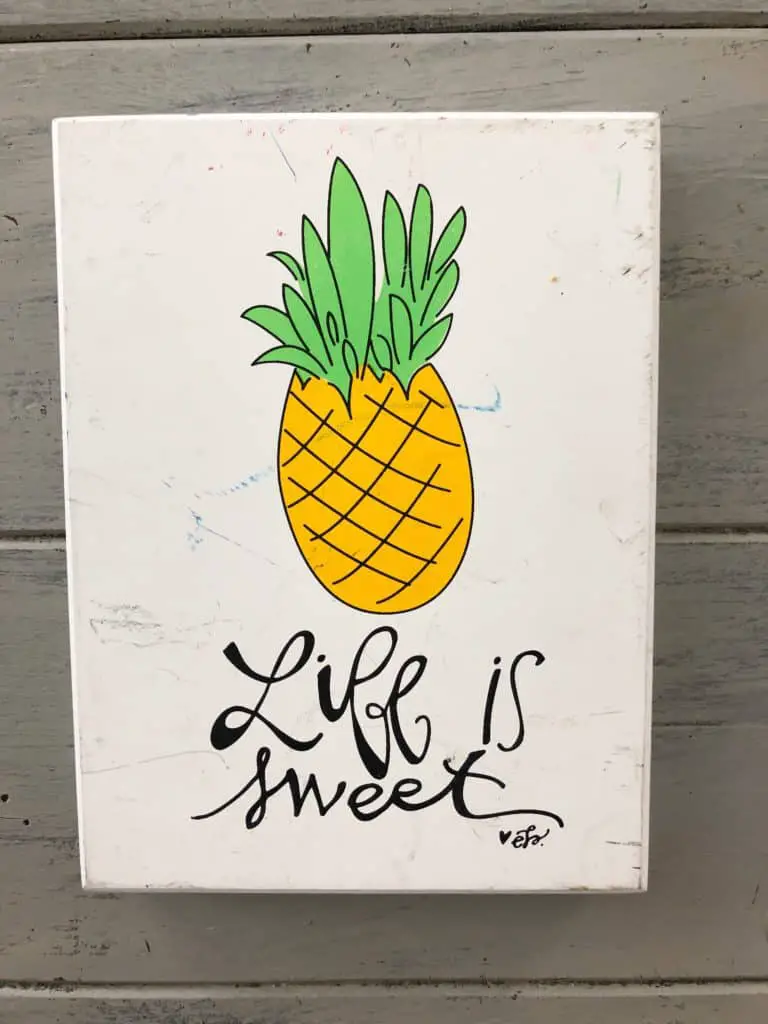
Moving on to the pineapple sign, as I said before it was painted white. Now this one took a few different attempts and was a bit of a fail initially. I wanted to attempt an image transfer that I had seen a few different methods of trying.
The one that seemed to perform the best was this one I tried. I will take you through the steps but beware that this method did NOT work for me. It might have been because I was trying to do it on painted wood but I’m not certain.
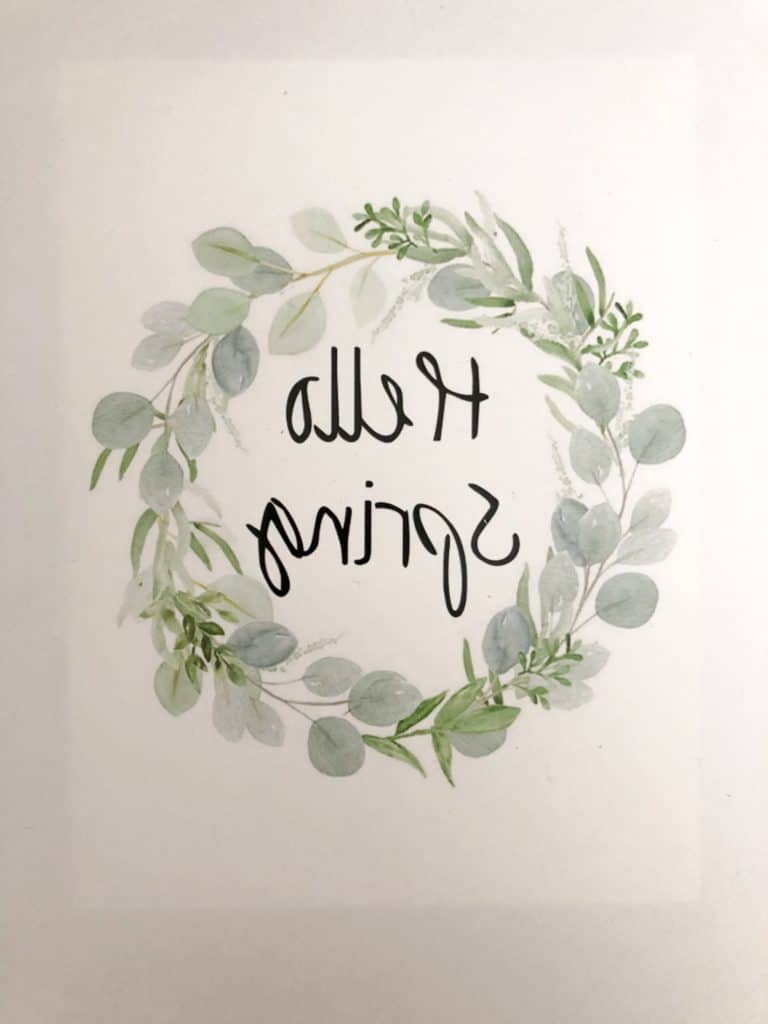
I made this Hello Spring image and had it printed out at a UPS store (it was closest to my house, you can use any store that offers printing services.) You need a laser printer for this method which is why you need to have it printed somewhere, unless you happen to have a laser printer.
Make sure you print out the image in reverse. I totally forgot the first time and had to have it reprinted. Face palm. Thankfully that mistake ended up helping me out, you’ll see in just a moment.
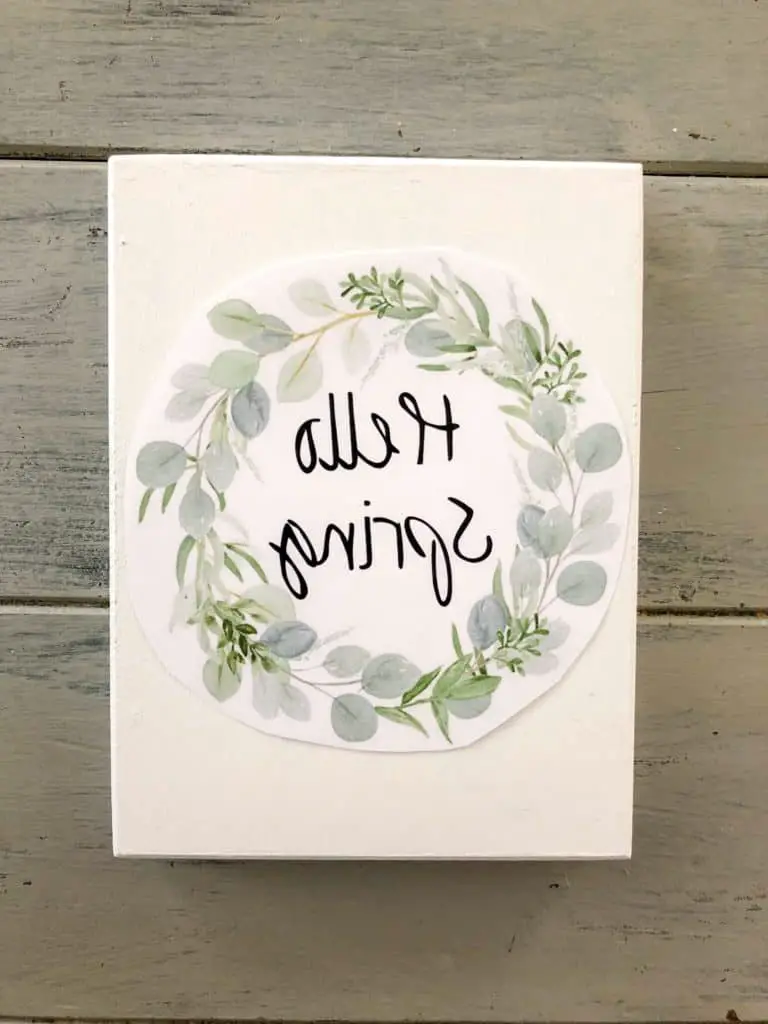
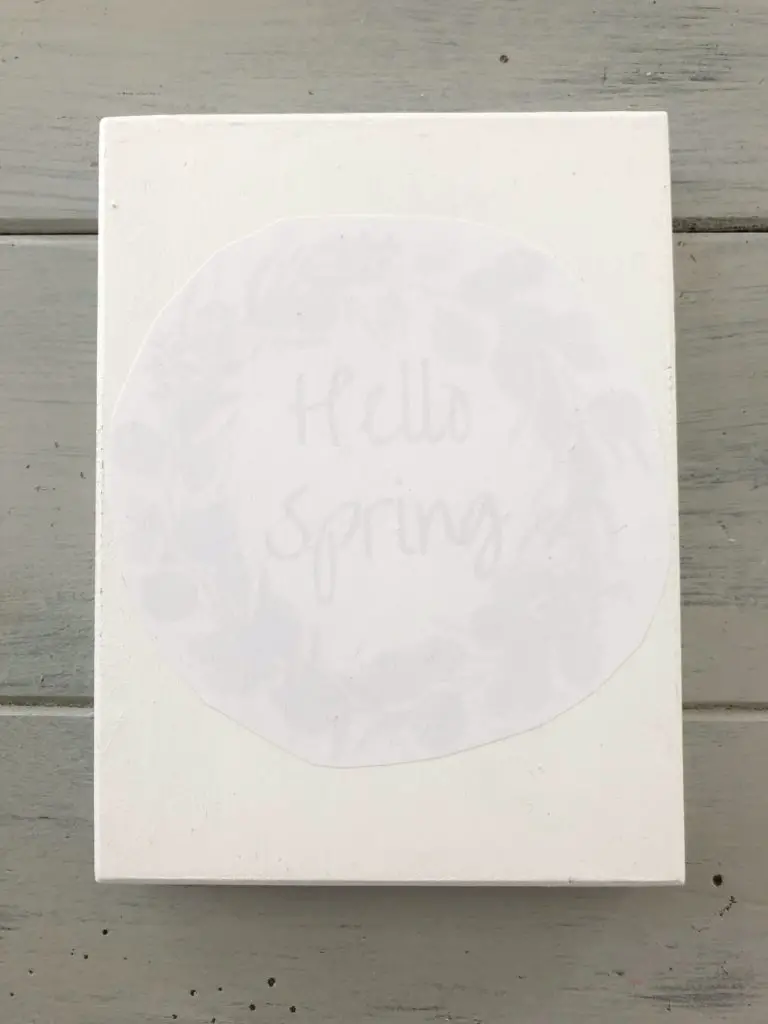
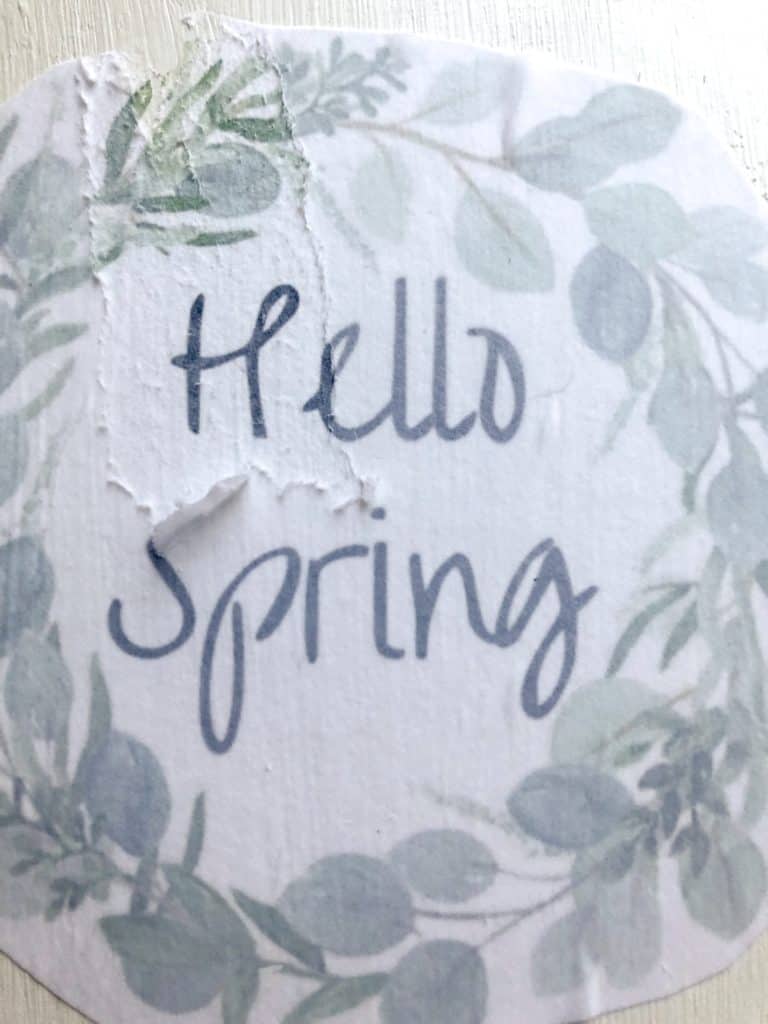
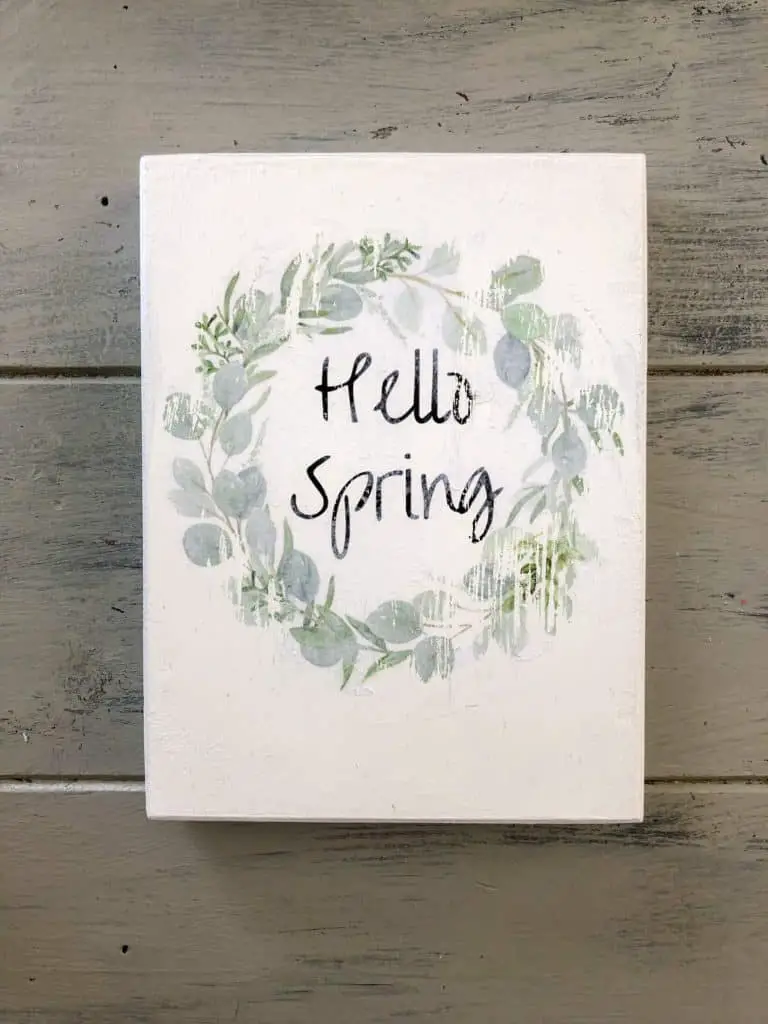
I cut out my image pretty close to the edge so I could get a good placement of it on my sign. Next I painted on a thin layer of Polycrylic and then placed my paper, image side down. I let it dry for about 3 hours then I dampened the paper and began slowly and carefully peeling off the paper.
The image is supposed to have transferred to the wood but for some reason several areas of the image scraped off as I was trying to remove the image.
This might work better if you are transferring to natural wood or stained wood. I think because my paint had a glossy finish, the image was not sticking as well.
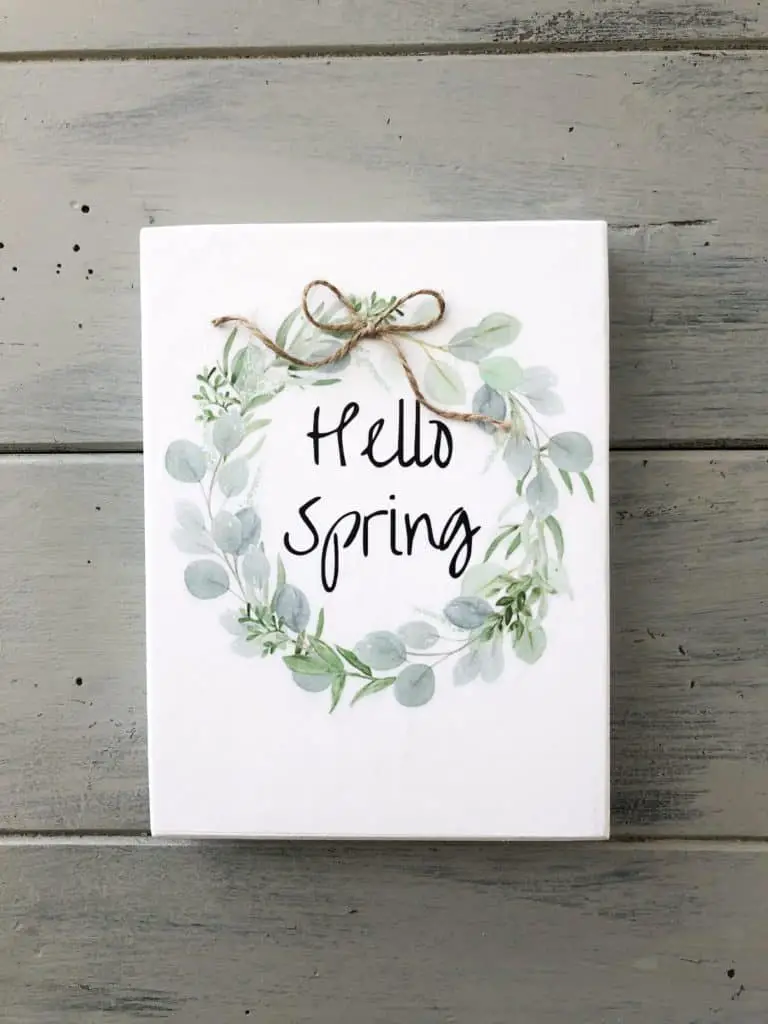
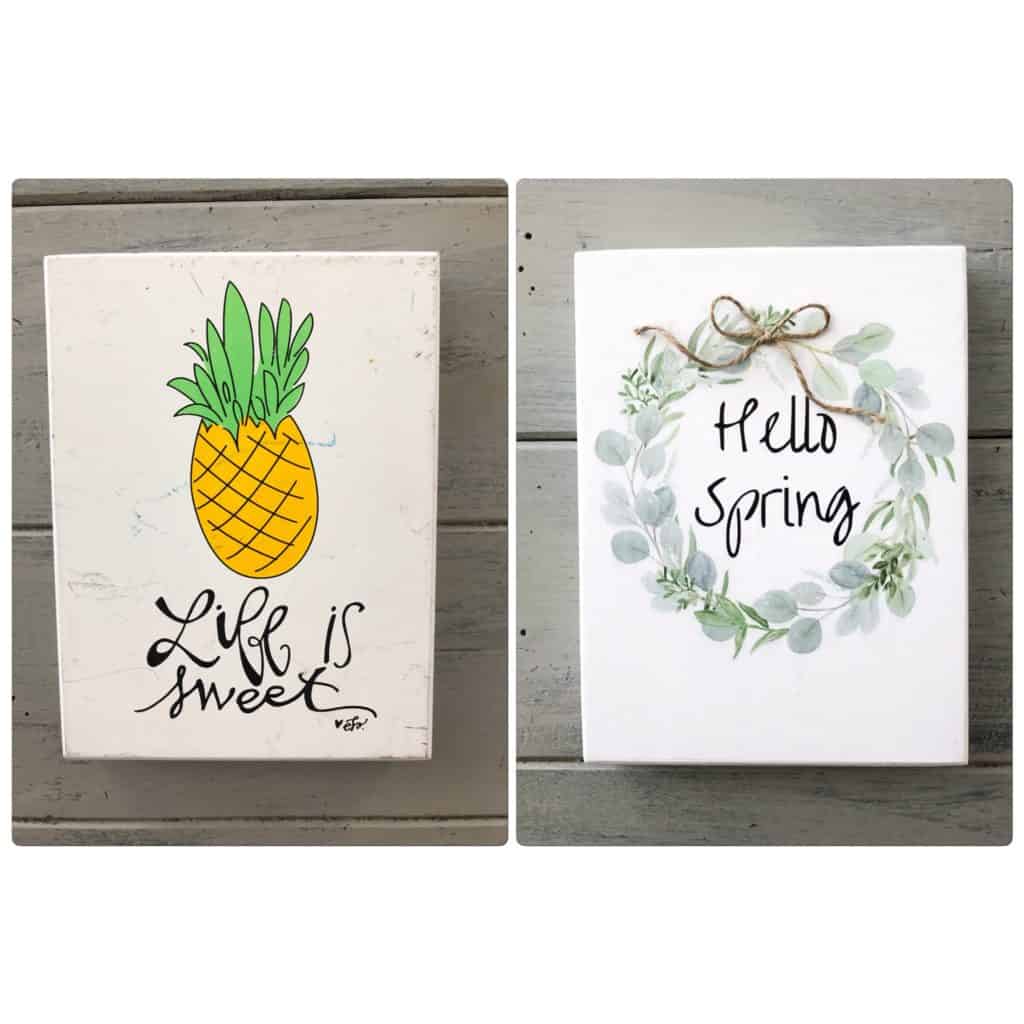
So I moved to plan b. Here is where my first mistake came in handy! I decided to decoupage the image instead. This time I cut the paper to fit the entire front of the sign so you wouldn’t really be able to see the edges of the paper.
I put a medium layer of glossy finish Mod Podge on the wood and then placed the paper, image side up. I used a credit card and my fingers to smooth out any air bubbles and then let it sit for about 20 minutes.
Then I went over top the image with a thin layer of the Mod Podge to seal it. I finished it off with that sweet little bow made from twine. I turned that fail right on into a win. Heck yeah!
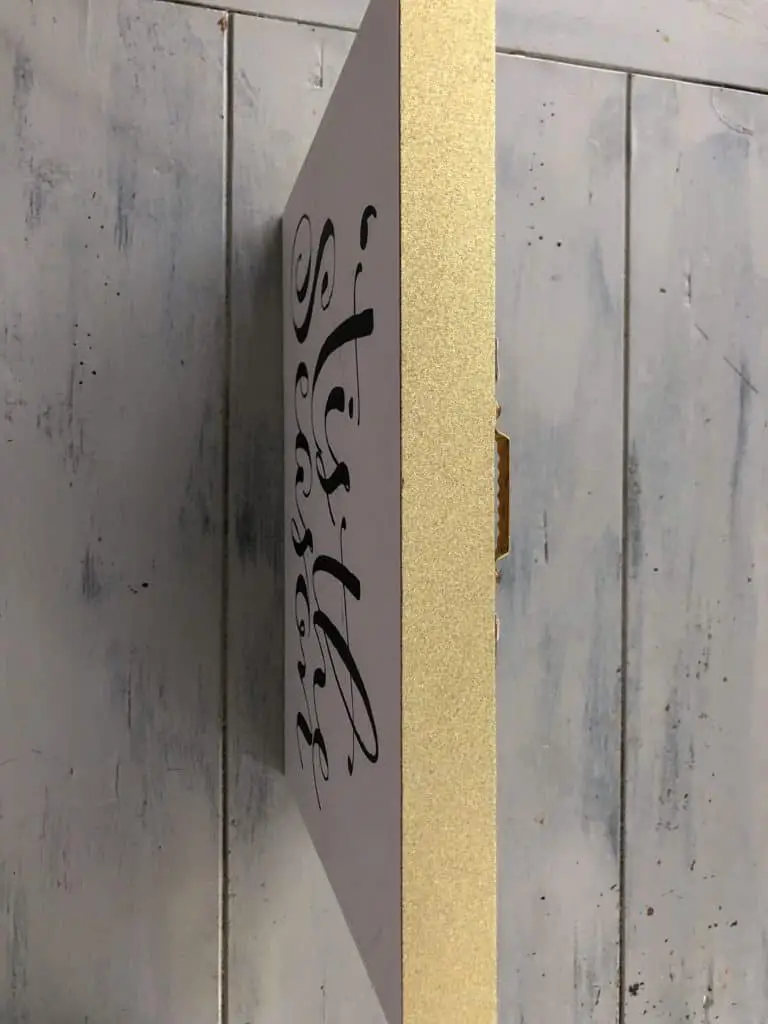
This last one is probably my absolute favorite. I had to really sand this one to get that glitter off and then went ahead and painted it white, all 3 signs needed 2 coats of paint.
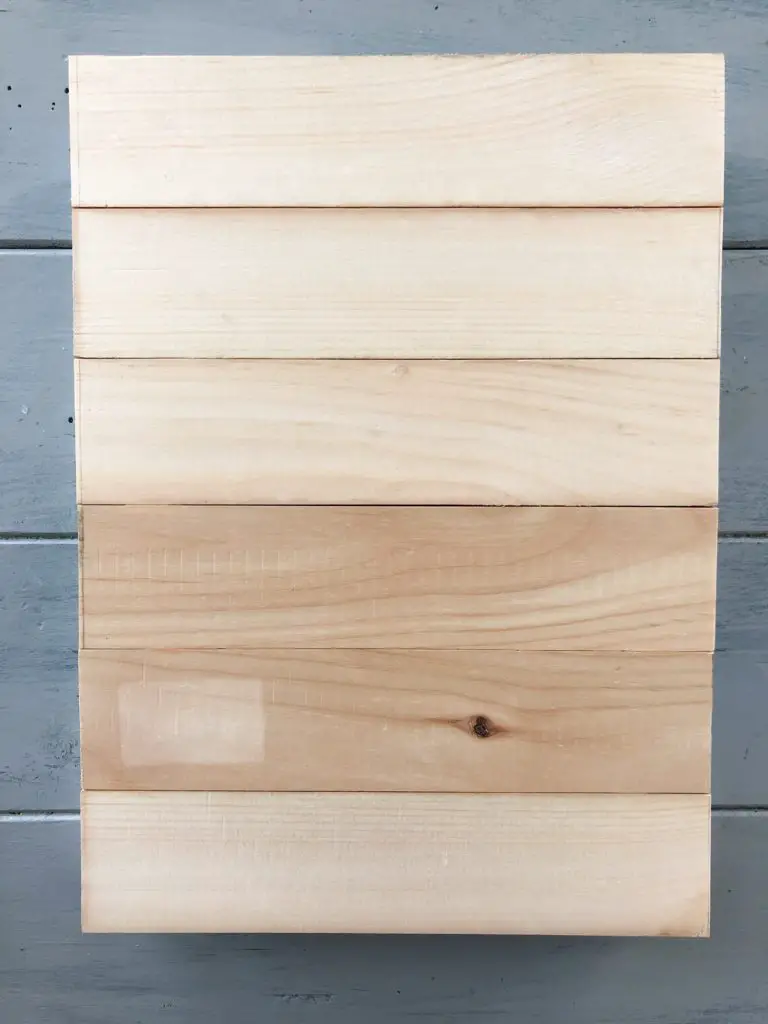
I got these wood boards from Hobby Lobby and had them cut down to fit the width of my sign. It was 11 X 14 so I used 6 boards total that were each 11in long.
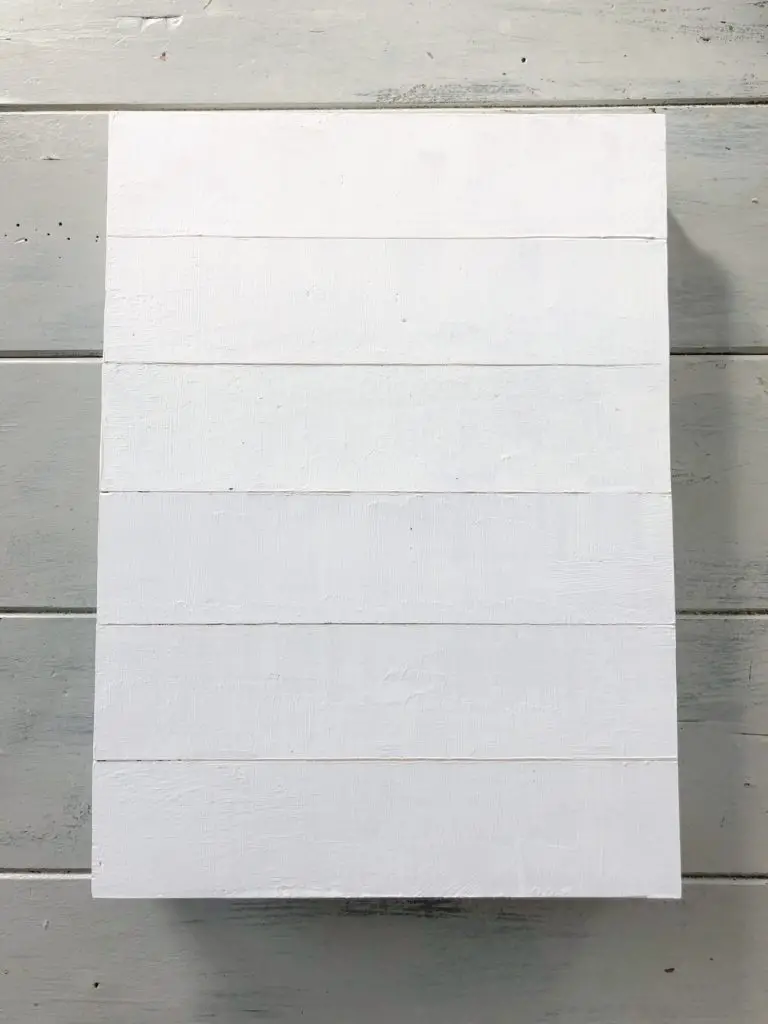
The top and bottom boards hung over the top and bottom edges a little but I didn’t want to trim them and have them be skinner than the rest and it looks fine anyways. I then painted those white as well.
I used a toothpick in the grooves of the wood to make sure those lines were pronounced. I wanted it to have that shiplap look.
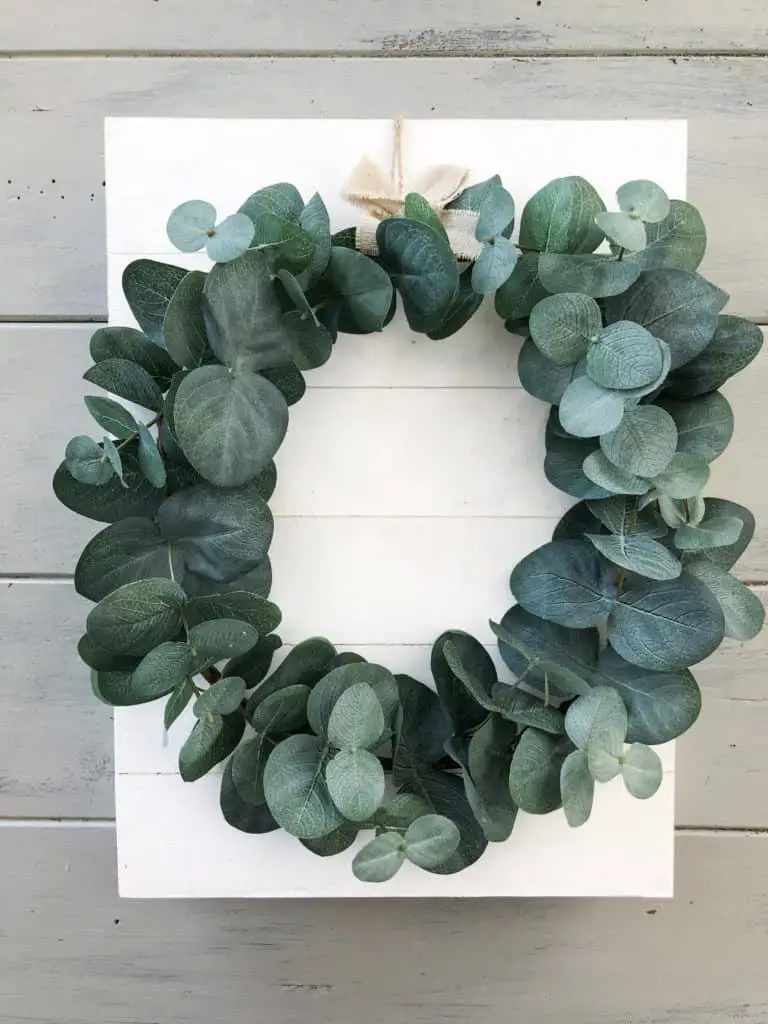
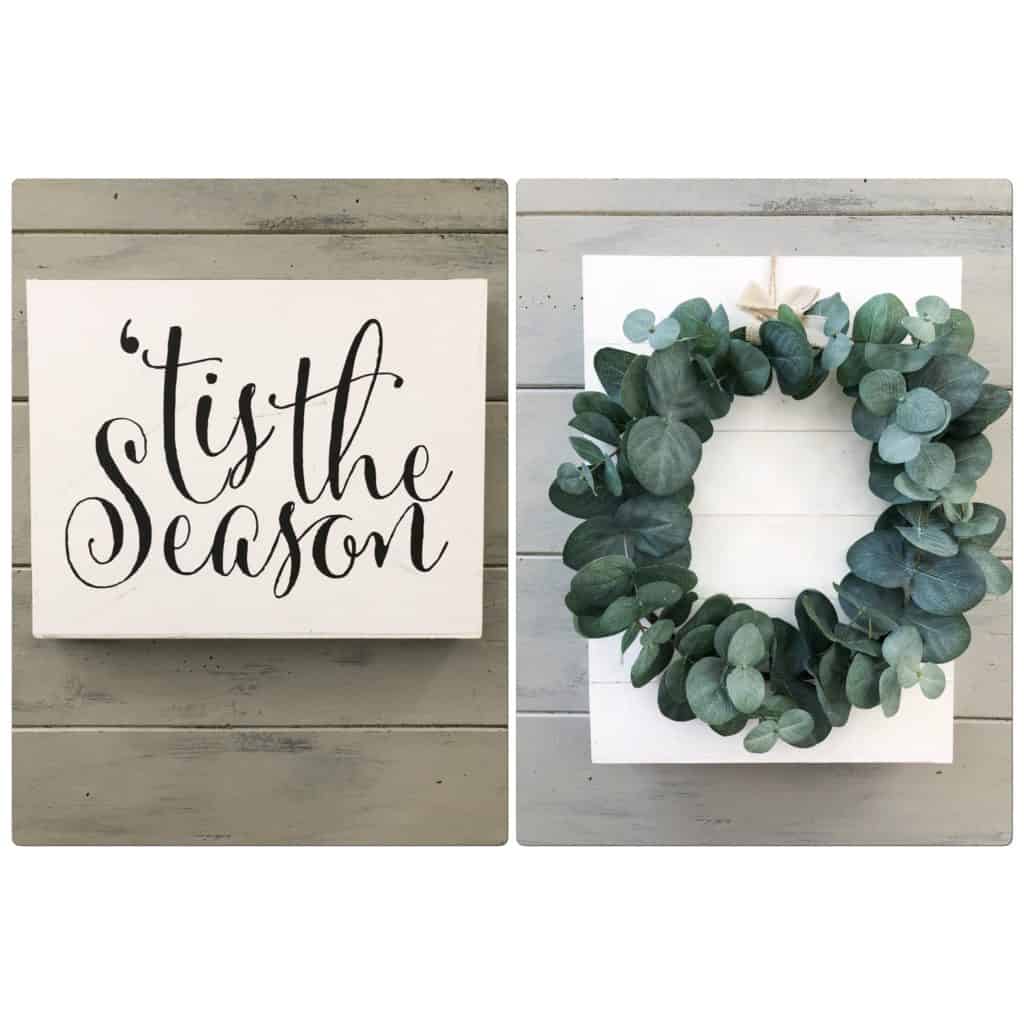
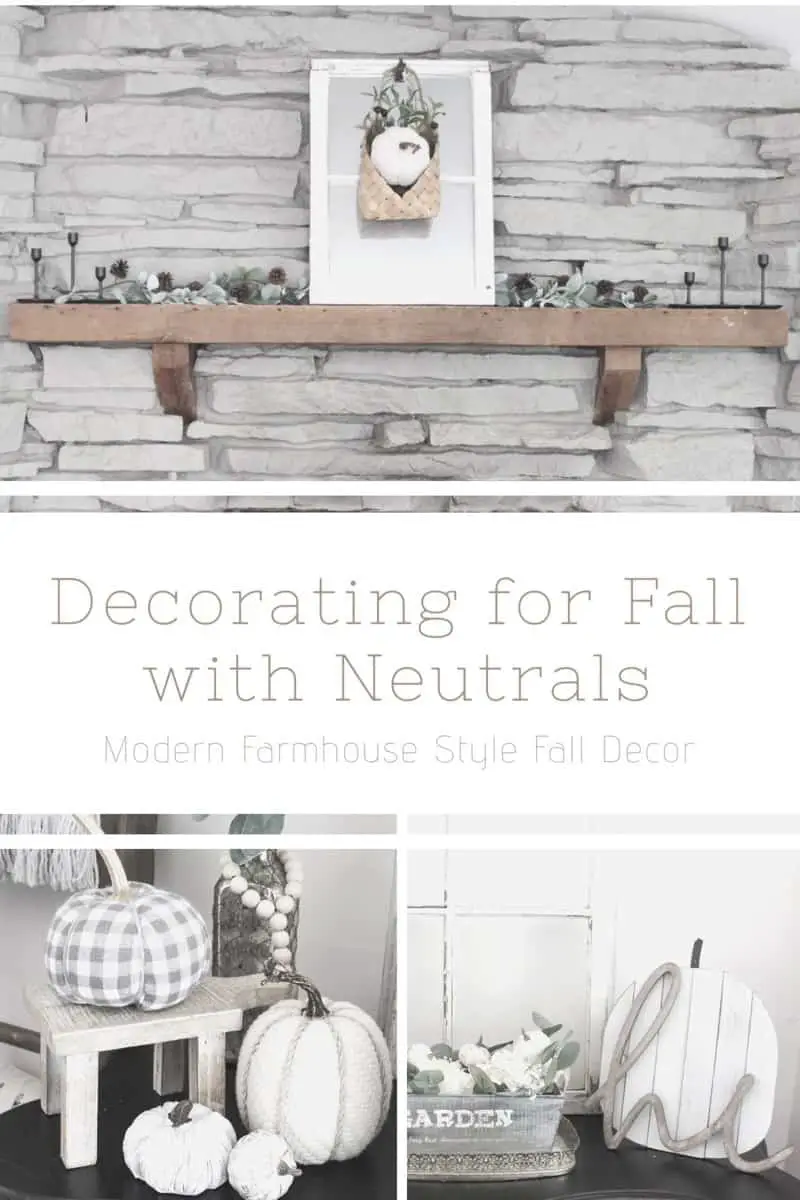
I found this awesome faux eucalyptus wreath from the Hearth & Hand line at Target which I added that little bow to. Then I used some twine to hang the wreath and used a staple gun to attach it to the back of the sign. And this is how it turned out. I’m obsessed!!
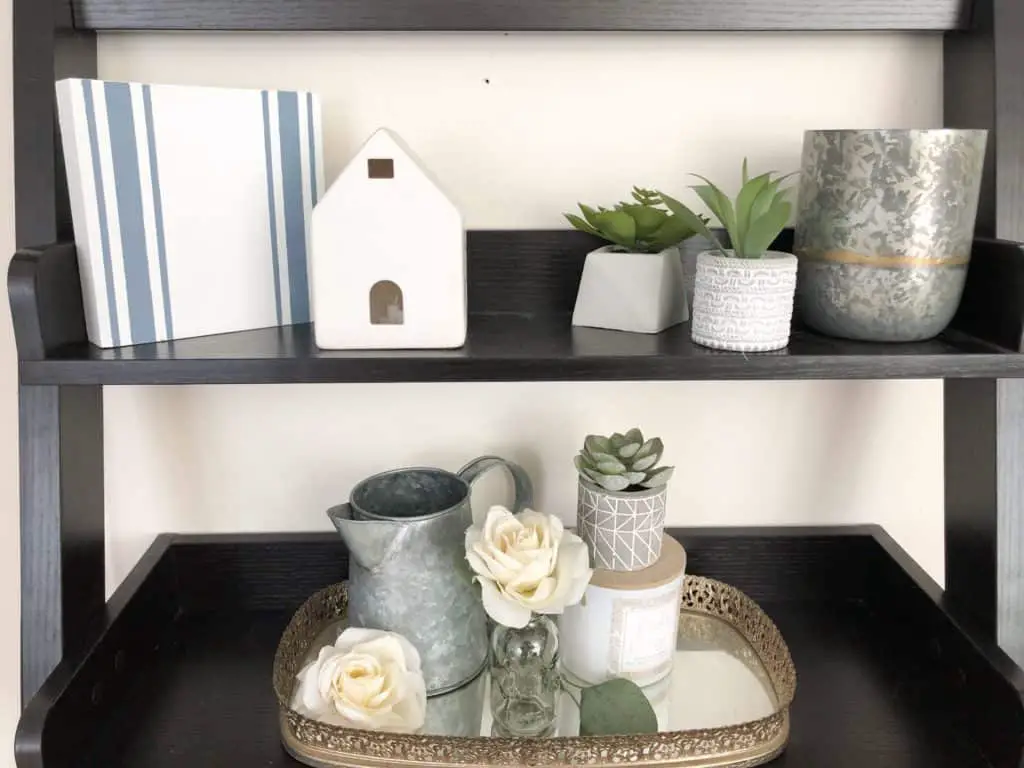
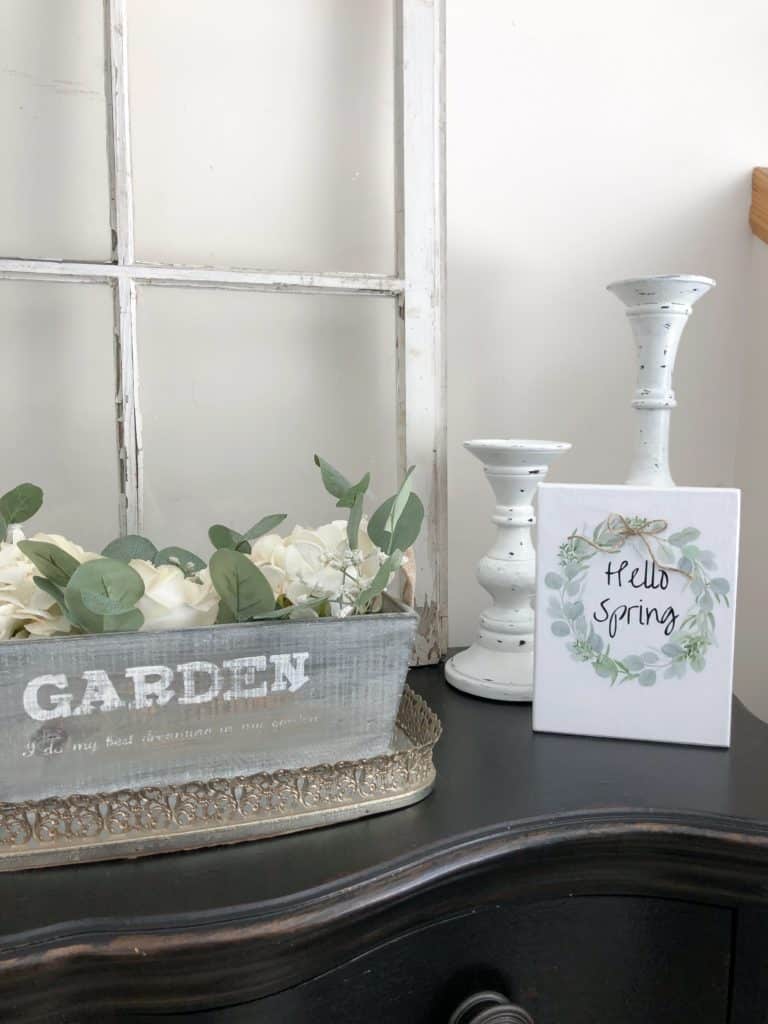
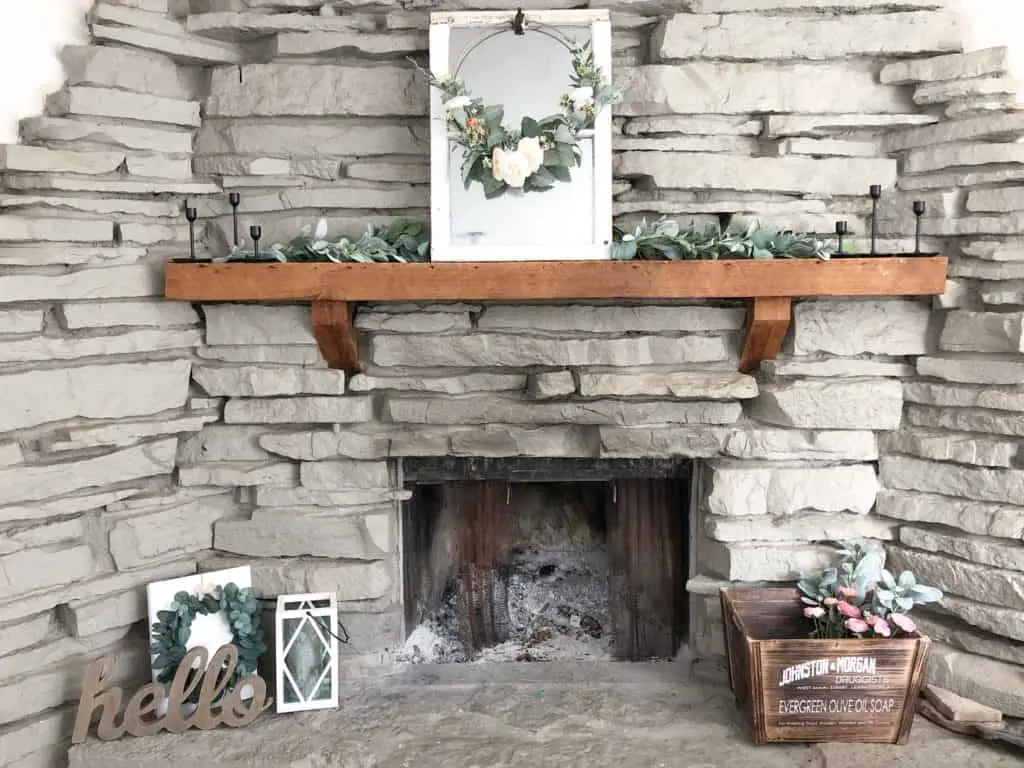
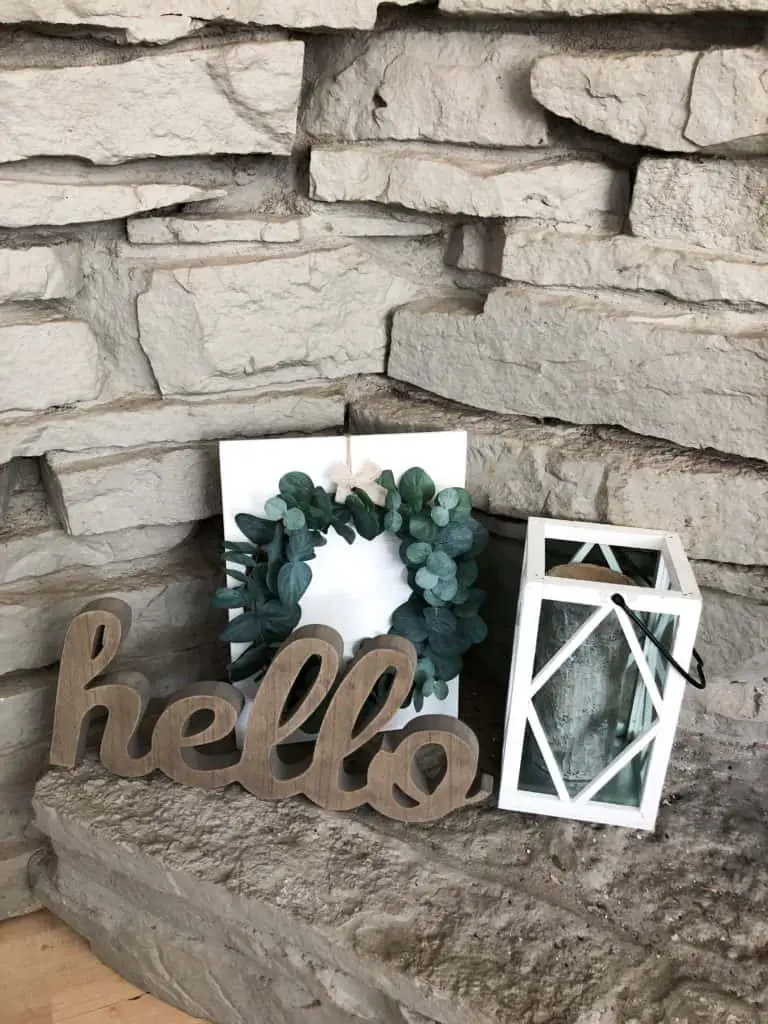
The striped sign and the shiplap wreath sign I am planning on incorporating into my gallery wall which I’m working on redoing so stay tuned for that. But for now they live amongst all my other spring décor that I just put up. I am ready for winter to be over, anyone else? Be sure to let me know what you think of these transformed farmhouse wood signs in the comments below. See you next time ☺

