Fall Pumpkin DIY’s Under $5
Hello Friends!
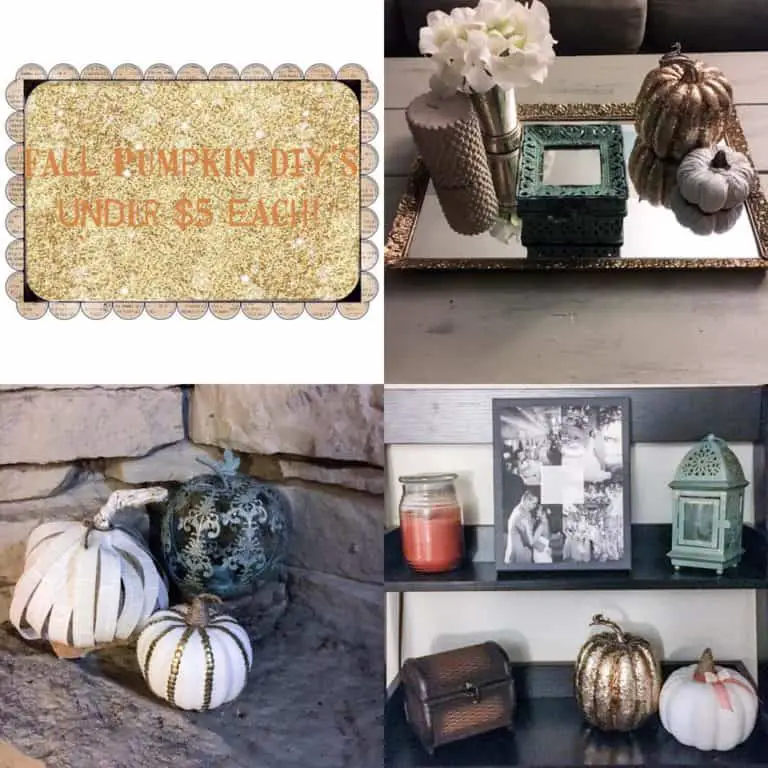
It’s time to get crafty! I was in the market for some new fall decorations and decided to take on the challenge of making my own! I found nearly all of my supplies at either the dollar store or thrifted them and a few things I already owned but would otherwise have purchased at a craft store. Each pumpkin I made cost under $5, including one being only $1 total!
I originally had several different types of decorations I wanted to make but decided to stick with a pumpkin theme. I transformed 3 pumpkins and crafted one entirely out of paper products! For more details and instructions on these $5 and under DIY pumpkins, keep reading!
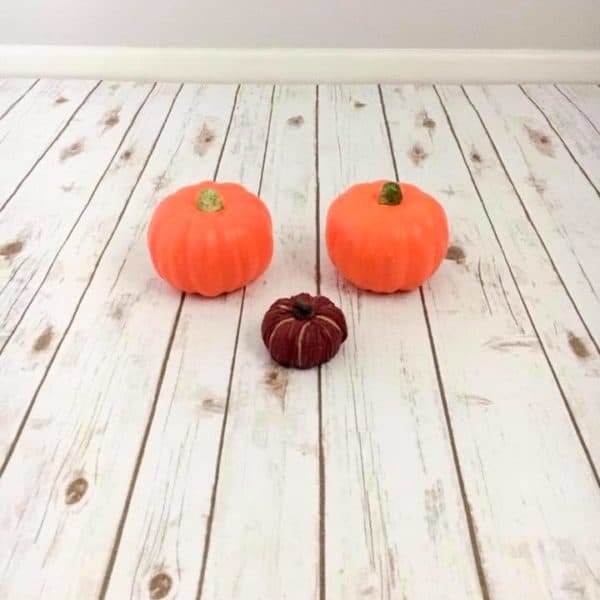
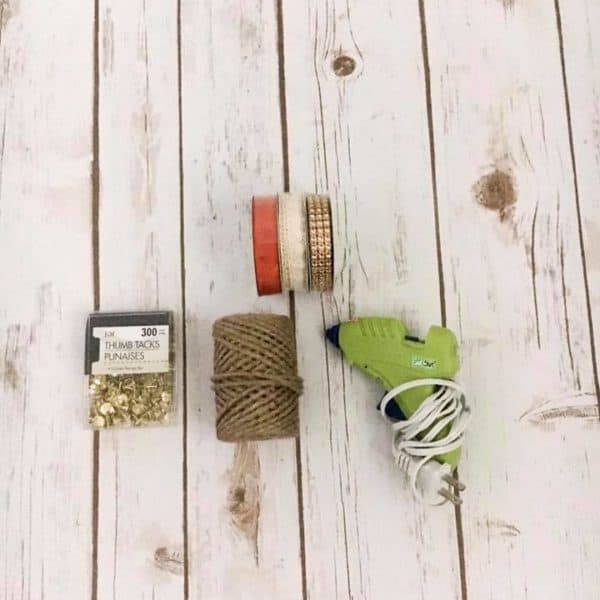
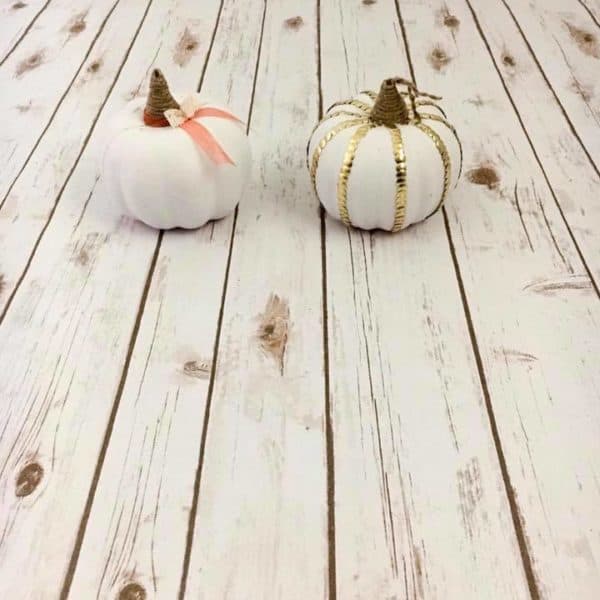
These are the three pumpkins I started with. The 2 bigger ones I got at the dollar store for $1 each and the small one I thrifted also for $1. In addition to some white spray paint, I used hemp, a hot glue gun, both of which I owned, gold thumbtacks, and some fall inspired ribbon which all were purchased all for $1 each at the dollar store.
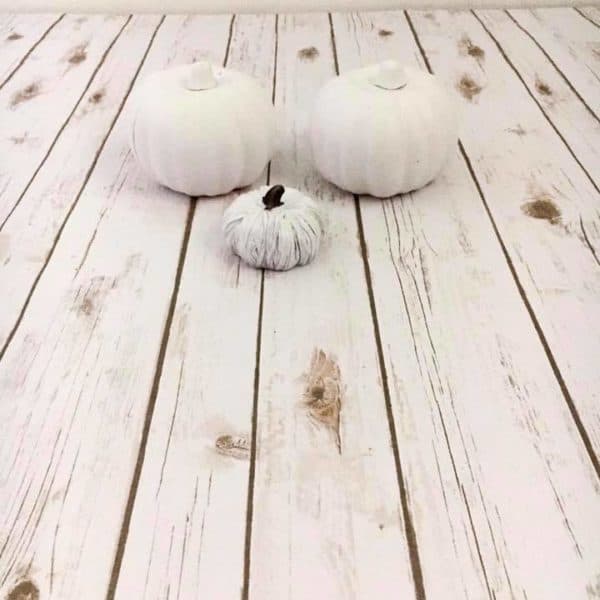
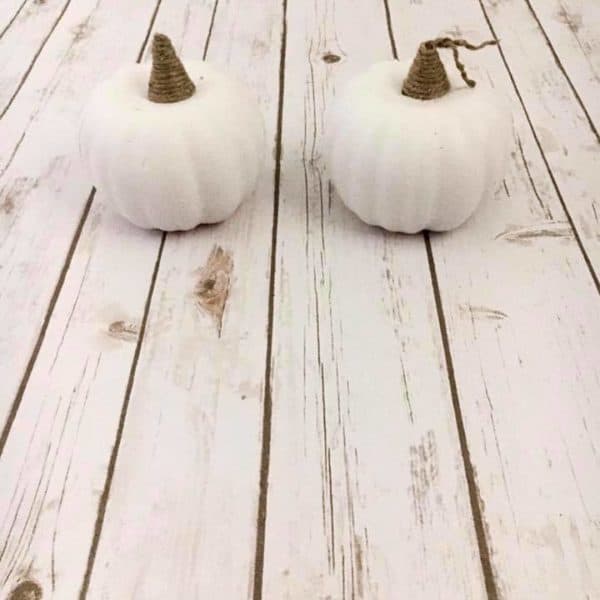
All I did was tape off the stem of the small one because I wanted that to remain brown and spray painted them white. Using a hot glue gun and hemp I made these cute stems on top of both pumpkins. All you have to do is lay down a line of hot glue around the original stem of the pumpkin followed by the hemp. Continue laying down the hot glue and hemp until you reach the desired height of your new stem. I did one slightly higher than the other. I also did one stem completely finished and the other I left a piece of the hemp unglued and also slightly unraveled to look like pieces of vine were still attached to the stem. You can leave the pumpkins like this and I think they look really cute for a more simple decoration or spruce them up a bit more as I did.
On one pumpkin I used the thumbtacks to create this sort of studded look and on the other I crafted a bow out of the ribbons. You can really do any sort of design or even a word would be cool with the thumbtacks! I recommend lightly sketching out your design to give yourself a guide as to where to place your thumbtacks. On the other pumpkin, I simply made a bow out of the fall ribbons.
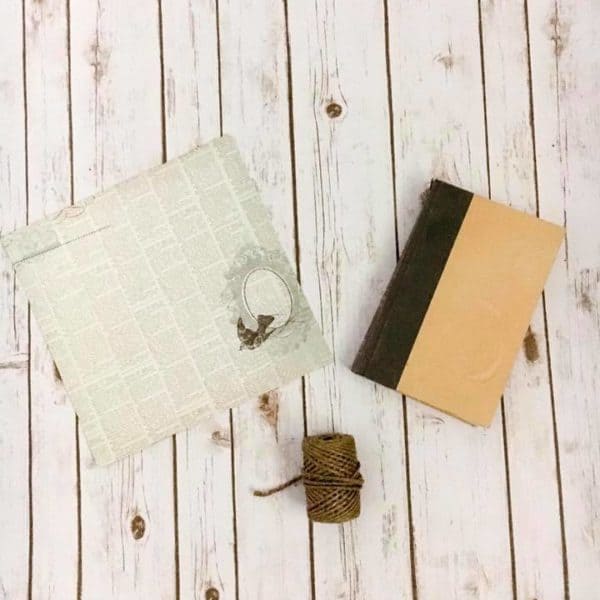
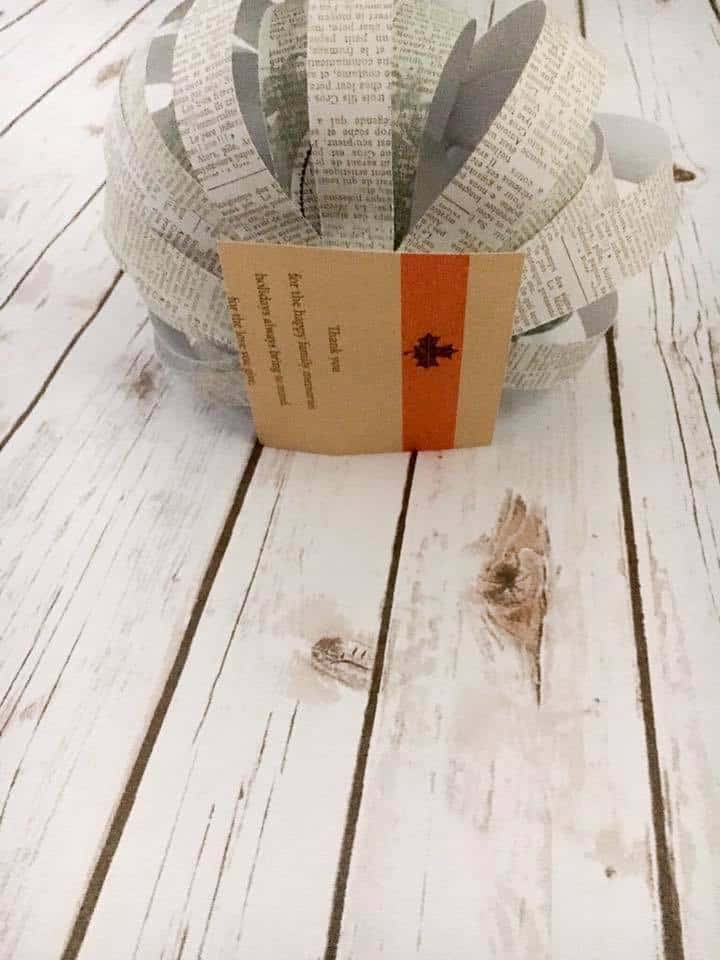
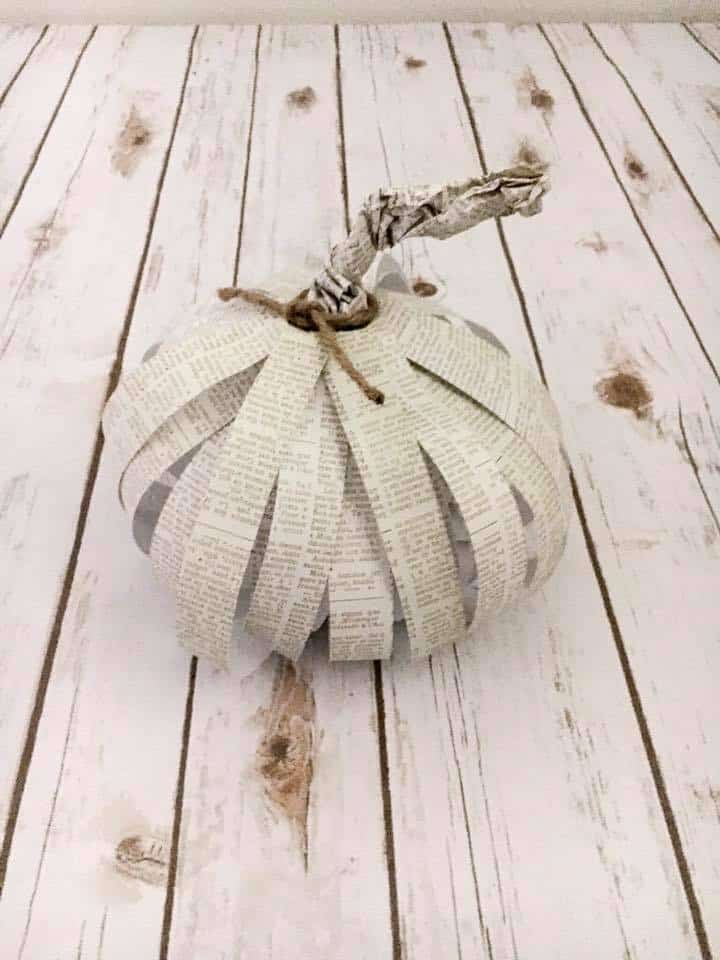
The next pumpkin I created entirely out of paper products. You can use any type of paper, I had a thrifted book which was $3 and some scrapbook paper I was going between and ultimately decided on the scrapbook paper so my pumpkin would be larger. I already had the paper but it is very cheap to buy individual pieces of scrapbook paper from any craft store and you will need 3 pieces of 12 X 12 paper. I also ended up using some hemp to tie around the stem as you will see.
You will need 10 1″ thick pieces of paper that are 10 inches long and then at least 10 more 1″ thick pieces of paper that are 12″ long to achieve the size pumpkin I ended up with. You can use more strips if you want a fuller looking pumpkin.
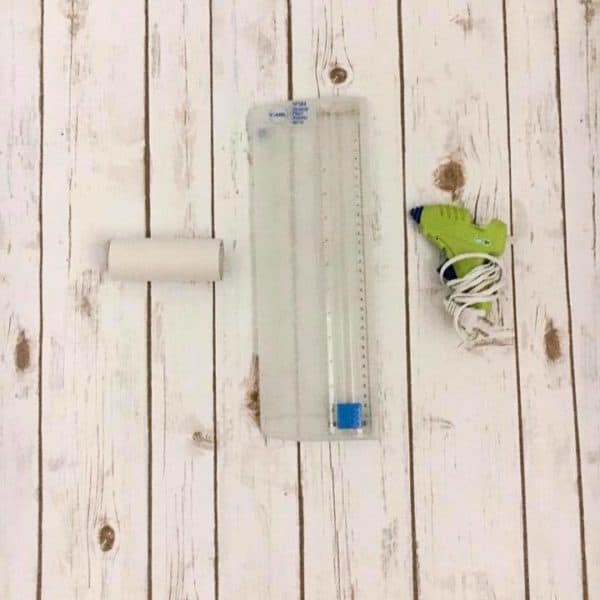
You will also need a toilet paper roll. If you are making a smaller pumpkin I would use 8″ and 10″ strips of paper and half a toilet paper roll.
Lastly you will need something to cut the paper strips, I used a paper cutter, and some sort of glue which I used a hot glue gun.
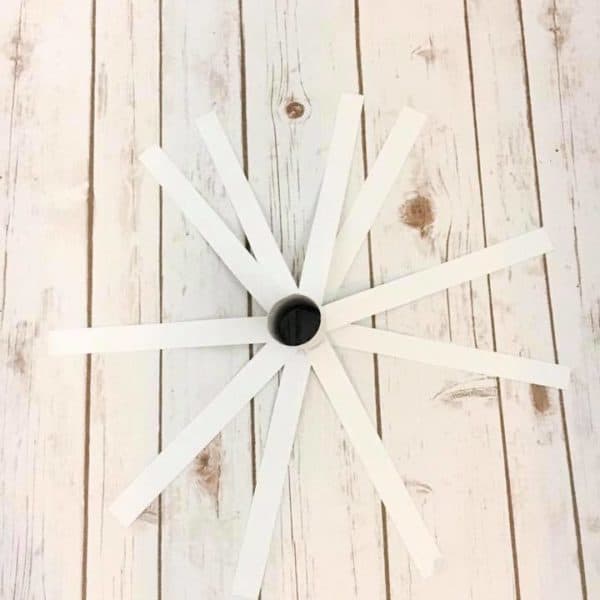
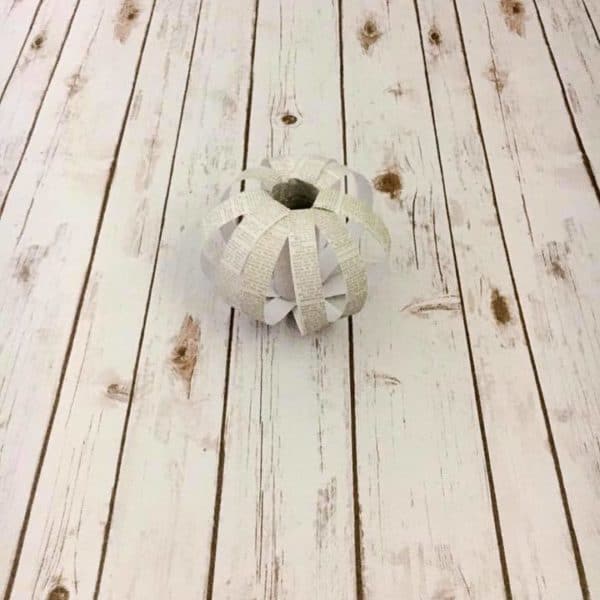
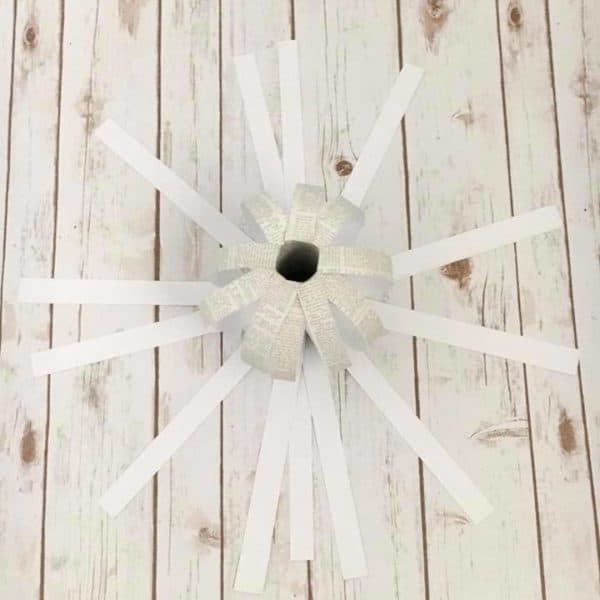
Start with your shorter strips and glue them them to the inside of one end of your toilet paper roll. I decided to do what I wanted to be the bottom of my pumpkin first. I used about 1/4 of an inch of paper to glue, I found the tighter the inner ring the better it hid the toilet paper roll. Next you simply repeat the same process with the other end of your toilet paper roll to create the inner ring of your pumpkin. You can add more strips if you would like to hide the center even more.
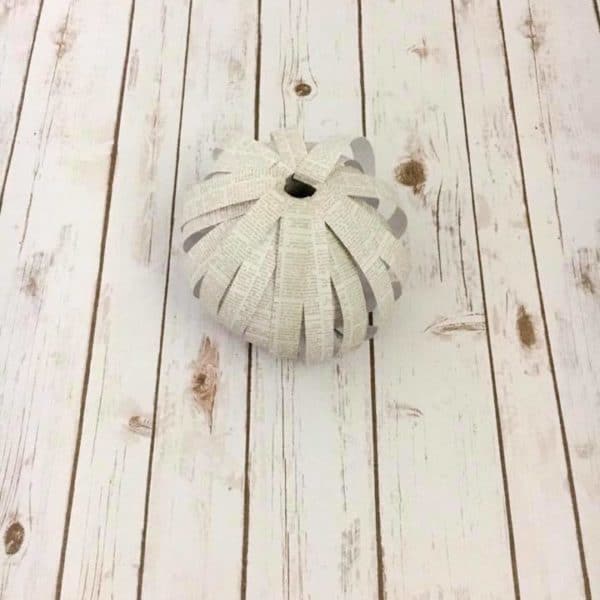
Then flip your roll back to the bottom and glue all your longer strips of paper. Just as you did with the shorter strips. You can first hold a paper strip to each end of your toilet paper roll to get an idea of how big you want your outer ring to be before gluing and then once you do glue just match each new strip to the previous one to maintain evenness. Flip your roll back to the top side and glue the other ends of your strips just as you did before. That completes the main portion of your pumpkin! From here you can still add more strips if you want a fuller pumpkin.
To finish your paper pumpkin I recommend cutting a square piece of cardboard to glue to the bottom of your pumpkin to help it stand better. For the stem, simply take a sheet of paper, mine was 8″ wide by 12″ long and scrunch it into the shape you desire to create your stem. Glue the stem to the inside of your toilet paper roll and for a finishing touch I added some hemp to tie it in with some of my other decor.
Please let me know if there are any other kinds of DIY’s you would like to see and thanks as always for reading! Don’t forget, sharing helps me out so much to get new readers so please share to help me grow my blog and thanks in advance.
