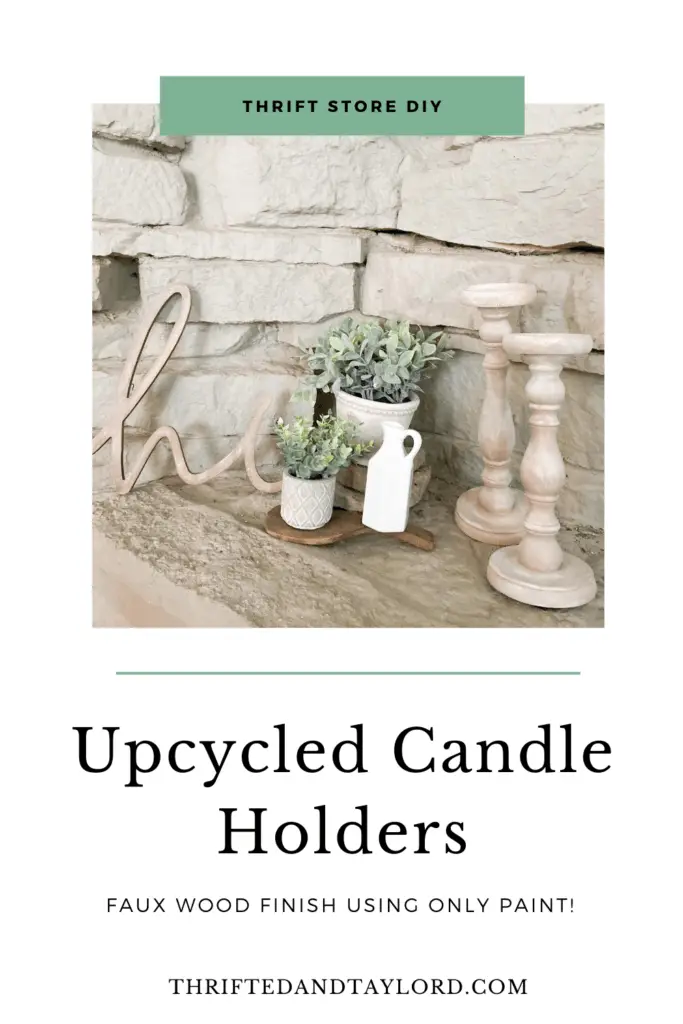
Upcycled Candle Holders | Thrift Store DIY
This post contains affiliate links for which I earn a small commission at no extra cost to you, should you purchase through them. Learn More.
Hey Guys!
Happy September! I am super excited for today’s post. Let me tell ya, the DIY bug has hit me. I have a few different projects in store for you but today we are starting off with these upcycled candle holders which I thrifted a couple weeks back (during this thrift trip.)
These wooden candle holders started off super dark and I wanted a lighter wood with kind of a white wash finish. Like a bleached wood effect. But I didn’t want to deal with all the sanding and stripping that would be required for that. So I got creative. I painted them!
Curious just how in the heck I managed to get this faux wood finish just using paint? Just a few simple steps and these upcycled candle holders had a whole new look. Read on to find out how you can get this same look for your own candle holders!
Upcycled Candle Holder Details
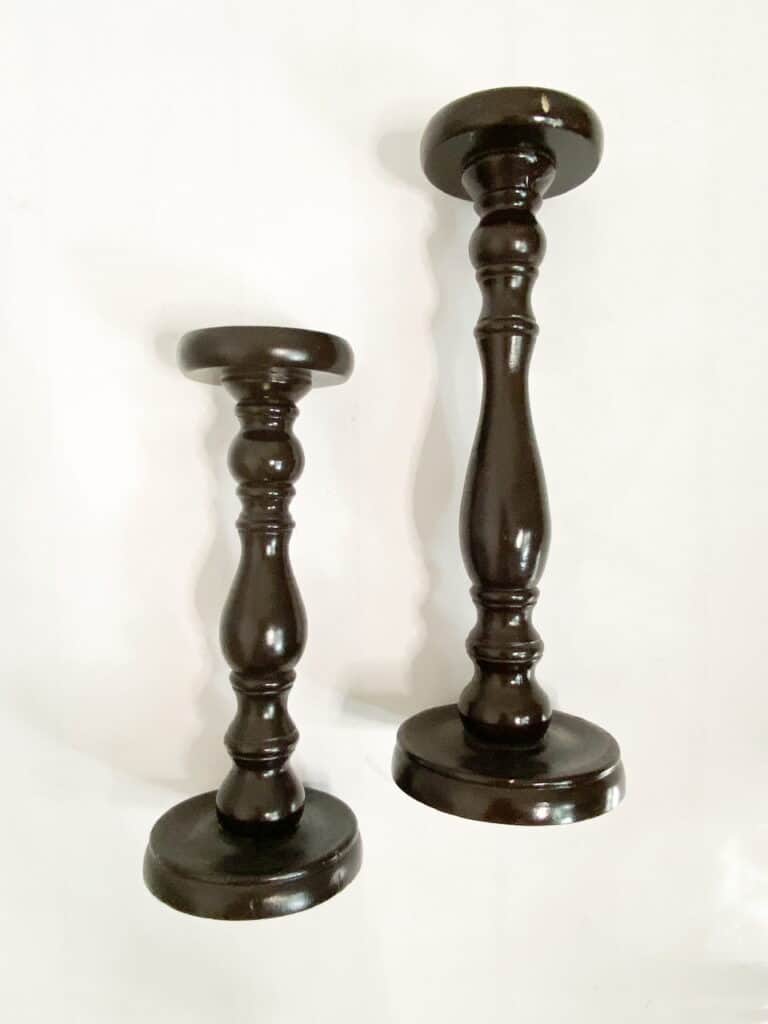
Here is how these candle holders started out. This super dark, glossy stain. But they are solid wood so it was a great find. One was $2.99 and the other was $3.99 (oddly enough the taller one was the cheaper one, not sure how that happened haha.)
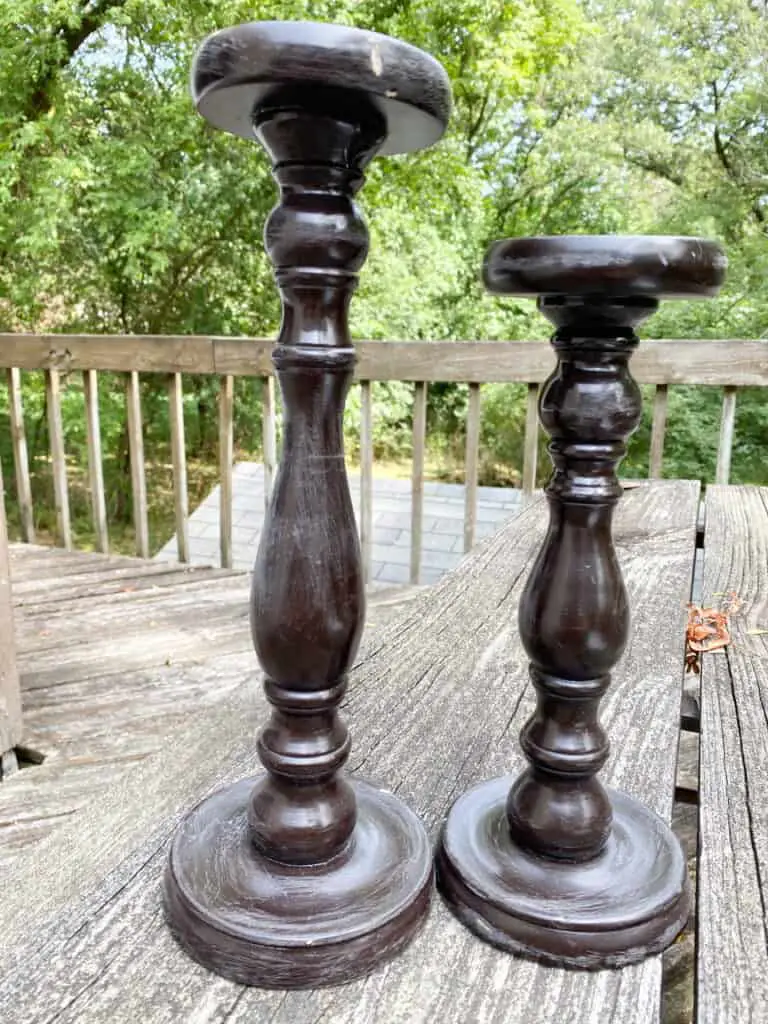
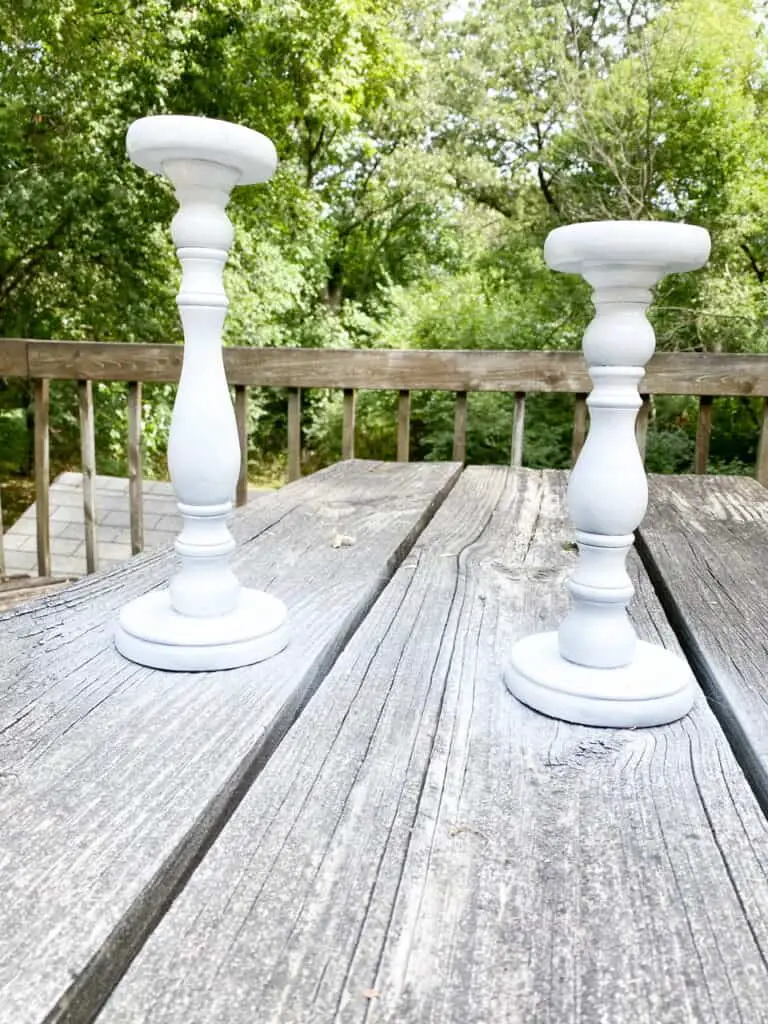
I started off by sanding them just a little to rough up the glossy finish and to give the paint something to better stick to.
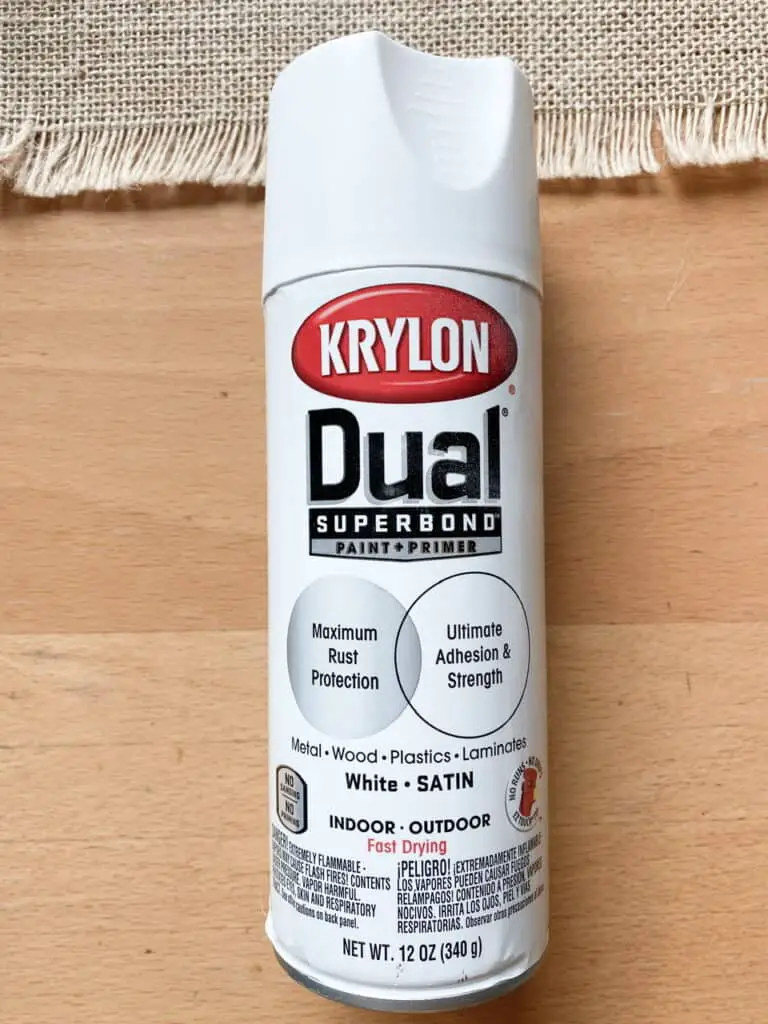
Then I gave them 2 coats of this white Krylon spray paint and primer in one. I didn’t need it to fully cover every single area since I was going to be painting over it. But I needed enough coats that it was mainly white.
This helps the light paint colors I was using really show and allows the brush strokes to show giving off a wood grain appearance, as you’ll see.
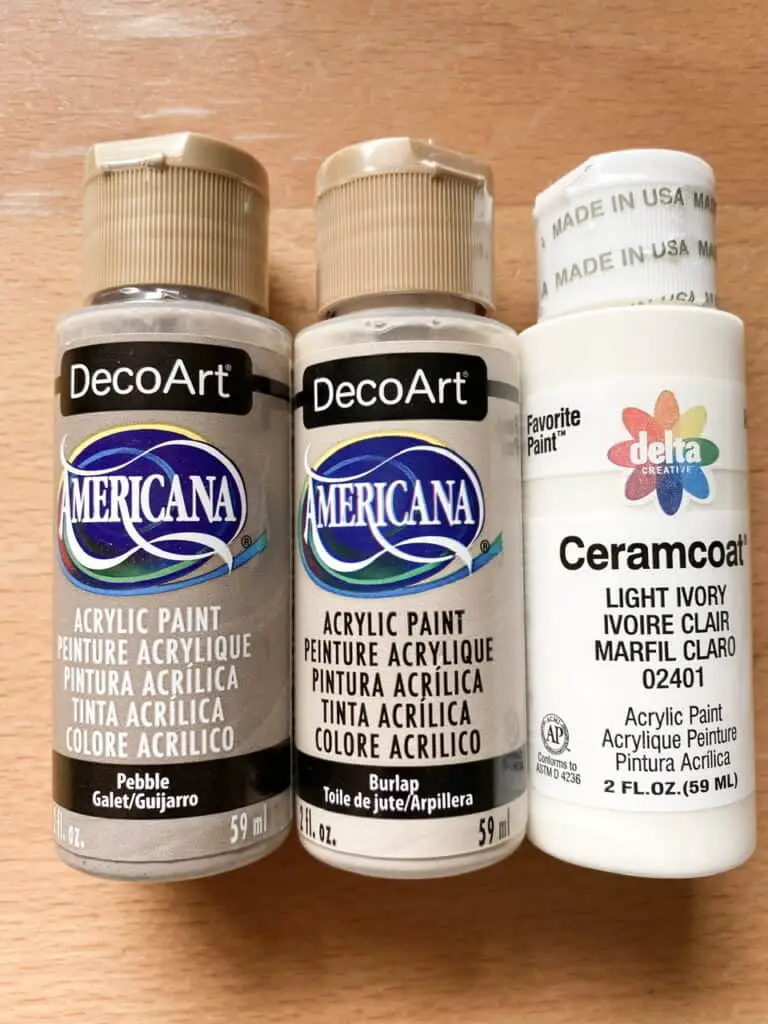
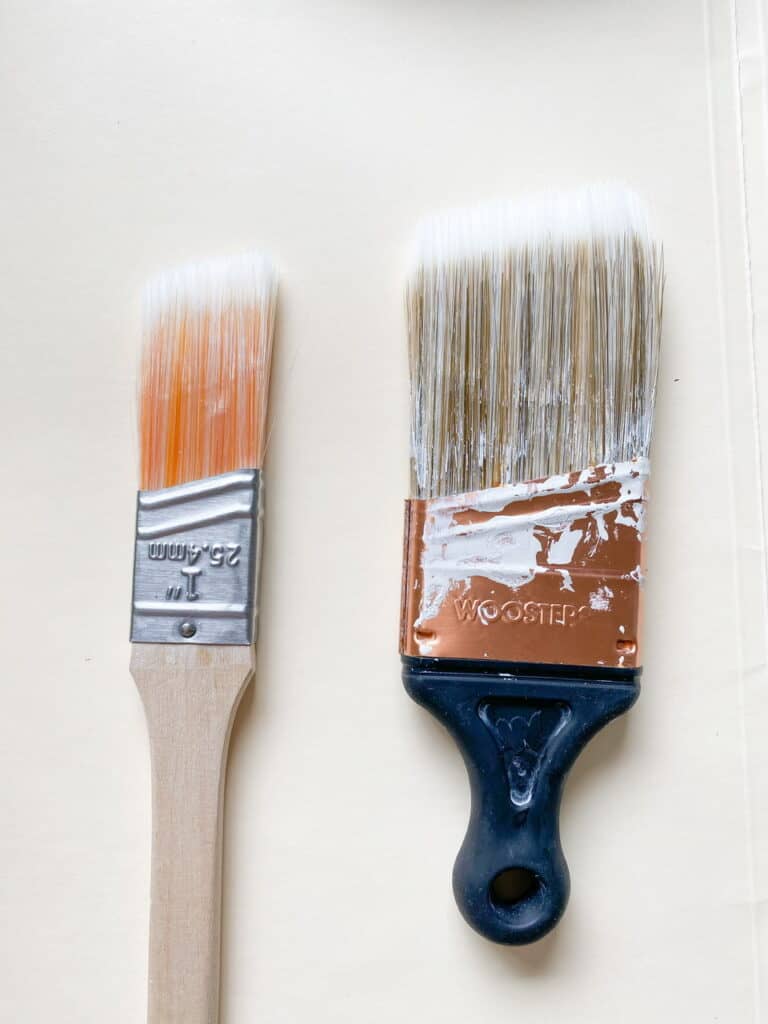
These are the acrylic paints I used for this project, all of them I got at Hobby Lobby for between $1.50 and $2 a piece. I used this short Wooster angled paint brush (one of my favorite paint brushes) for the brown colors and this skinny 1” Wooster paint brush for the cream paint.
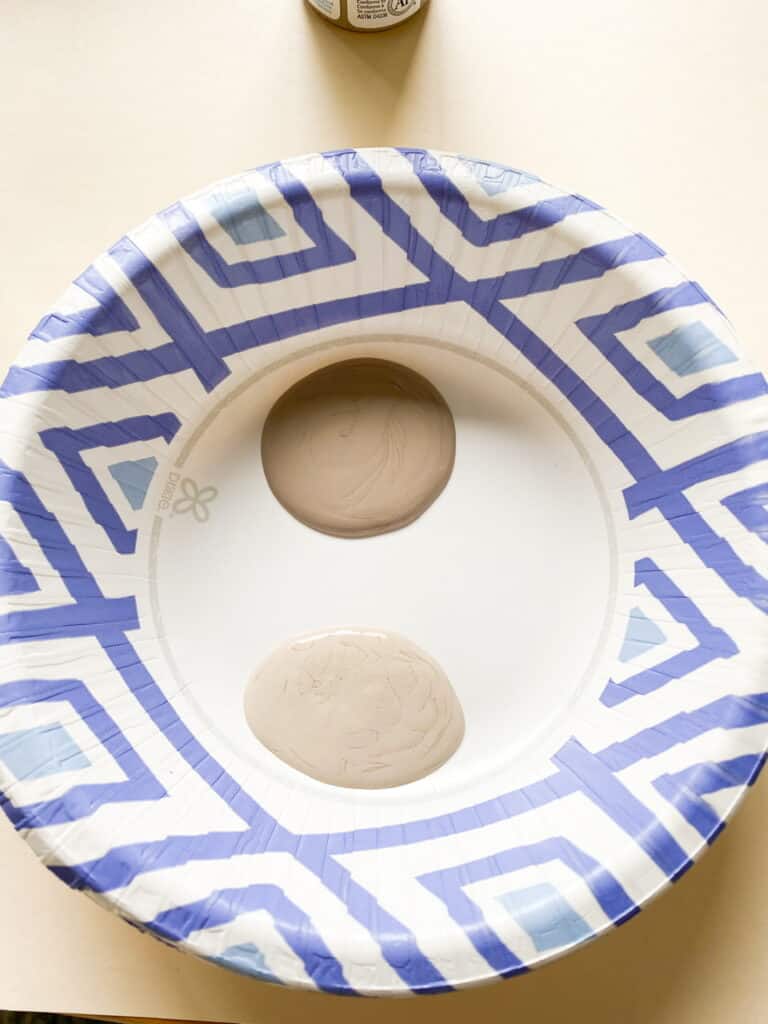
I started off by putting my 2 brown colors into a bowl separately. I dipped my brush in each color and then tapped it on the bowl to leave just a small amount of paint on the brush. I used light strokes to paint the entire candle holder, going back to the bowl of paint as needed.
Then I used each color separately and very lightly over top of my first coat of paint to give the color more variation and texture which you would see if it were stained because of the wood grain.
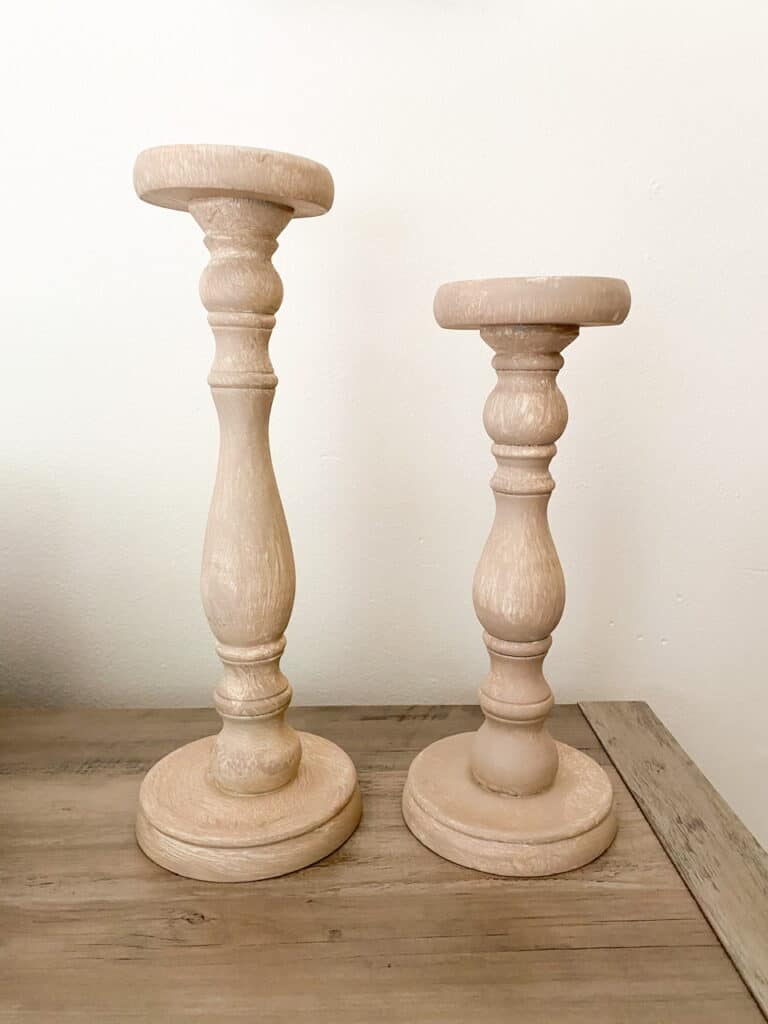
This is how they looked after that initial painting process. I actually really liked them just like this, but I had something very specific in mind I wanted for the end result so I went on to the next step.
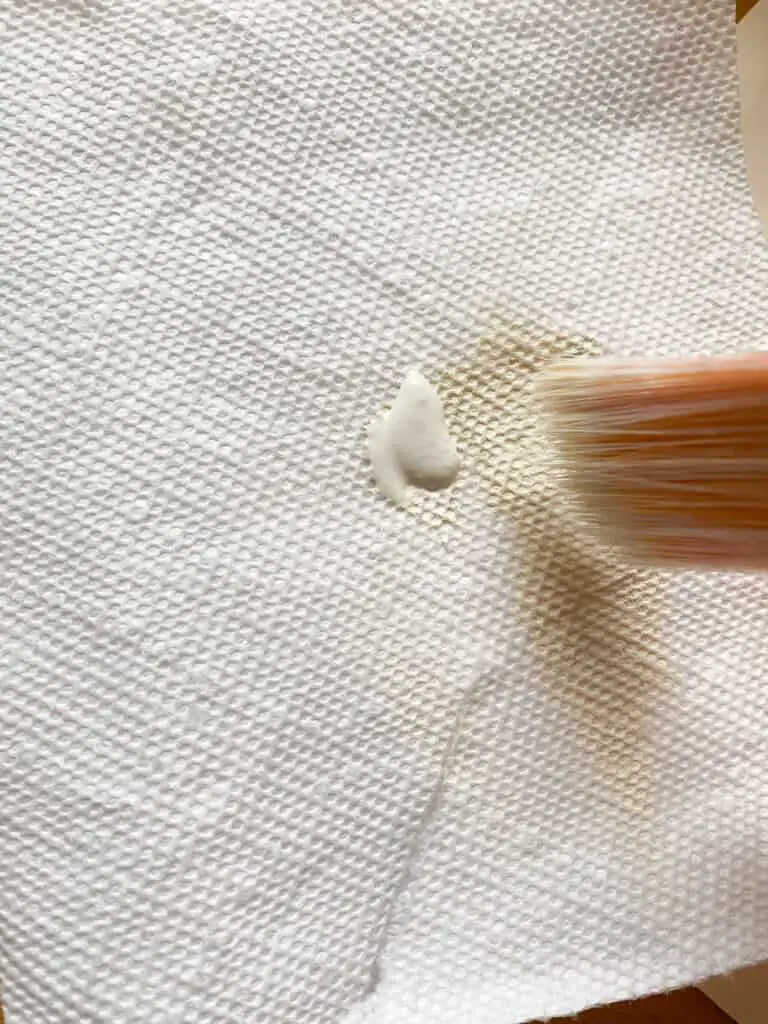
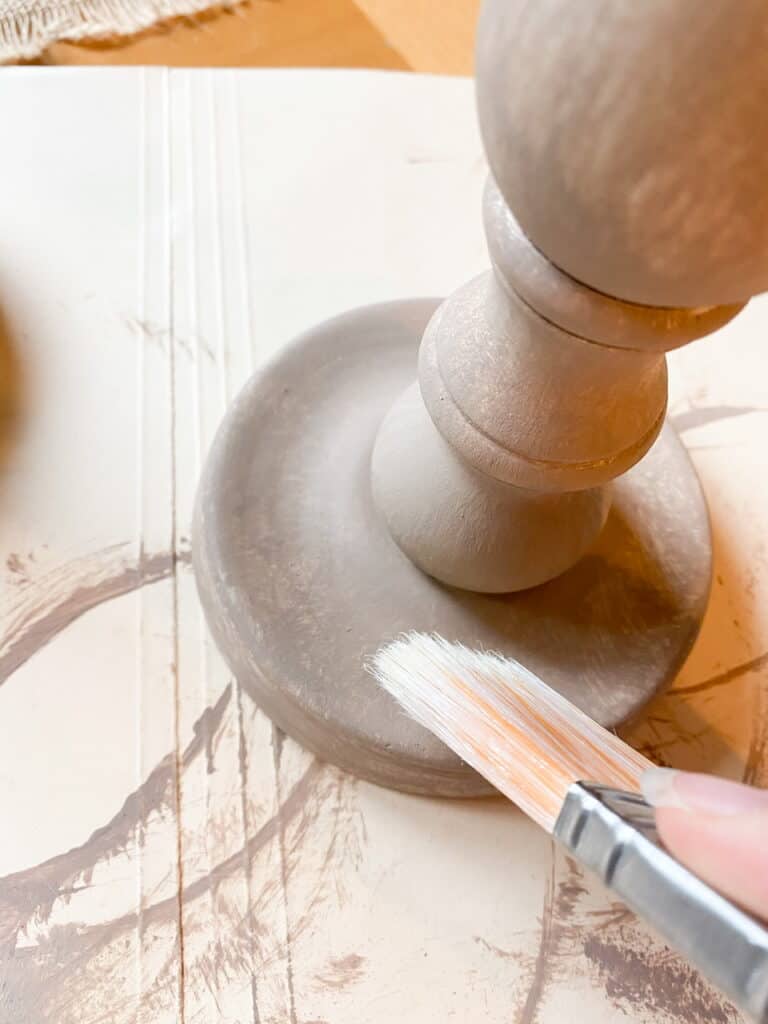
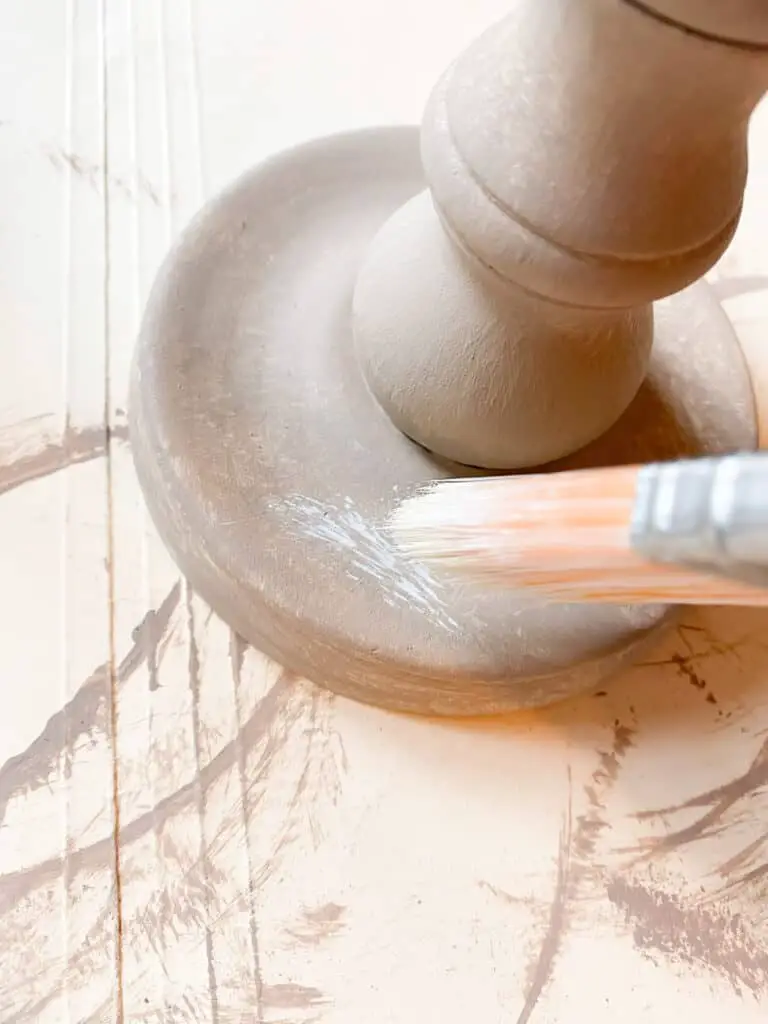
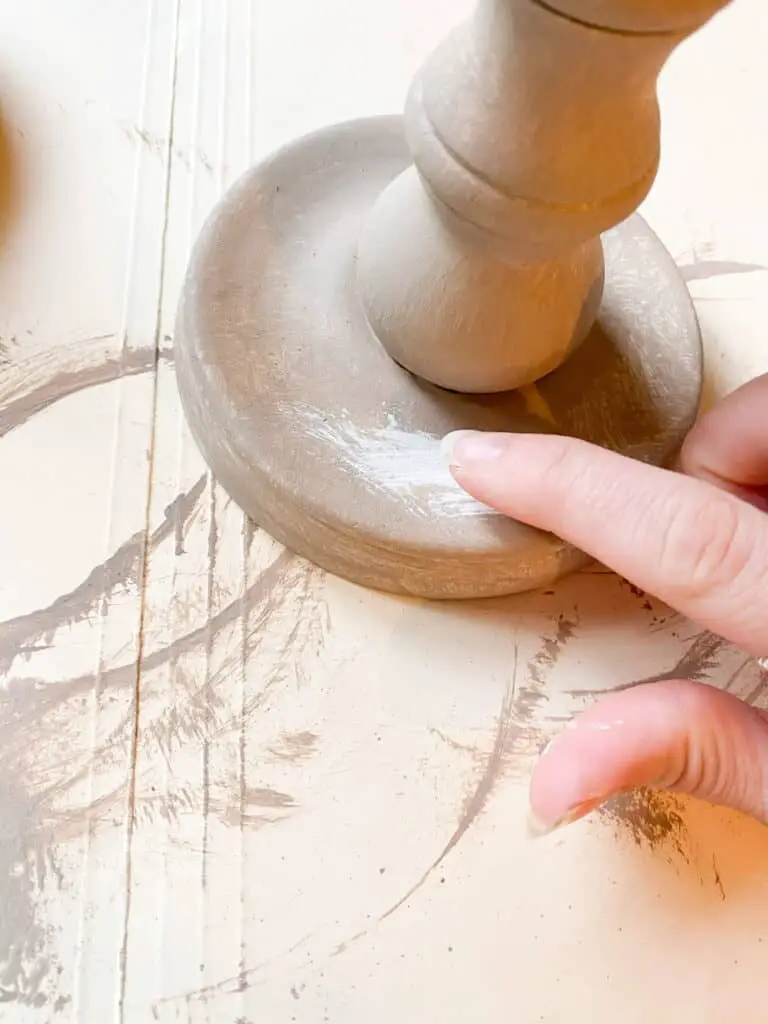
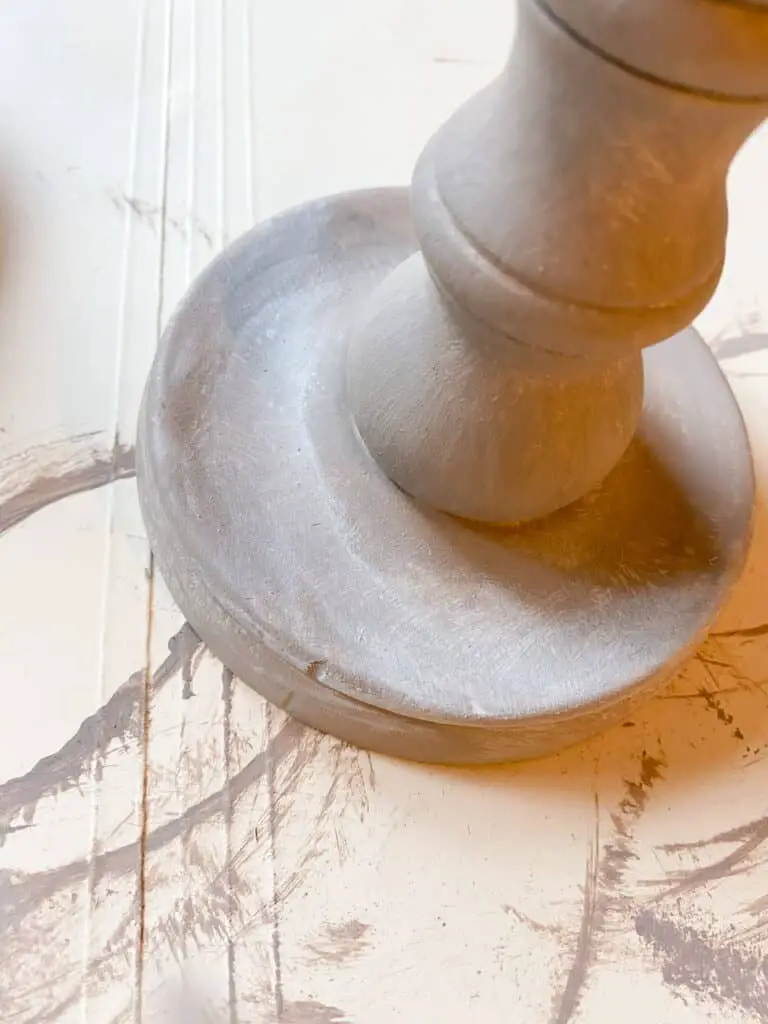
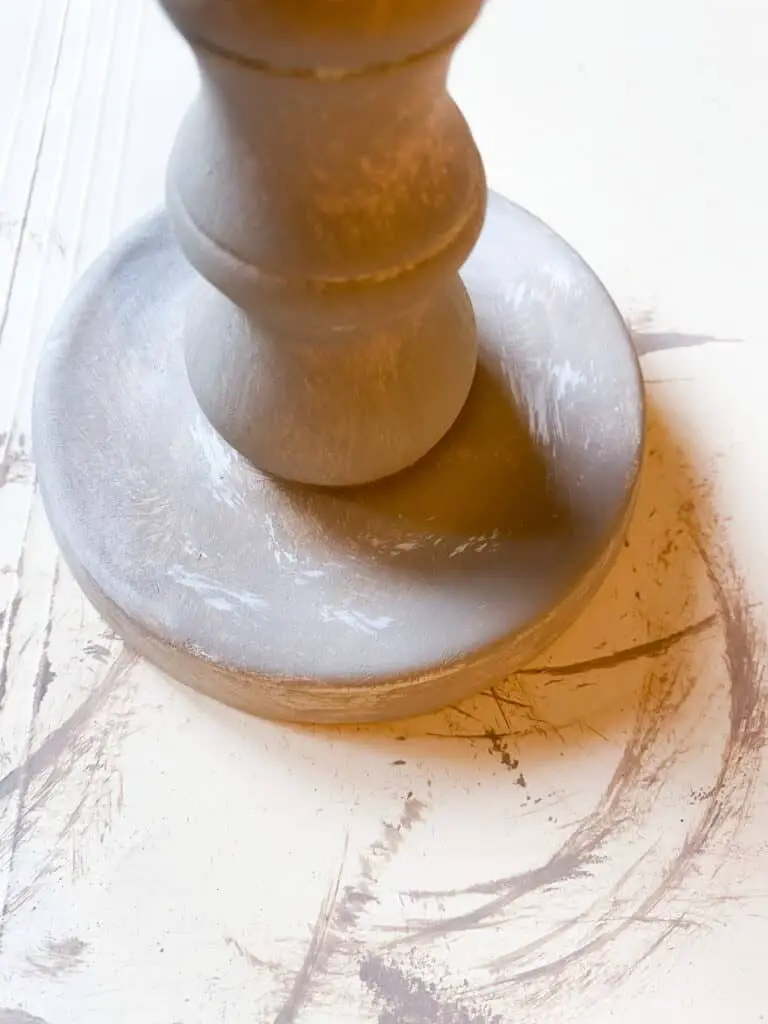
I put some of the cream paint onto a paper towel (this absorbs more of the paint which I needed to get the look I was going for.) I dipped my smaller paint brush in the paint and then tapped in on the paper towel to remove most of it.
I very lightly tapped the paintbrush on the candle holder and then immediately used my finger to rub the paint around, giving it a very faint white wash finish.
I continued this on each of the entire candle holders and then would also go in with some tapping marks over top to create some texture.
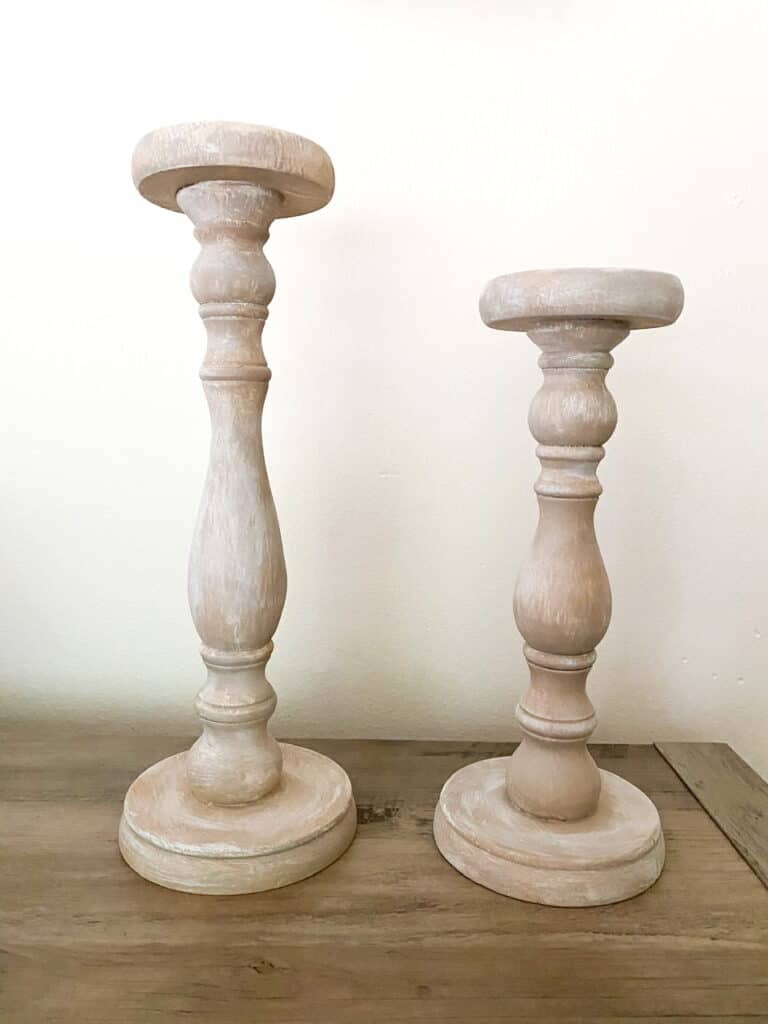
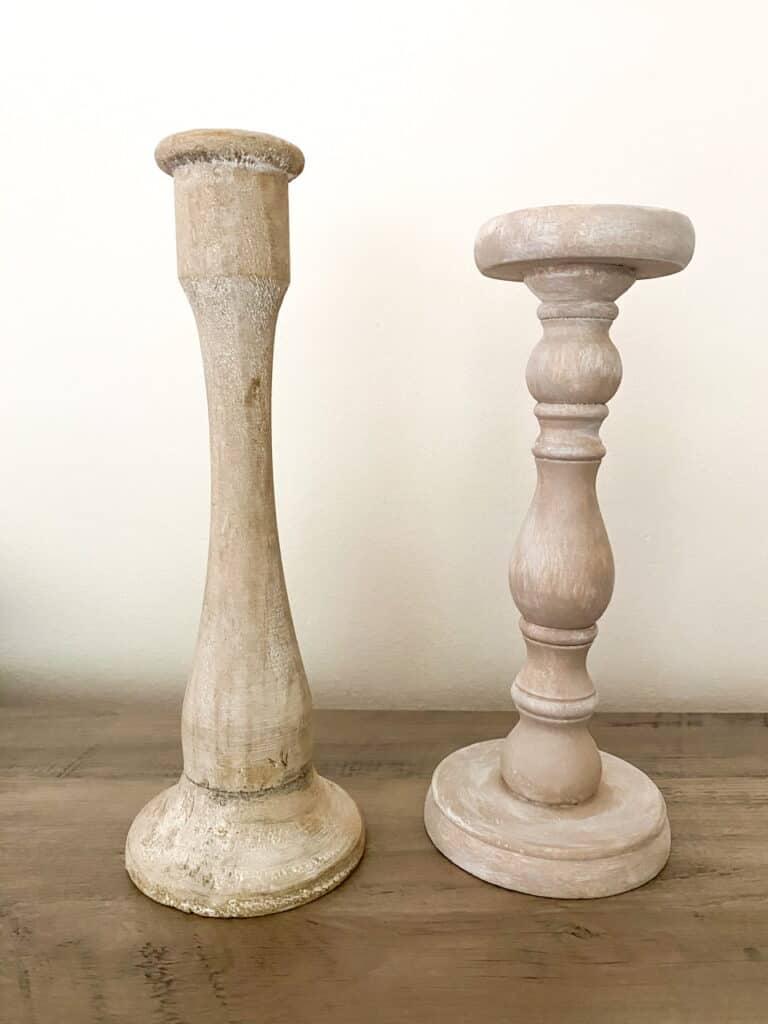
And here is how they turned out! I just love them. They are exactly what I was envisioning. I even compared them to this other set of candle holders that I have which are pretty much exactly what I was trying to emulate. I think they are pretty darn close!
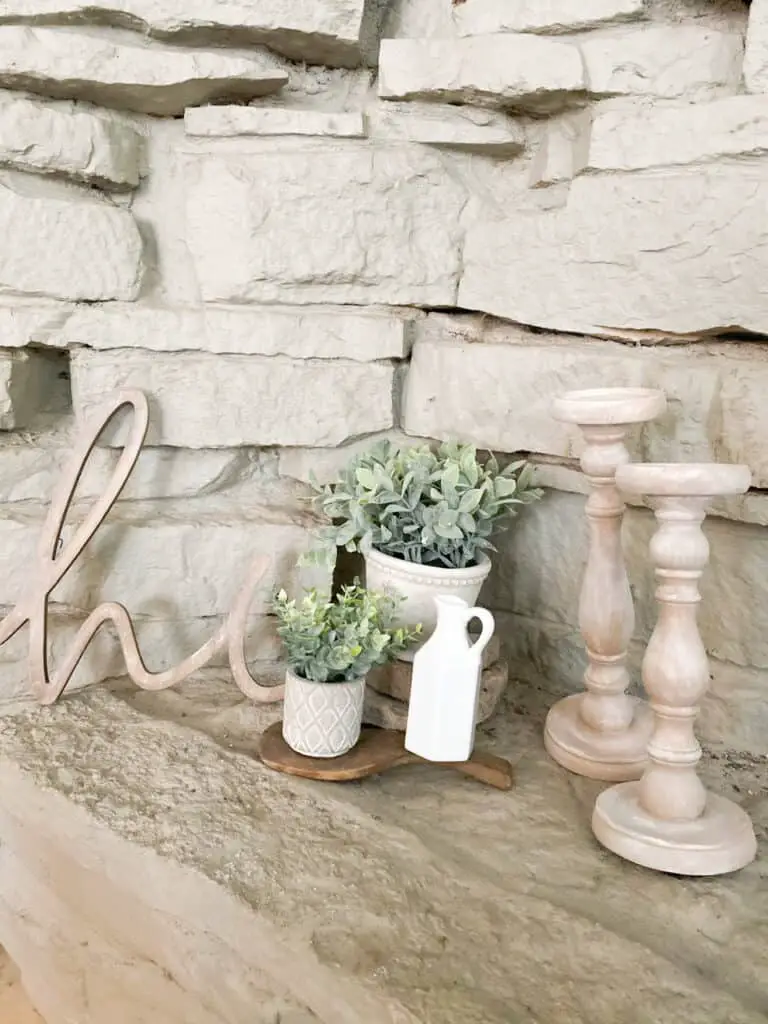
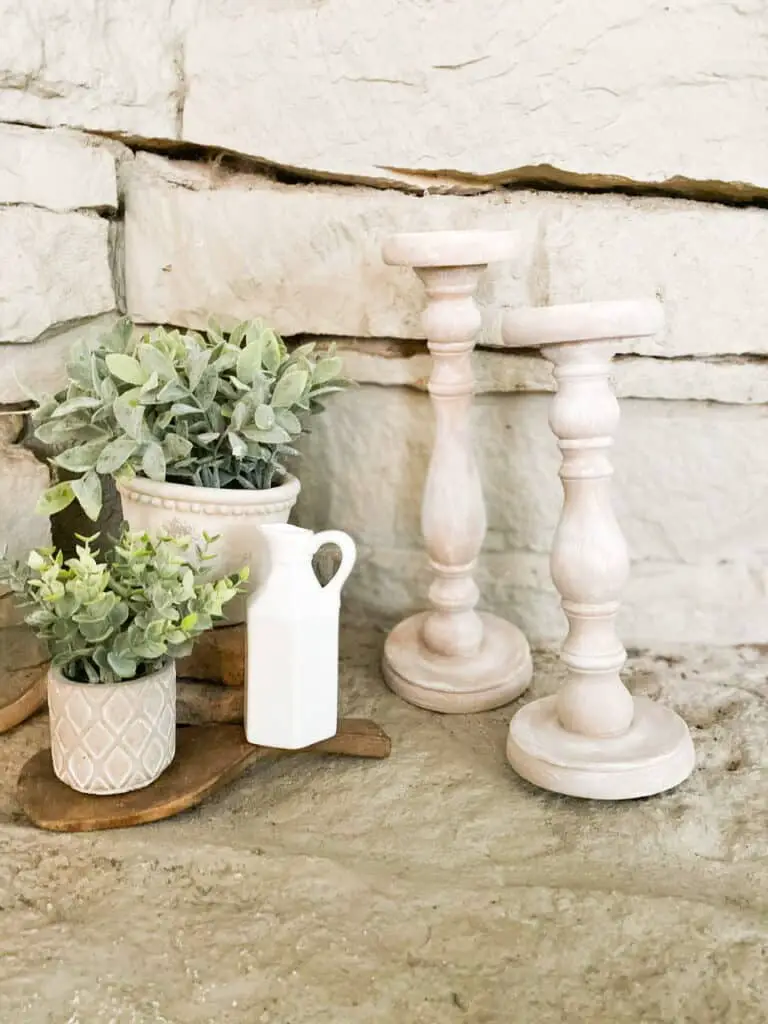
I have no idea yet where I want to place these but it’s about time to start getting out the fall décor and I’m thinking this area of the fireplace might be perfect.
What do you think of these upcycled candle holders? I’d love to hear from you in the comments below! See you next time.

Follow Me!
Facebook
Twitter
Instagram
Pinterest
