Transforming a Thrifted Piece of Artwork
I love browsing the frame and artwork sections at thrift stores. With a little imagination you would be amazed at what you can do to make a brand new piece of decor and for far less than you would pay at retail stores. Read on to see how I did this transformation I love!
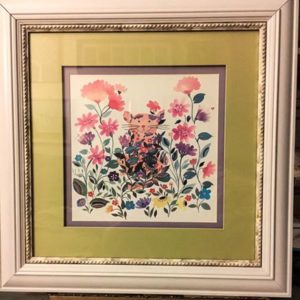
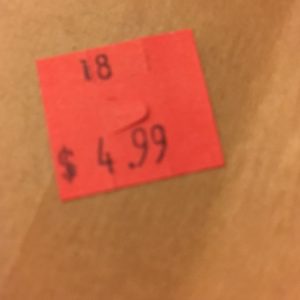
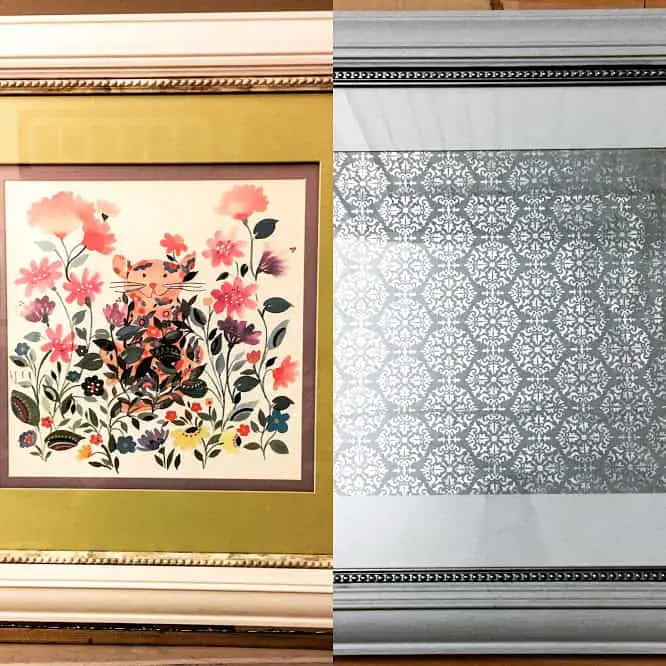
I found this piece and really liked the frame but the artwork was definitely not my style. I find it very exciting to find things that have their original price tag on them because then you can really see how much you saved by buying it second hand. So as you can see, this was originally $49.99 at Bed Bath & Beyond. Not only was this marked at only $4.99 but it was 50% off so I scored this bad boy for $2.50!
With a little creative thinking I was able to turn this into a piece I love! I will give you a step by step of what I did to make it my own.
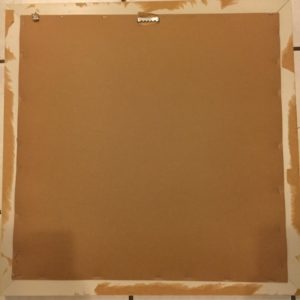
To begin my transformation I removed the paper backing and found that the frame backing was stapled on. Let me tell you, it is not an easy task to get those out. So I ended up removing all the staples from just one side so I could slide out the artwork and the matting.
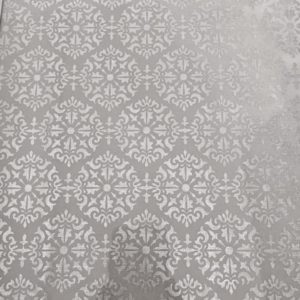
The new “artwork” I used is actually tissue paper I found and was enamored with the metallic pattern that it had. So I re-purposed the original artwork by flipping it to its back, which thank goodness was white, so you wouldn’t be able to see the art through the tissue paper. Then I centered it on the tissue paper and taped the edges of the tissue paper to the back side of the artwork. Then for a second surprise, the backside of the matting was white as well so it was a double bonus that I could reuse both!
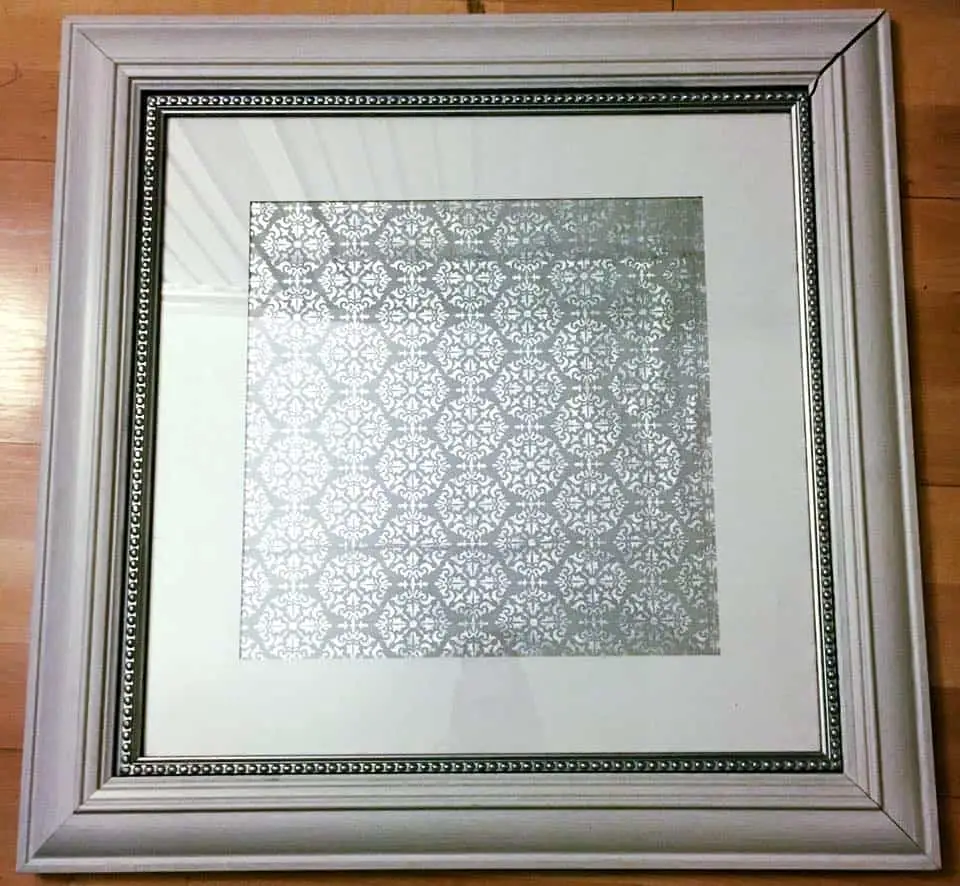
Finally, the whole finished project! I love how it turned out and can’t wait to hang it! Hopefully, I have inspired you to get your creative juices flowing to make something your own!
Thank you for stopping by and taking the time to read. Please share with your friends and feel free to leave some ideas you have after reading!
