Paper Scroll Sign And Wreath DIY
This post contains affiliate links for which I may earn a small commission at no extra cost to you. Thank you for your support! Learn More.
Hey Guys!
It has been a minute since I’ve done a DIY on here. Like actually about a year and a half when I did these DIY milk jug vases. Woah. Well other than doing some painting and other small projects here and there. So I figured it was time to get back into some DIY’s that I have had in the back of my mind. I’m starting off with this adorable and super easy paper scroll sign and wreath.
I have seen so many of these floating around Pinterest and Instagram and I’ve been dying to do one myself. I love how cheap and easy this project is. It’s also totally customizable, plus you can change it from season to season. A lot of the ones I saw were just beautiful brush lettering spelling out sweet words and maybe some hand drawn pictures to go along with it. I love the look of these gorgeous pieces of art.
I decided I wanted to add a little something more to mine. I thought making a little wreath to go around my wording would look so cute. The wall space for my scroll is not a very big so I decided to keep it on the smaller side. But I think this would look amazing large as well.
I happened to have a bunch of kraft paper rolls left over from Jax’s first birthday party. They were cut in half since I used them as table runners so they were the perfect size for the space in which my scroll was going to live. I got them originally from The Dollar Tree so you can get them for a steal there or you can get them from Hobby Lobby. If you catch them on a day that they’re half off, they’re only $4 and it’s a bigger roll than what you get from The Dollar Tree. These are the eucalyptus stems that I used, I love these and they’re amazing quality. Again, you can get some from Hobby Lobby at half off as well and theirs are also great quality.
I’m no expert at brush lettering but I absolutely love the look of it. The trick I used to get that lettering on my scroll paper is called the transfer method. I use this all the time and on so many different things. It’s super simple!
There are two ways to get your lettering template. You can make it yourself in Word, or any word processor. Just type out whatever saying you want and decide on a font you like. Or you can search Google images for something you like.
This works well if you’re using a pretty generic saying like my “home sweet home” one. I simply searched “home sweet home brush lettering” and scrolled until I found the one I liked best. Then you just print it out in whatever size you need to fill your scroll paper.
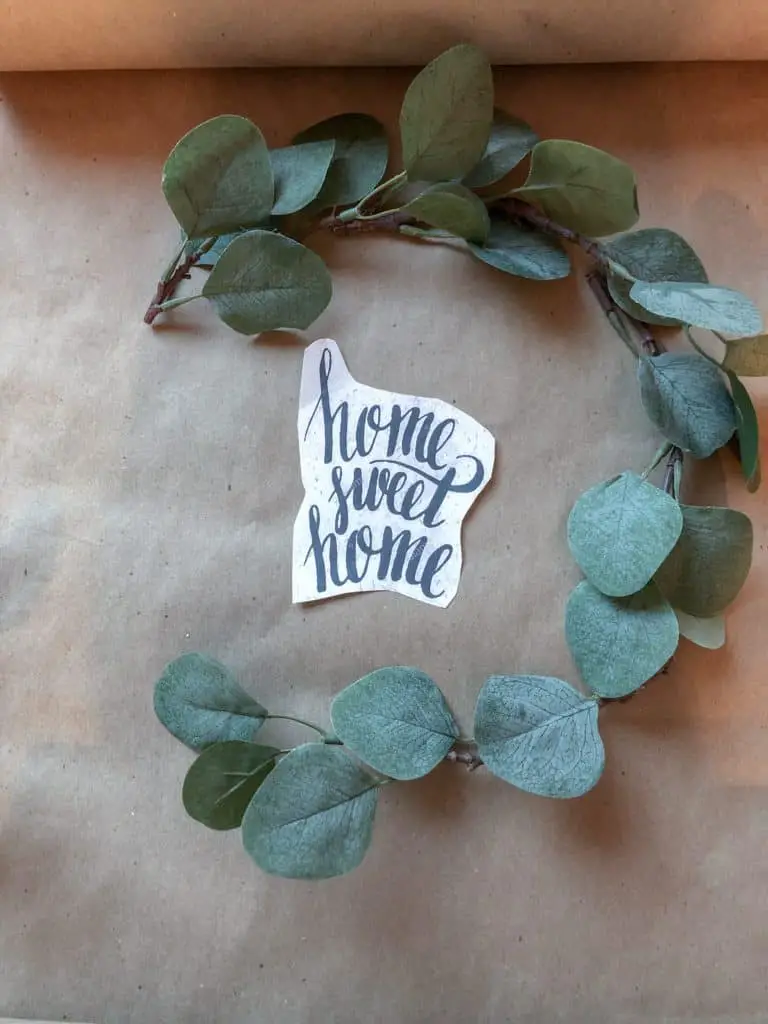
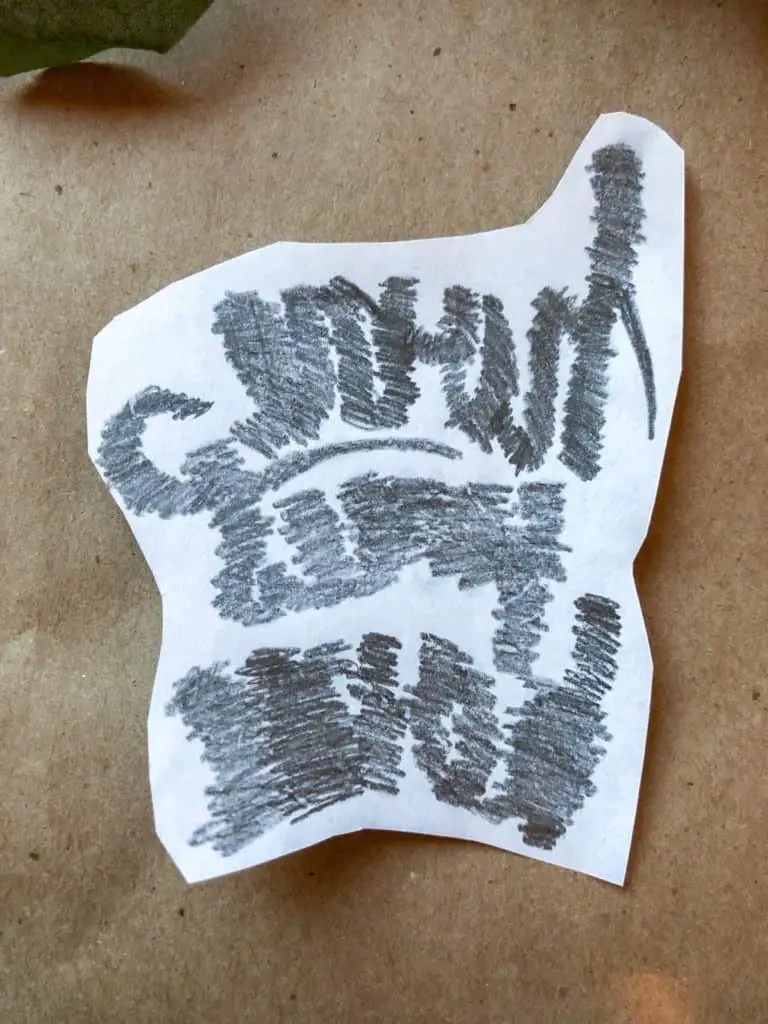
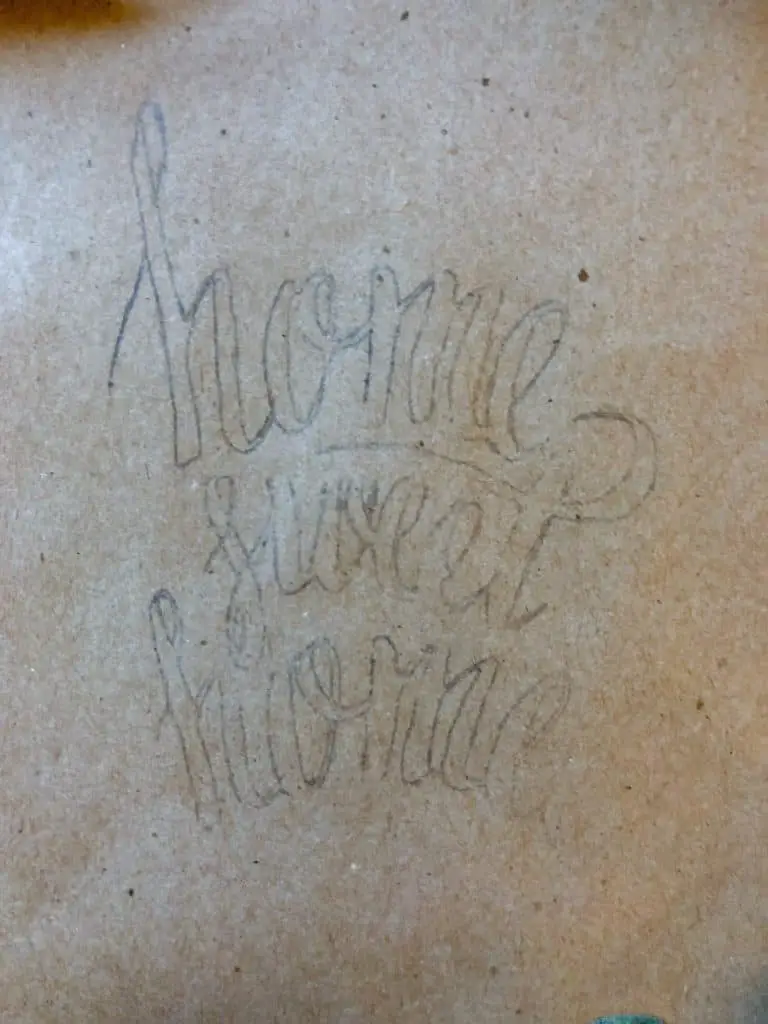
Cut out around your saying as you see here so it will be easier to get an idea of size and fit on your scroll. Then turn it over and take a pencil or a piece of chalk and scribble over where the letters are. After that, flip it back over and tape your saying where you want it to be.
I dab the tape over the back of my hand a time or two so it won’t be too sticky and potentially rip the paper when you’re removing it.
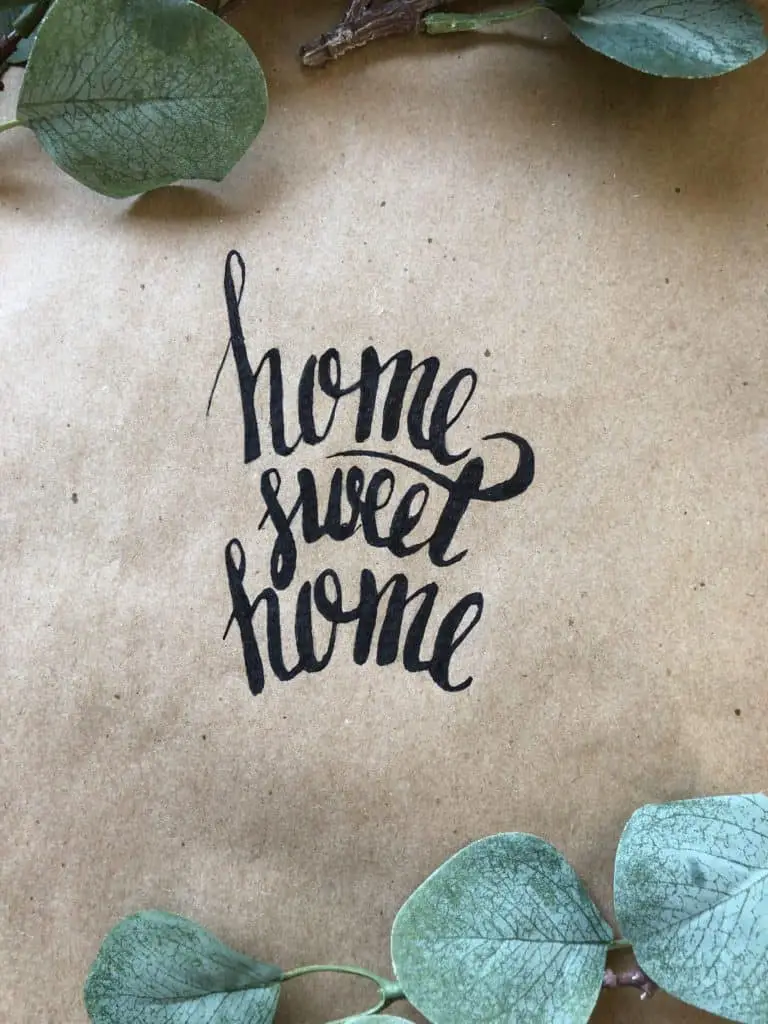
Carefully trace the outline of your saying with a ball point pen. When you remove the piece of paper, you will see the wording has transferred to your scroll paper. I used an ultra fine tip Sharpie to fill my lettering in.
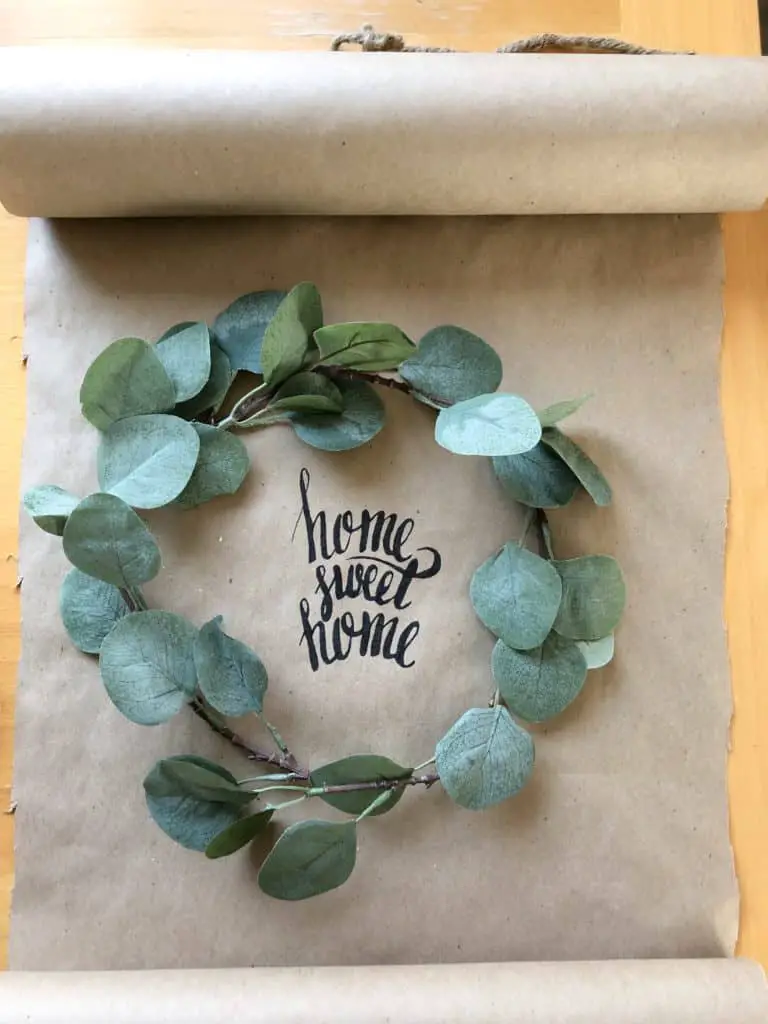
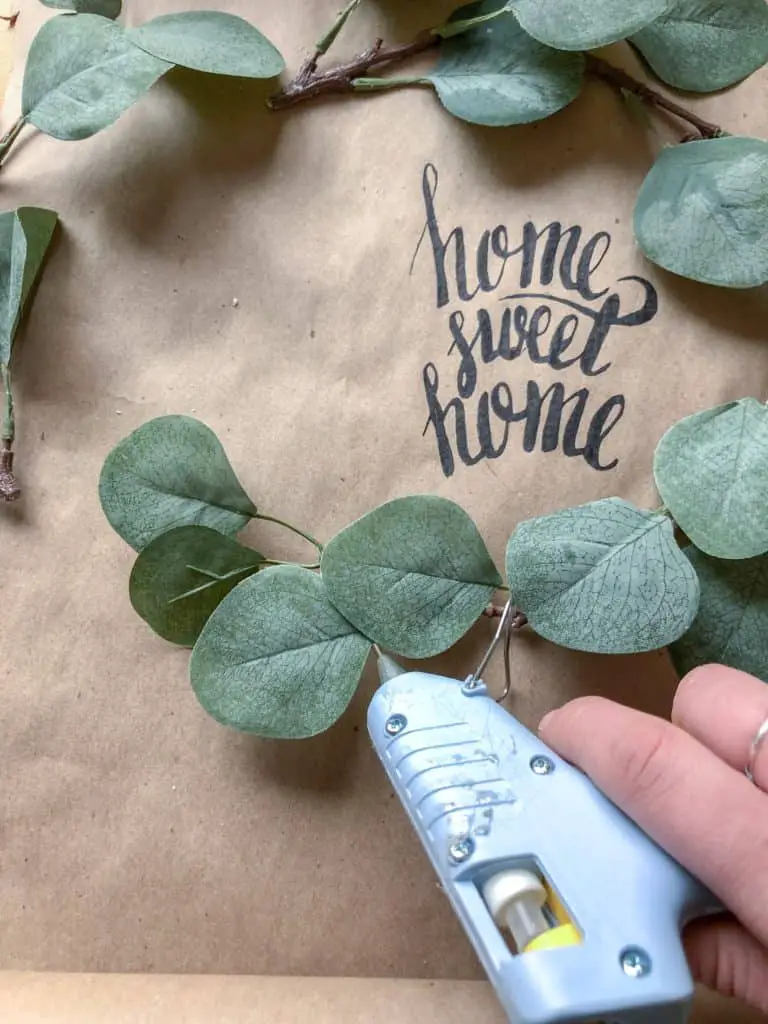
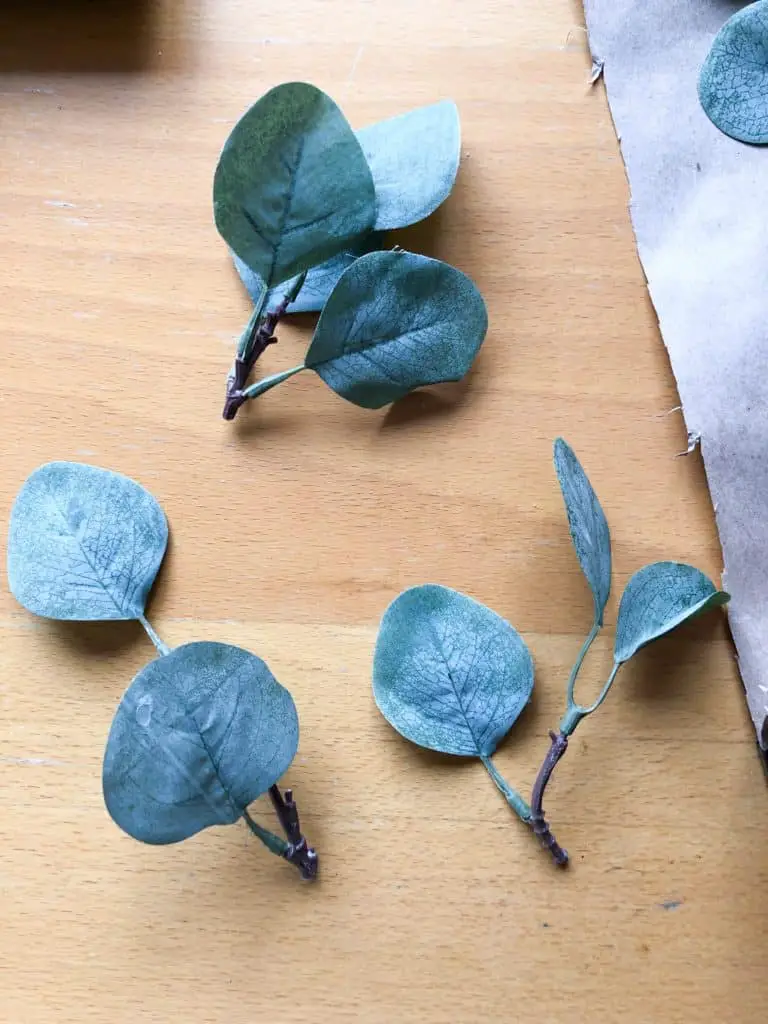
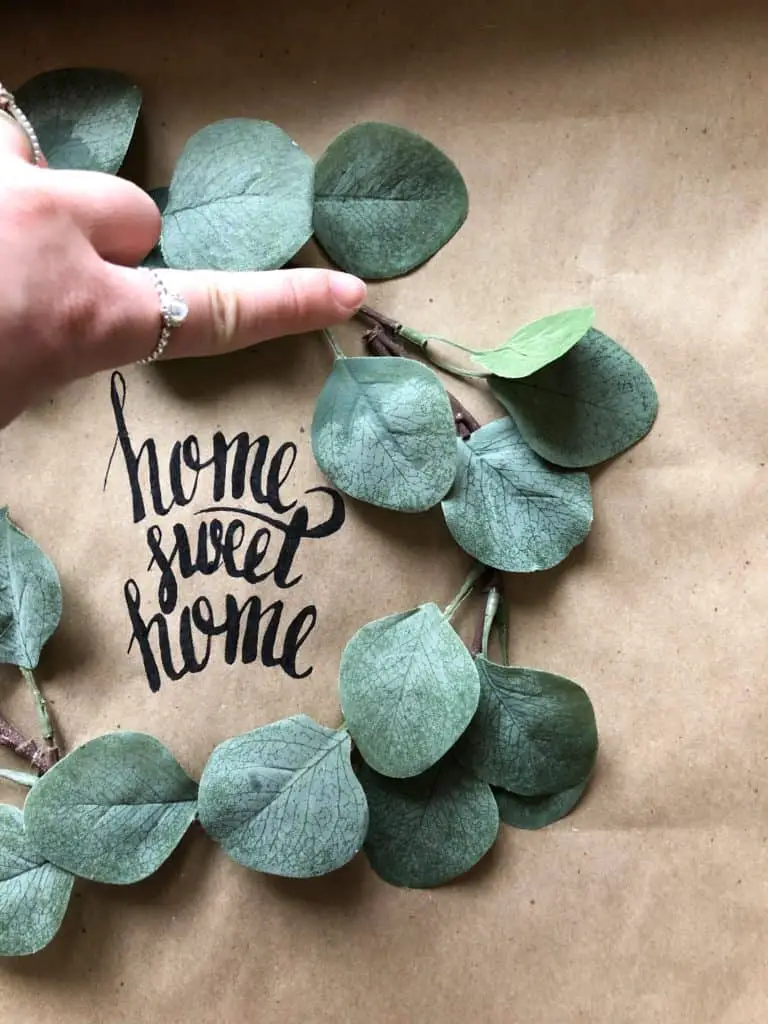
Next, I cut off individual branches from my large eucalyptus stems. I slightly bent them so they were curved and laid them out to figure out how I wanted my wreath to lie. I then used a glue gun to attach them to the paper. You can see there were some holes that needed to be filled in so I cut off some individual leaves which I glued into those spaces.
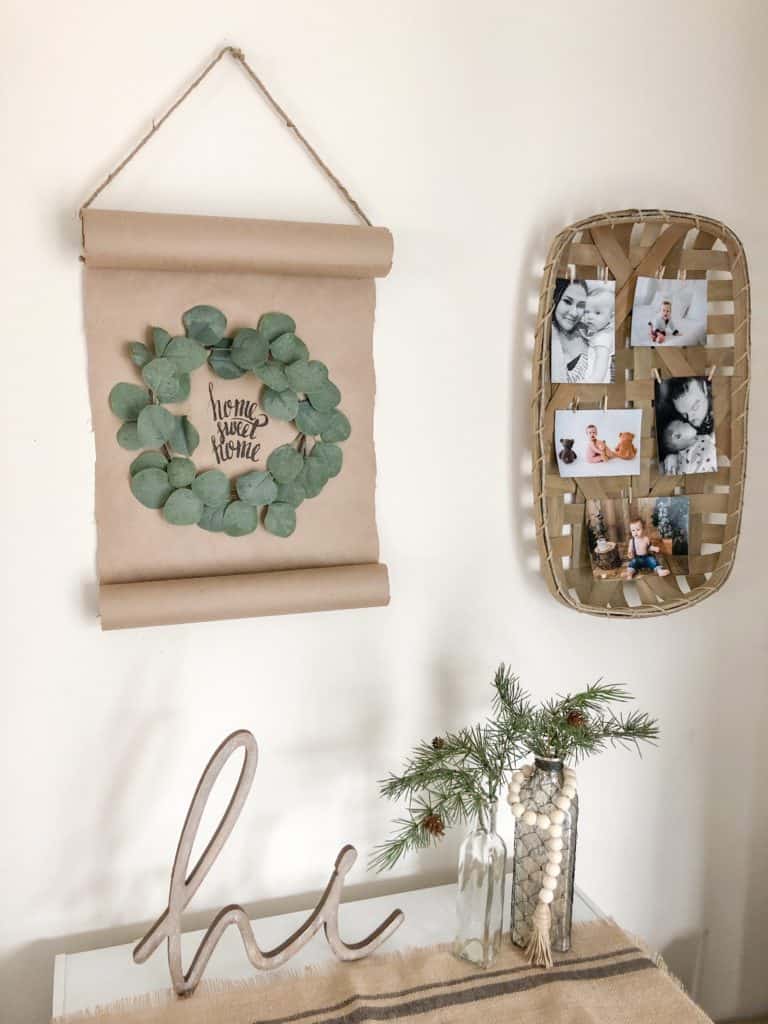
Here is the final result. I hung this tobacco basket next to it which I used these adorable tiny wooden clothespins to attach some adorable pictures of our little family. I really love how this paper scroll sign turned out and I can’t wait to make more! Let me know if you decide to try to make one of these, and definitely tag me if you post it on social media! See you next time. ☺


This is cute and looks quite simple! Would make a neat gift for the right person. 🙂
It would make the perfect gift!!
I’m moving soon and these would be a great DIY for my new home. awesome post 😊
It would be a great addition to your new home indeed! So glad you enjoyed it.
This is just so great! I would never have thought to do transfers this way!
Thank you! I love how it turned out. The transfer makes it so simple to do!
This is beautiful! I can see it hanging in my own entryway as a nice way to greet guests. Thanks for sharing how to DIY this!
Thank you! I love how easy it is to make while still making a big impact. Perfect for the entryway!
Omg, this is such a cute idea! I love little DIY projects like this!! I’m not the best at them lol, but this post was soooo helpful! Will have to try this project out soon for my apartment! x
You should totally give it a go, it is so easy!