How To Contour Your Face
This post contains affiliate links for which I make a small commission at no cost to you. To learn more click here.
Hey Guys!
Ah yes, the wonderful world of contouring. When done correctly it can chisel your cheekbones and define your facial features to perfection. But it can also be kind of confusing and seem impossible to master. I personally am a huge fan and think it is a great addition to my makeup routine. I love that it can be slightly altered depending on the time of day you plan to wear it. Applying it with a light hand is perfect for daytime wear while darkening it up for nighttime is usually a good idea so it won’t get lost.
This post will go over how to contour your face. I will talk about types of products you can use and what the pros and cons are. Then we can talk about the actual how to with some little tips and tricks to make the process less daunting and easy to master. If you want to perfect your own face contour then just keep scrolling!
The Products
So really there are two types of products you can use for this. One being a powder product and the other being cream or liquid. There are pros and cons to both. For beginners I suggest a powder because it’s much easier to work with. If you have a little more experience, try out a cream.
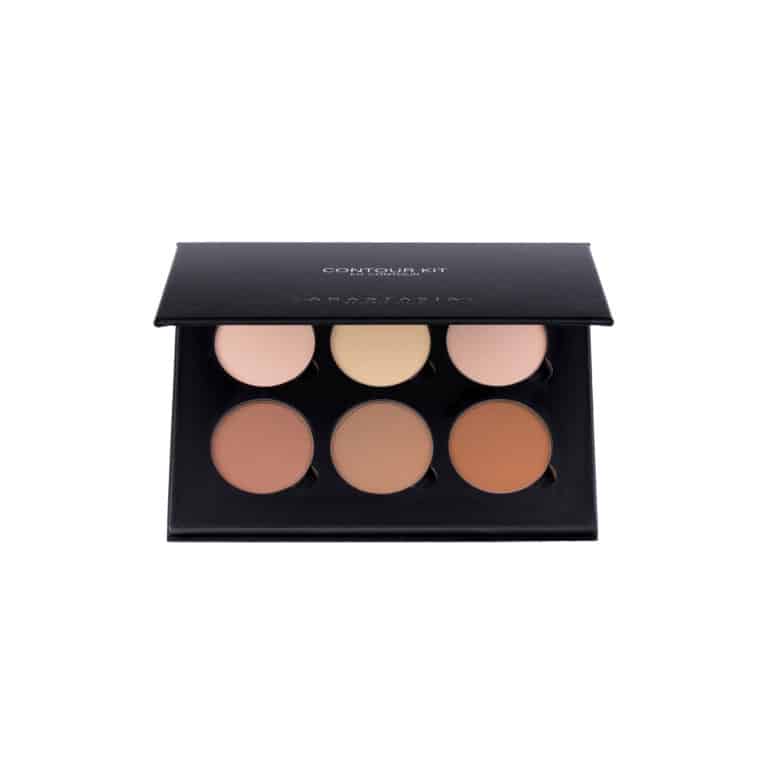
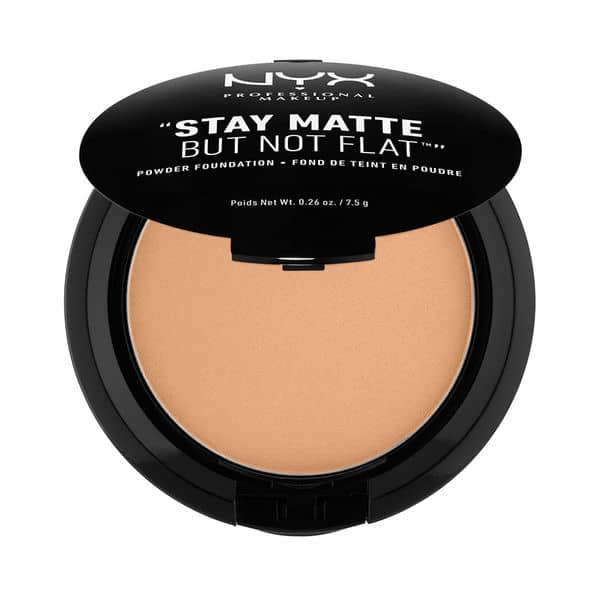
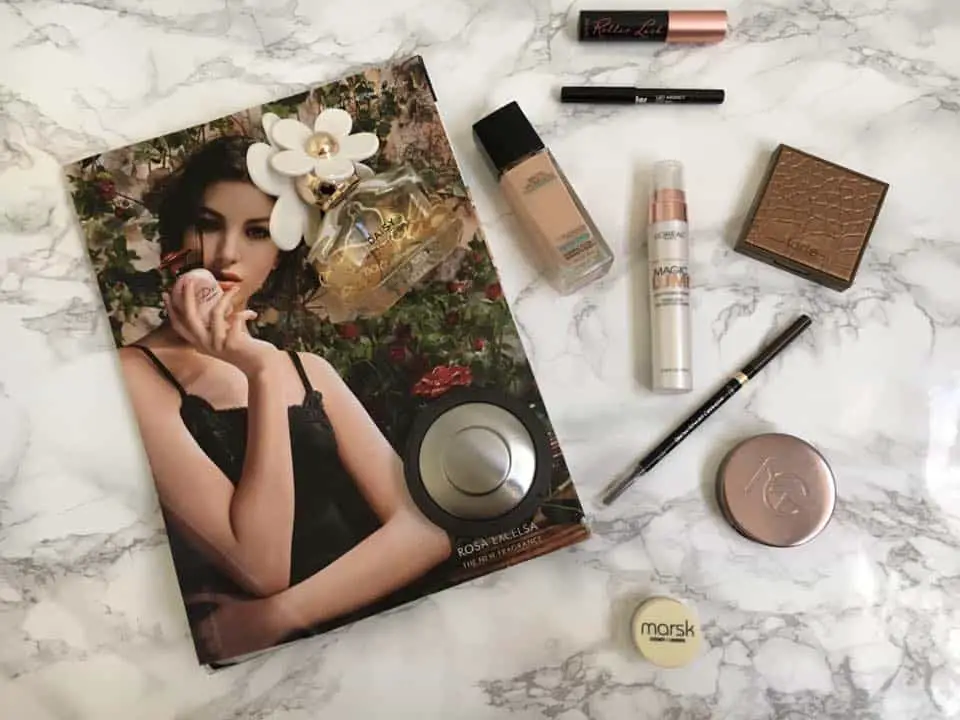
Let’s first talk powders. You can use a couple different powders for this but my favorite is a contour kit like this one from Anastasia Beverly Hills. It comes with a few different shades for contouring and for setting or highlighting. You could also use powder foundation in a couple shades darker than your normal color. This matte foundation powder from NYX would be a good powder to use, and it’s pretty inexpensive!
As I said before, powder is great for beginners but it is also great for those who have more oily skin. I also like to use powder over my cream products to set it. The only down side is that powders don’t last quite as long as creams.
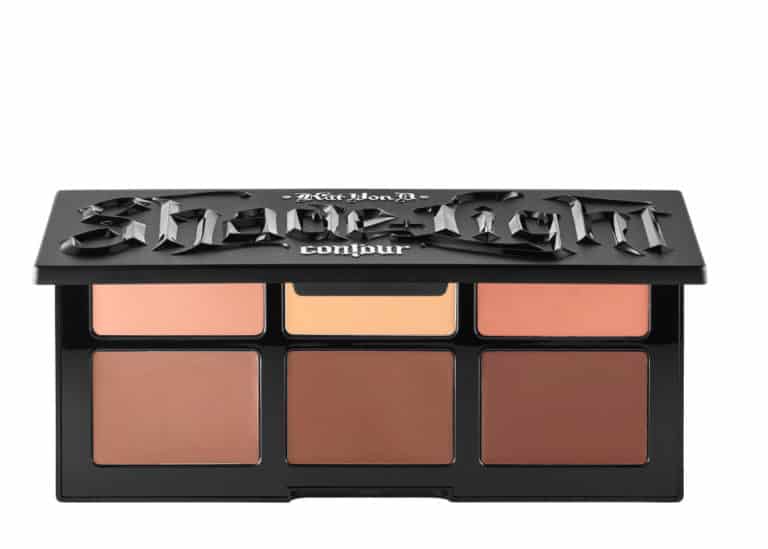
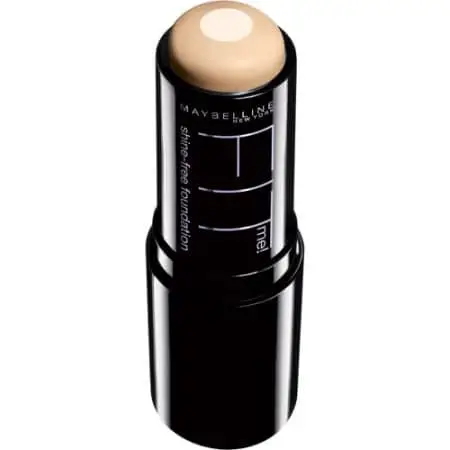
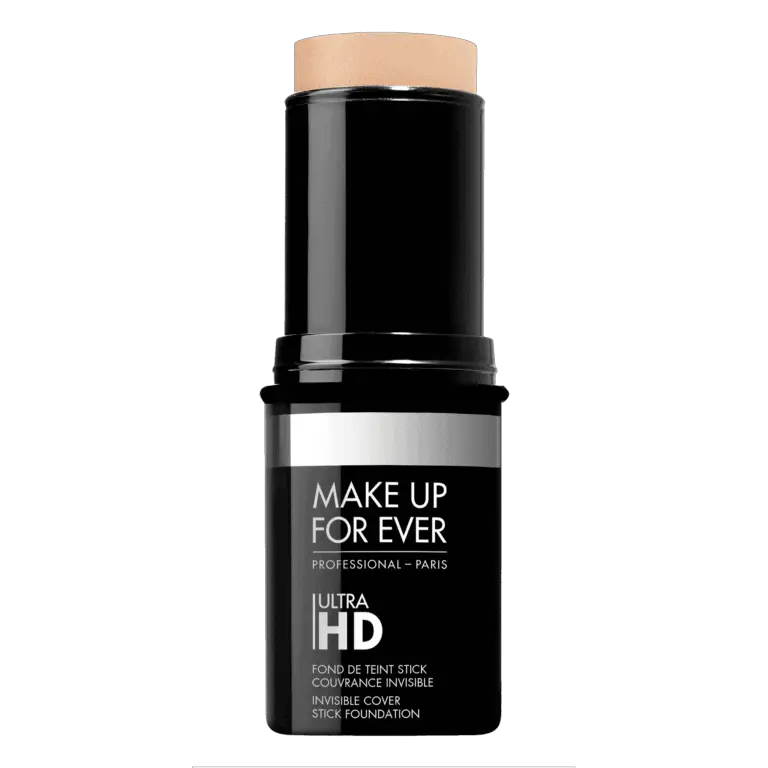
Now for the cream products. Like with powder, you can use a cream contour kit. This one from Kat Von D is a great one. You can also use a cream foundation stick that is a couple shades darker than your normal shade. The best high end stick is this Make-up Forever one, but it’s pretty pricey. This one from Maybelline is a great drug store option!
I recommend to look for cool tones for contouring so you don’t end up looking orange. Cool tones create more of a shadow on the skin verses a tan or bronze.
Cream products require a lot of blending and so they can be a little harder to work with if you never have before. But as I said earlier, they last a lot longer so if you need your makeup to last all day or night then cream is the way to go.
How To Contour
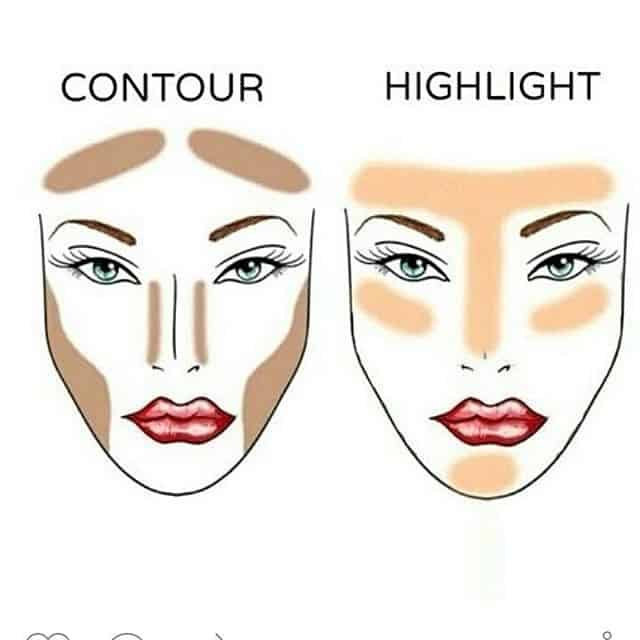
This image gives you an idea of where your highlight and contour should go. You want your contour to hit the spots of your face you want to send backwards, to make the highlight points stand out. It’s similar to how artists use shading to create different depths in their artwork.
These areas are typically the top of your forehead along the hairline, along the temples, in the hollows of your cheeks, and along your jawline. It can vary slightly depending on your face shape but this is the general rule of thumb for a basic contour. This can be the hard part, but it doesn’t need to be! I have a great easy trick to help you figure out where you should contour your face.
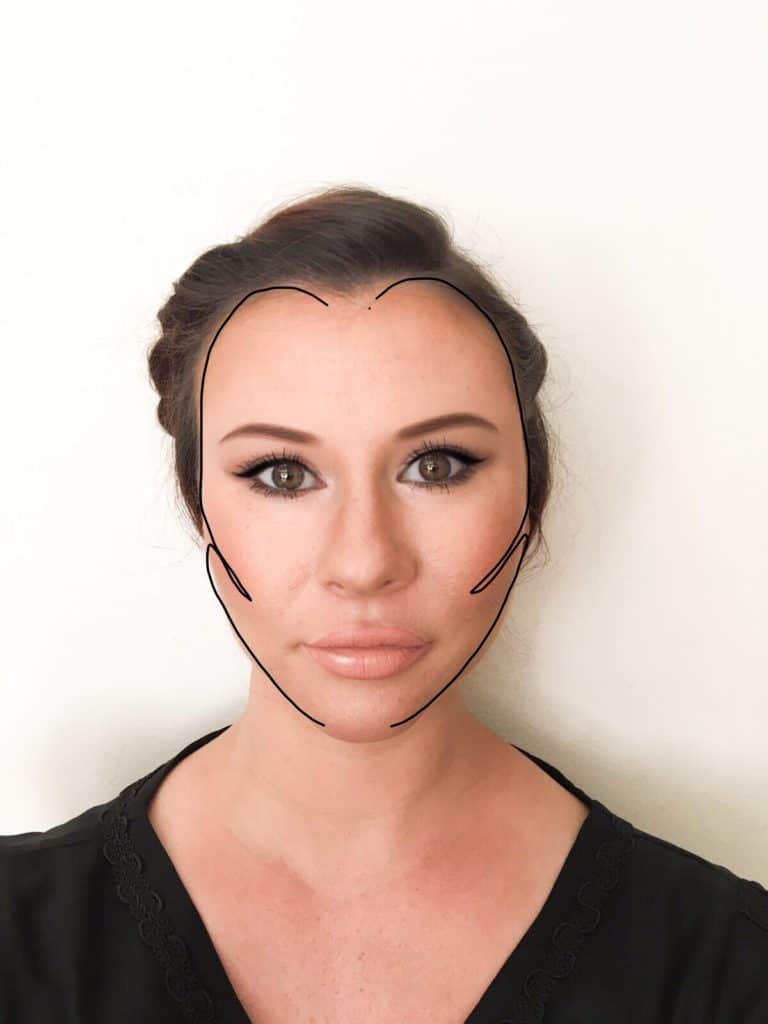
I like to use this trick when figuring out where to place my contour. Take your product and make like a number 3, one forwards and one backwards, on both sides of your face like you see in the picture. (Aren’t my digital drawing skills fantastic?!) That hits all the points on your face that should be contoured.
You can see mine is bigger on top than bottom since my hollows of my cheeks are close to my jawline. I suggest making a kissy face or fishy face to determine where the hollows of your cheeks lie.
The amount of your forehead you contour varies depending on the size of your forehead. If you have a larger forehead and want to make it appear smaller then blend your contour further down your forehead.
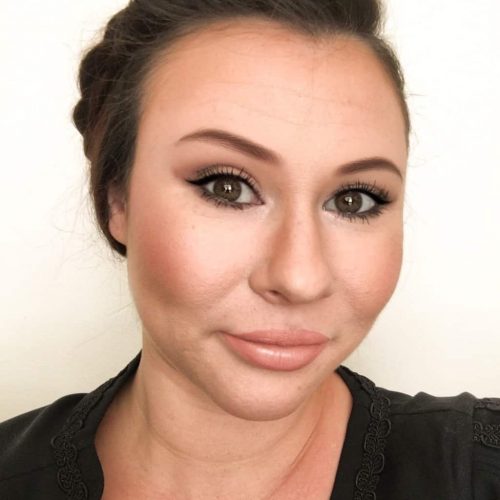
Then you just need to blend, blend, blend. This this the most important part. It is the key to a natural looking finish. You don’t want any harsh lines. So when you think you’ve blended enough, go over it one more time!
Make sure to highlight areas such as the center of your forehead, down the center of your nose, the tops of your cheek bones, and a little on your chin if you want. This will really pop now that you have contoured. Then you can add some blush if you would like.
If you used a cream product, be sure to set it with either a translucent powder or a contour powder. I also suggest using a setting spray (no matter which type of product you used) to help set the makeup and keep it from looking too cakey.
It is important to remember to always use your cream products first and then your powder products. If you put cream on top of powder it will not blend and it will look terrible.
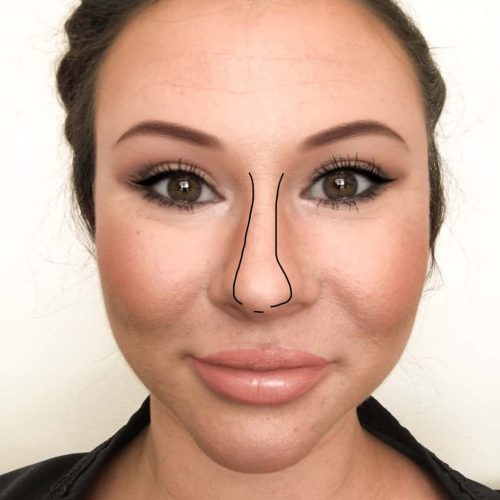
You can either be done or if you want to go one step further, you can contour your nose. I don’t typically do this step unless there’s a special occasion. But when I do I use a very small brush for this, usually an angled eyeliner brush. I simply outline the center of my nose and the tip of my nose like so. Also not my finest artistic skills, my apologies haha. Try to make both sides of the nose as even as possible and the tip of the nose might be a little more defined than what I managed to draw. Again, make sure to blend well down the sides of the nose. Make sure not to blend towards the center of your nose. Then highlight down the center.
That's It!
It really is easy and the more you practice it the better you will be and you’ll be able to do it in no time. Let me know in the comments down below what other kind of makeup how to’s you would like to see! See you next time ☺
