DIY Christmas Mantle Garlands | Scandinavian Christmas Décor
Hey Guys!
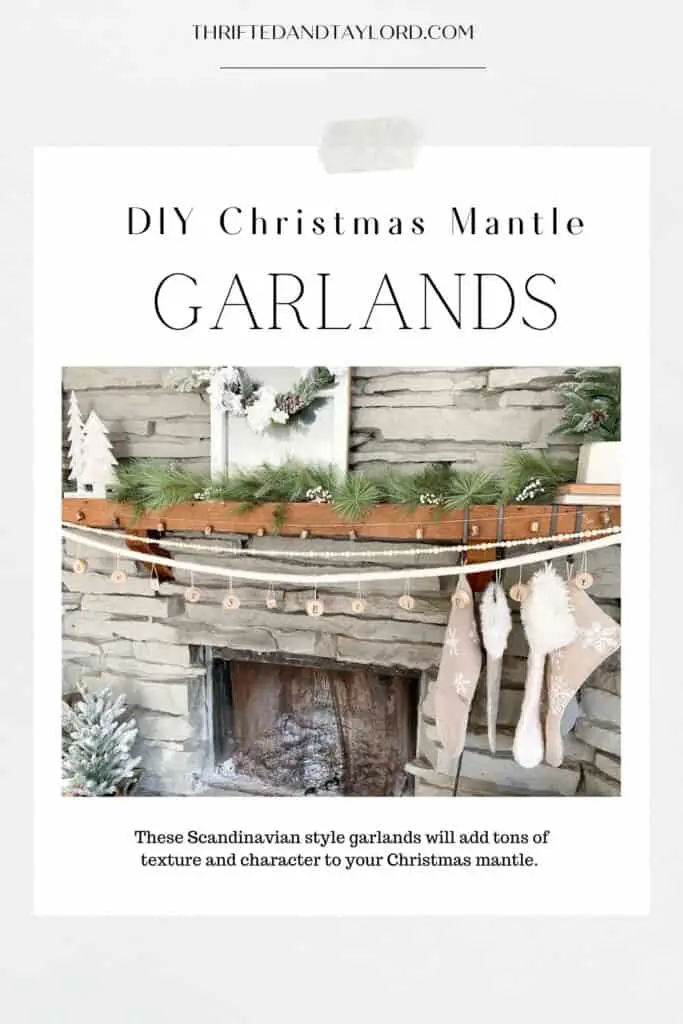
I’m sure by now most people have their Christmas decorations up but if you feel like your décor is missing a little something then I have just the things for you. I have been wanting some garlands to add to my mantle to go along with the antique bell garland I made last year. So I decided to make some. These DIY Christmas mantle garlands are the perfect finishing touch that adds some wonderful texture to my fireplace.
I have been into Scandinavian Christmas decor this year and so I have been adding little touches here and there that have that Scandinavian feel. These garlands I made totally have that vibe.
I have 3 garlands total, this post demonstrates how I made 2 of them. As I mentioned, the bell garland I made last year, but it’s super simple so I will walk you through the process.
How to Make Christmas Mantle Garlands
This post contains affiliate links for which I earn a small commission at no extra cost to you, should you purchase through them. Learn More.
DIY Antique Bell Garland
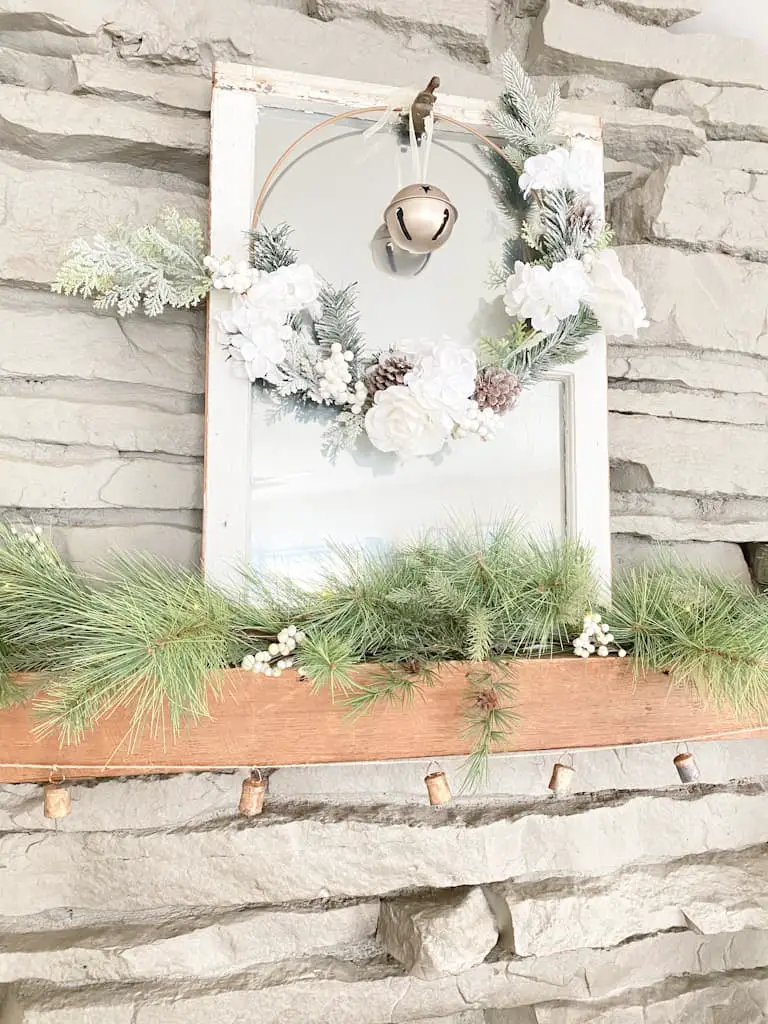
If you didn’t have a chance to check out my holiday décor this year, then check it out here. You can see my old bell garland that I made using some really cool antique bells I found on eBay (these are similar) and some twine.
All I did was string the bells on the twine and then tied a small knot at the top of the hoop to secure it in place.
DIY Wood Bead Garland
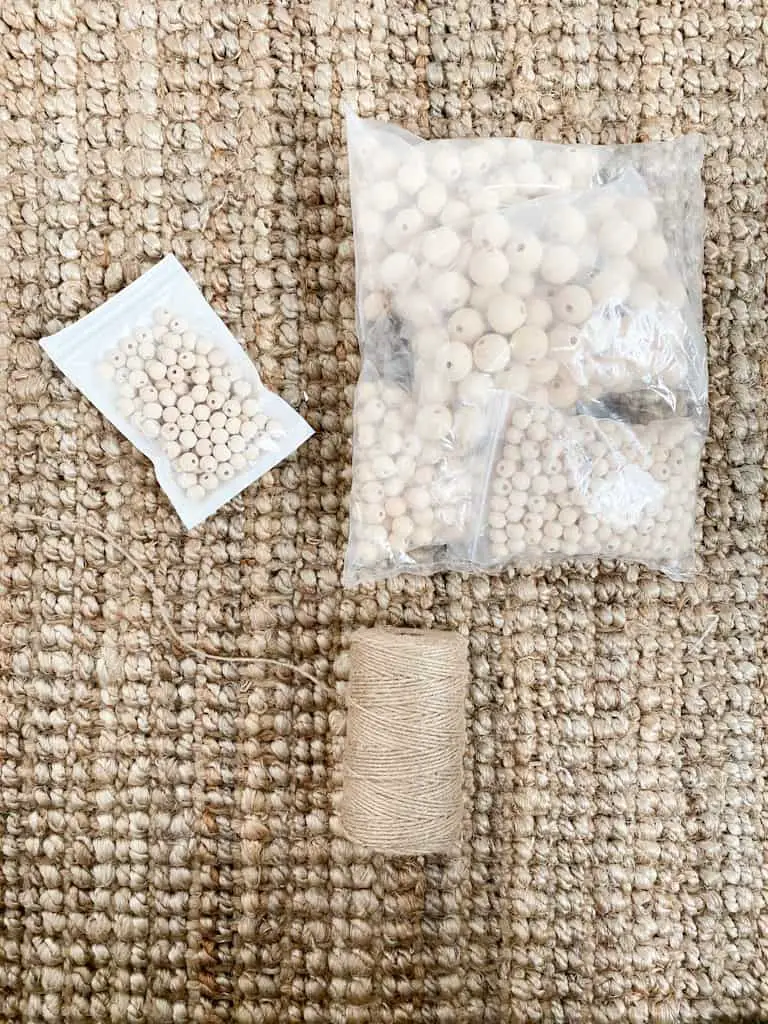
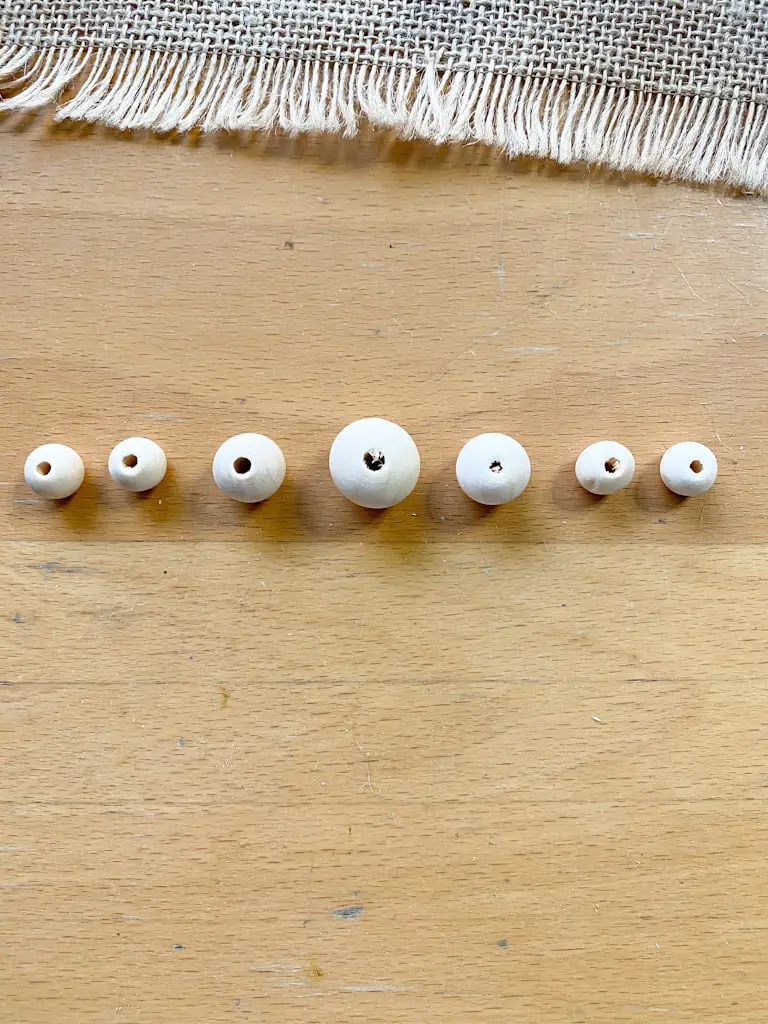
Our mantle is very long and it is hard to find bead garlands that are long enough so I solved that problem by making my own. I got this set of wood beads on Amazon and ended up using the 3 largest sizes (20mm, 16mm, and 12mm.)
I wanted a little variation because I like the texture it adds with having kind of a wavy appearance. I also used the same twine.
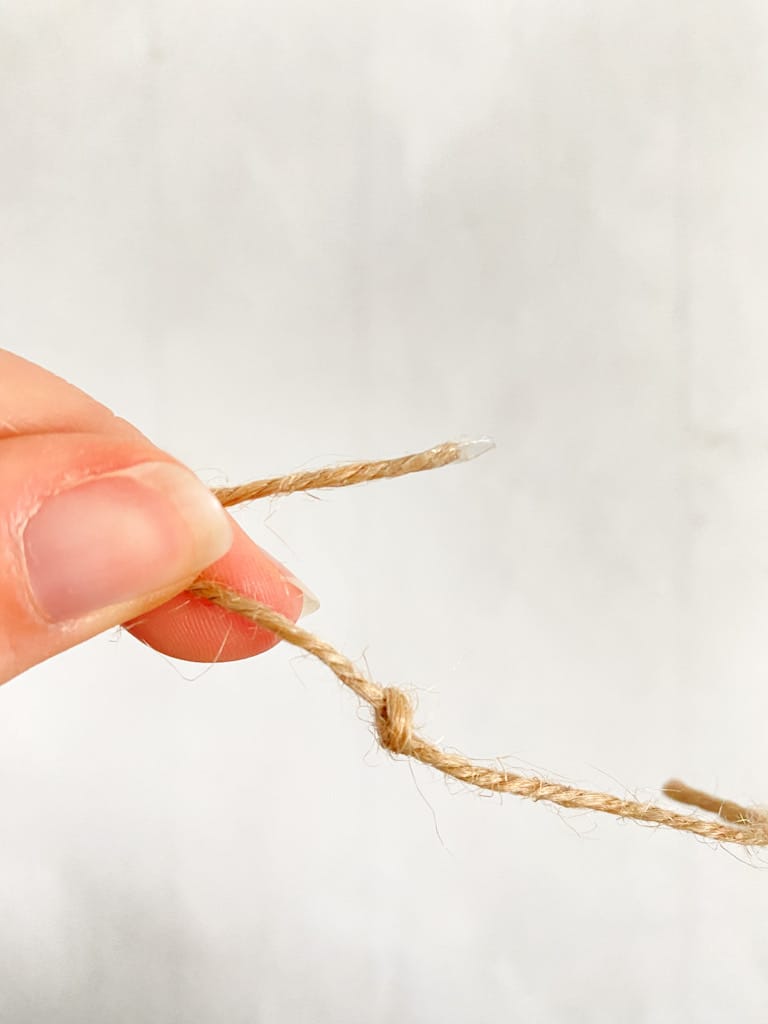
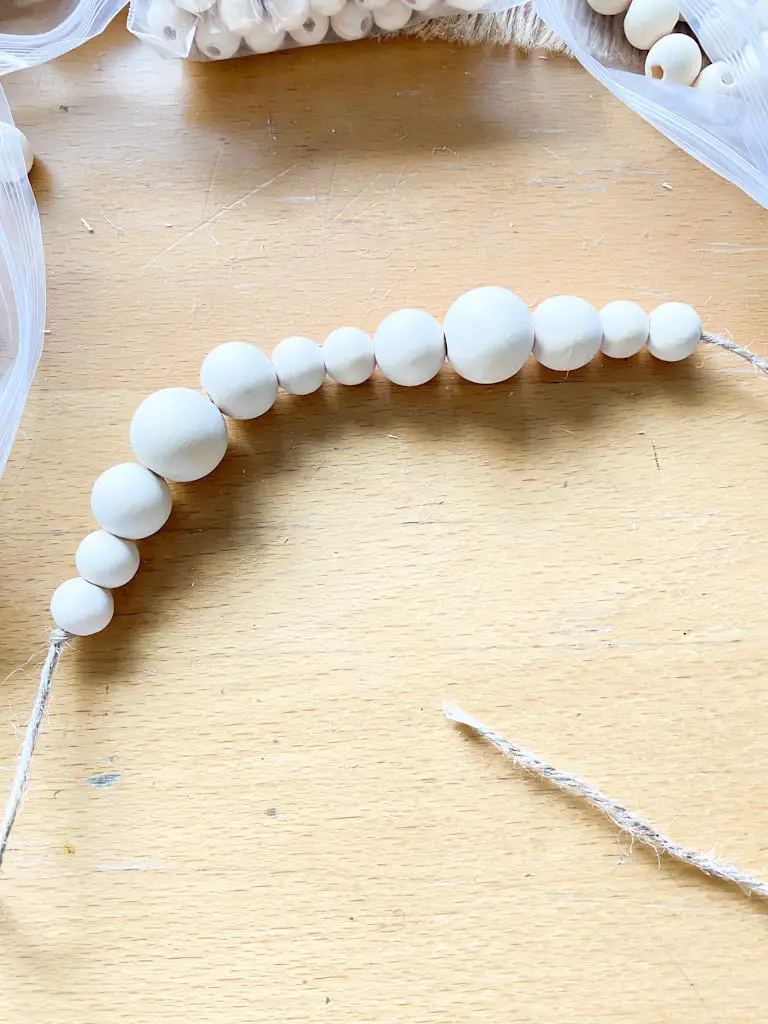
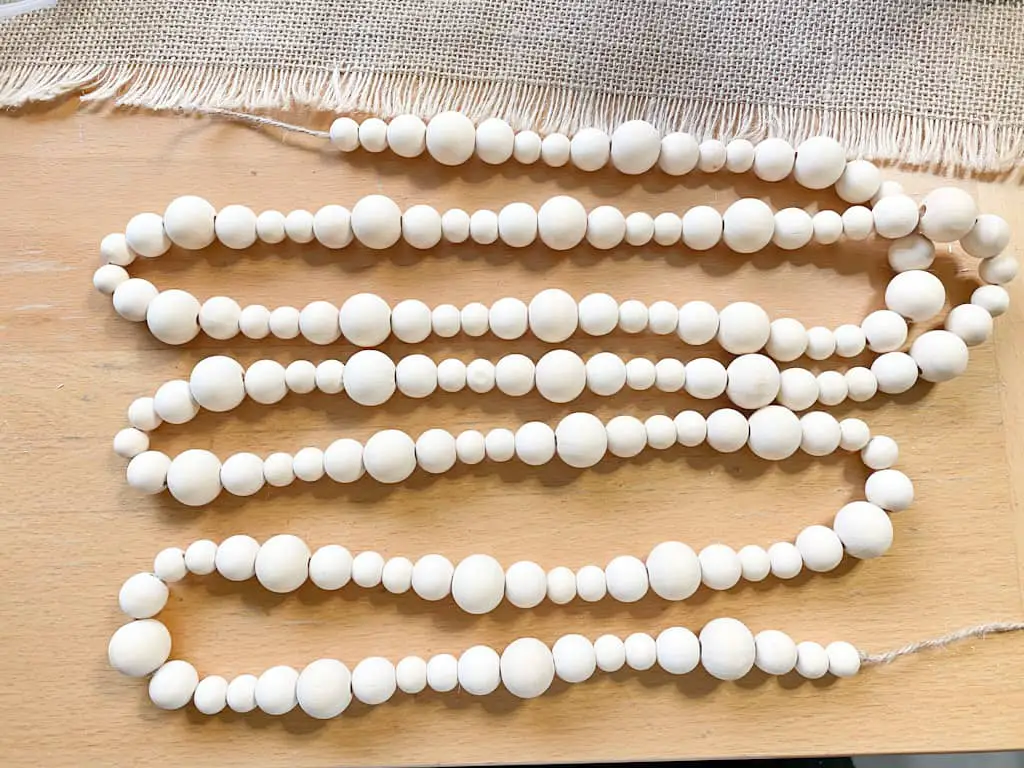
I measured how long I wanted my garland to be and cut my twine to that length. I double knotted one end of the twine to stop the beads. I added a piece of tape to the other end of my twine to make it much easier to string the beads.
Then I just added the beads in the order I had laid out until the string was filled. Double knot the other end and cut off the tape and you’re done. Super easy.
DIY Birch Log Merry & Bright Garland
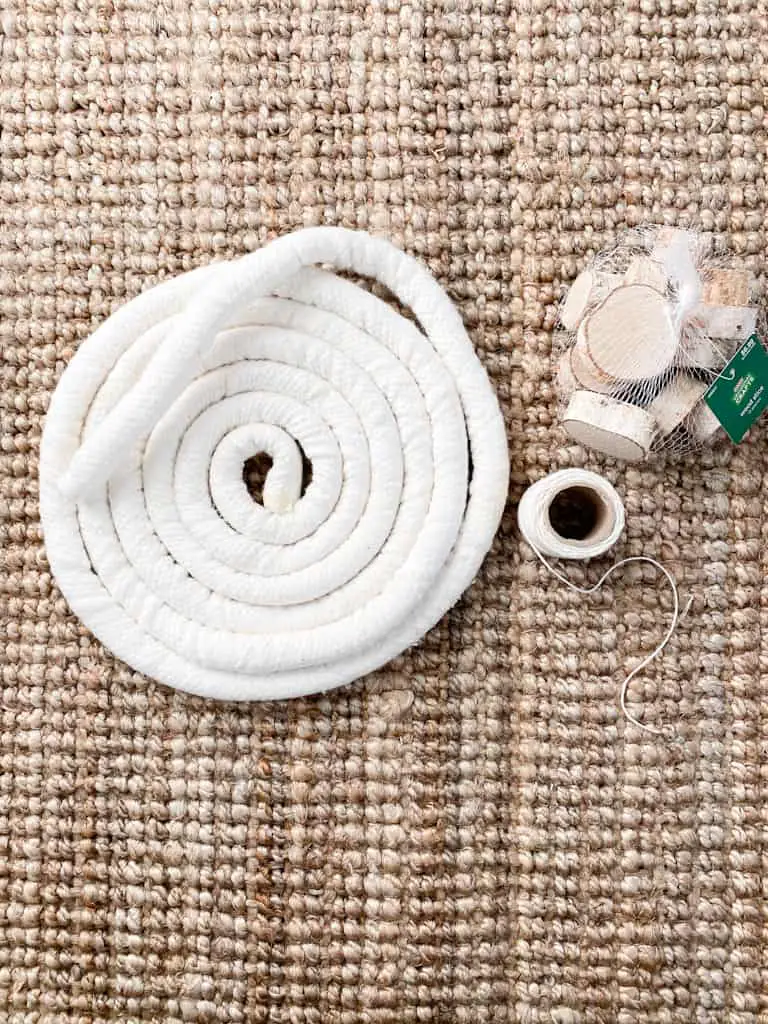
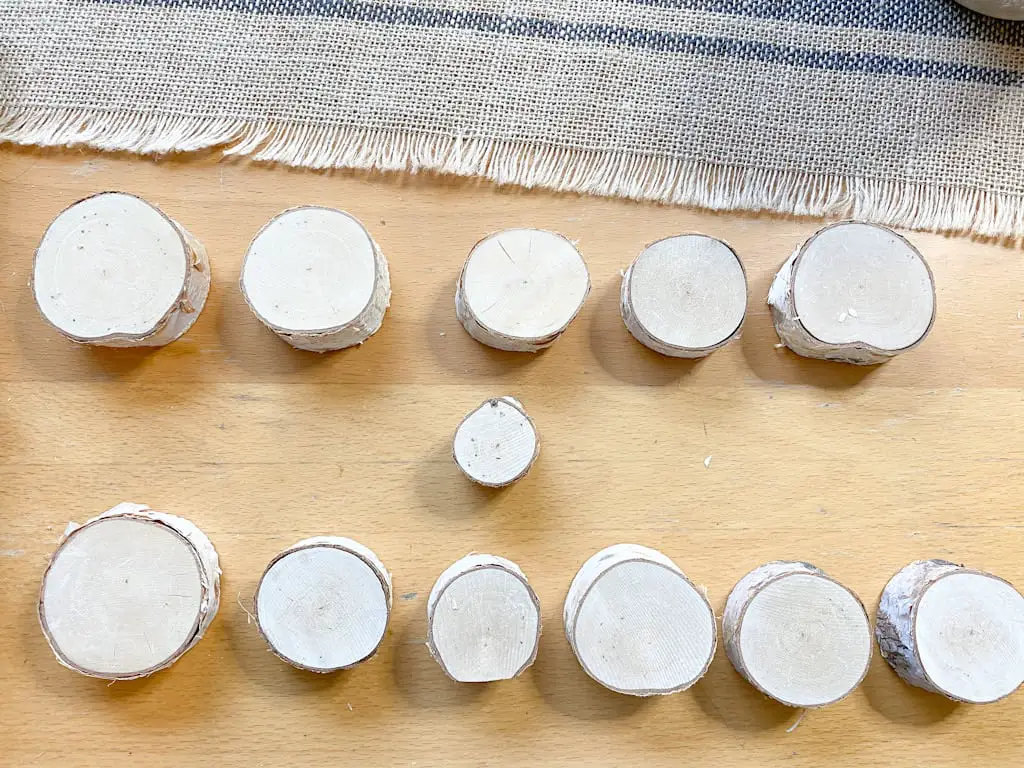
I really love how this one turned out. It wasn’t the easiest to make but certainly wasn’t difficult. I knew I wanted to make some sort of hanging word garland and I had some ideas in mind. I went to Hobby Lobby and looked around for a while and eventually came up with some cotton cording, which I found near the trim in the sewing section, and these little birch tree log slices (similar ones here.) I already had some cream colored string at home which is what I used to tie the pieces of wood to the cording.
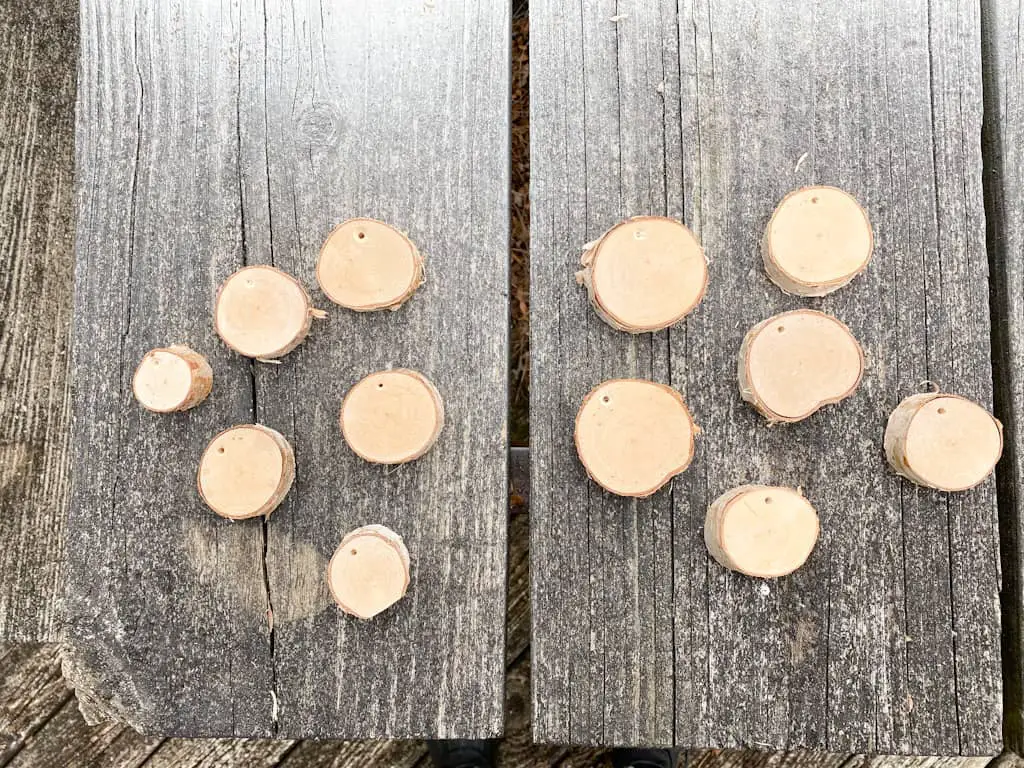
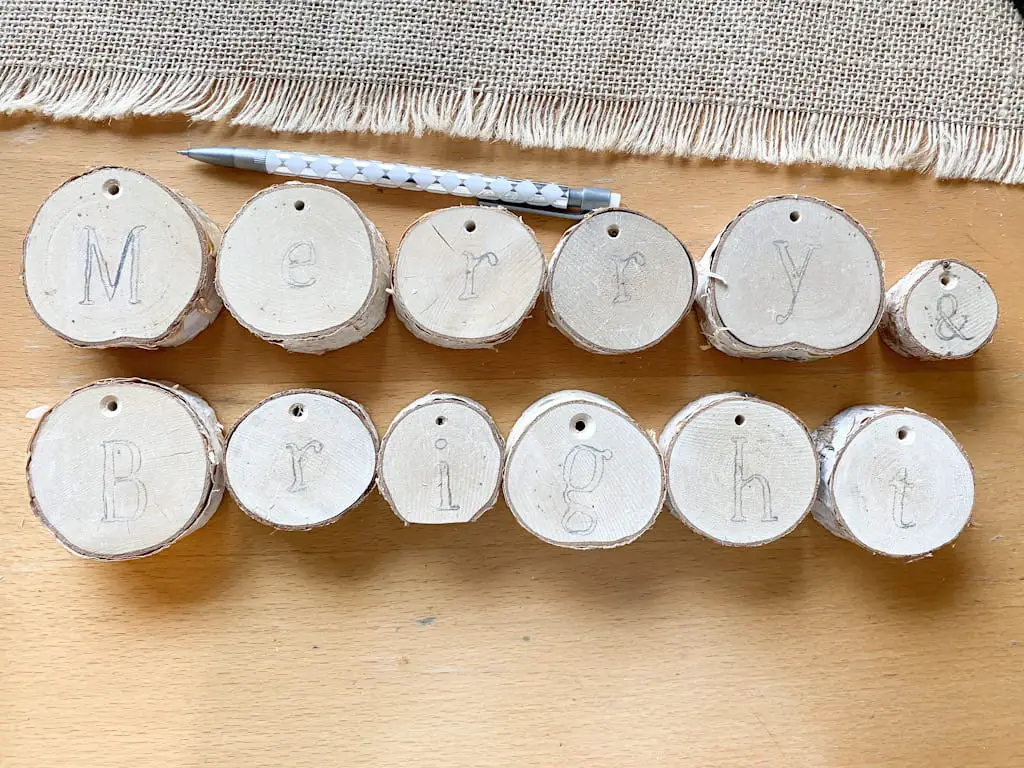
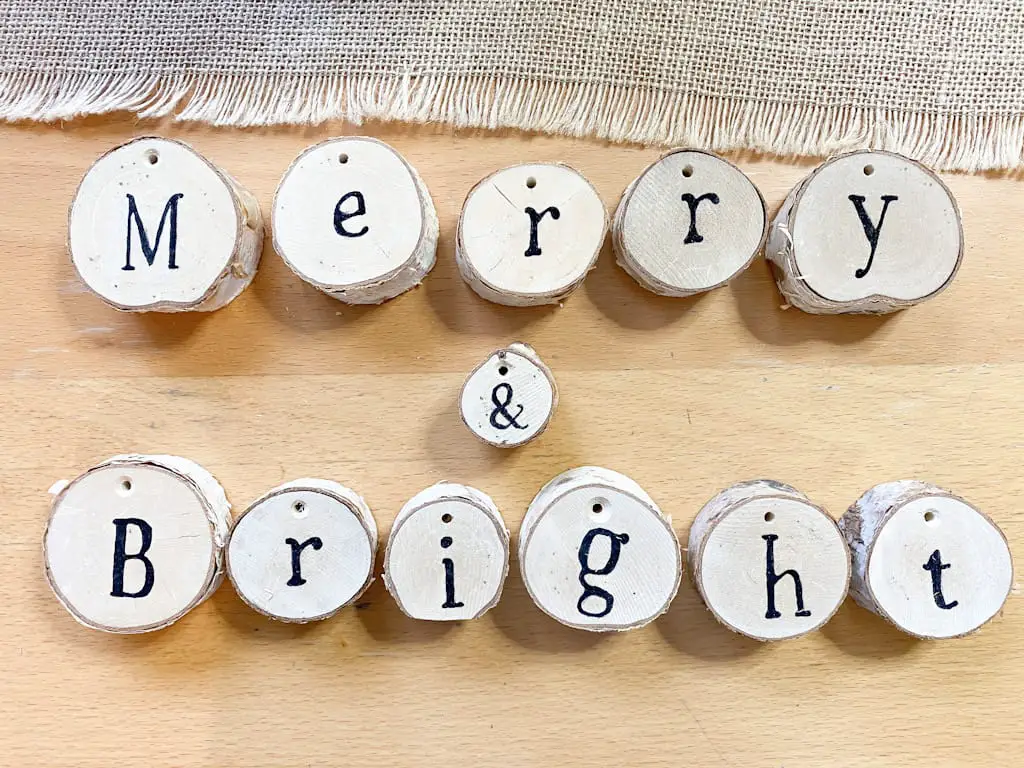
I started out again measuring how long I wanted my garland to be. I had my good ole hubby drill a hole in the top of each of the slices of birch for me so they would be able to hang.
Using the same transfer method I used in this DIY paper scroll project, I traced out in pencil the letters for my words. I decided to go with Merry & Bright. Then I simply went over the pencil with a fine tip sharpie.
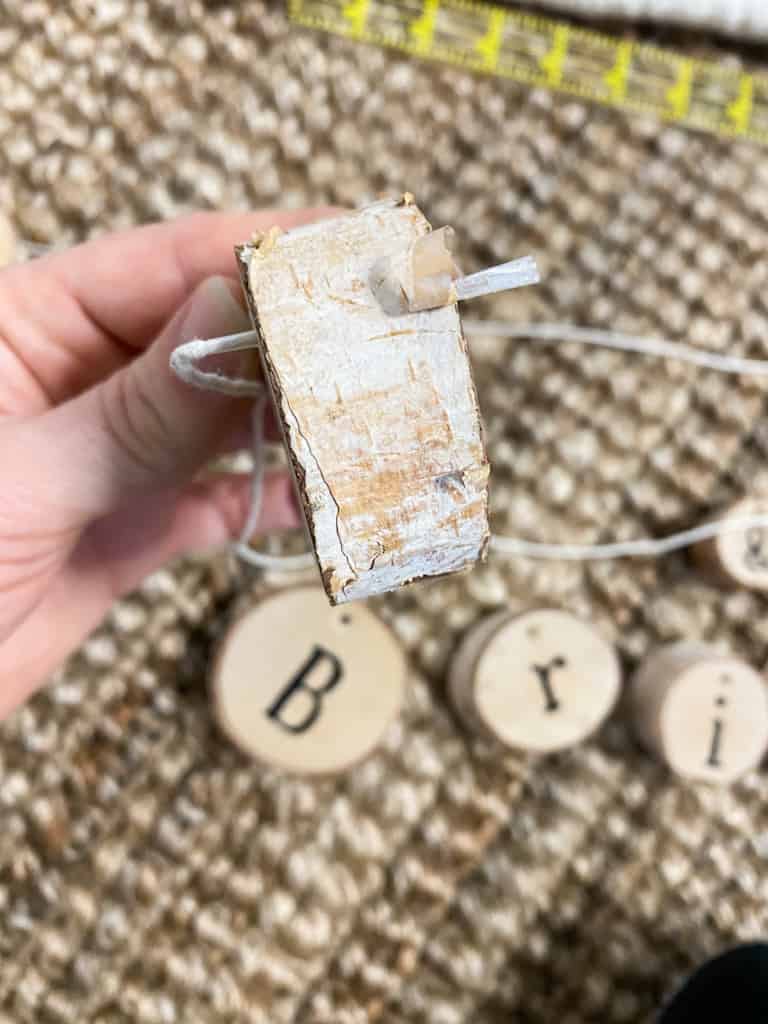
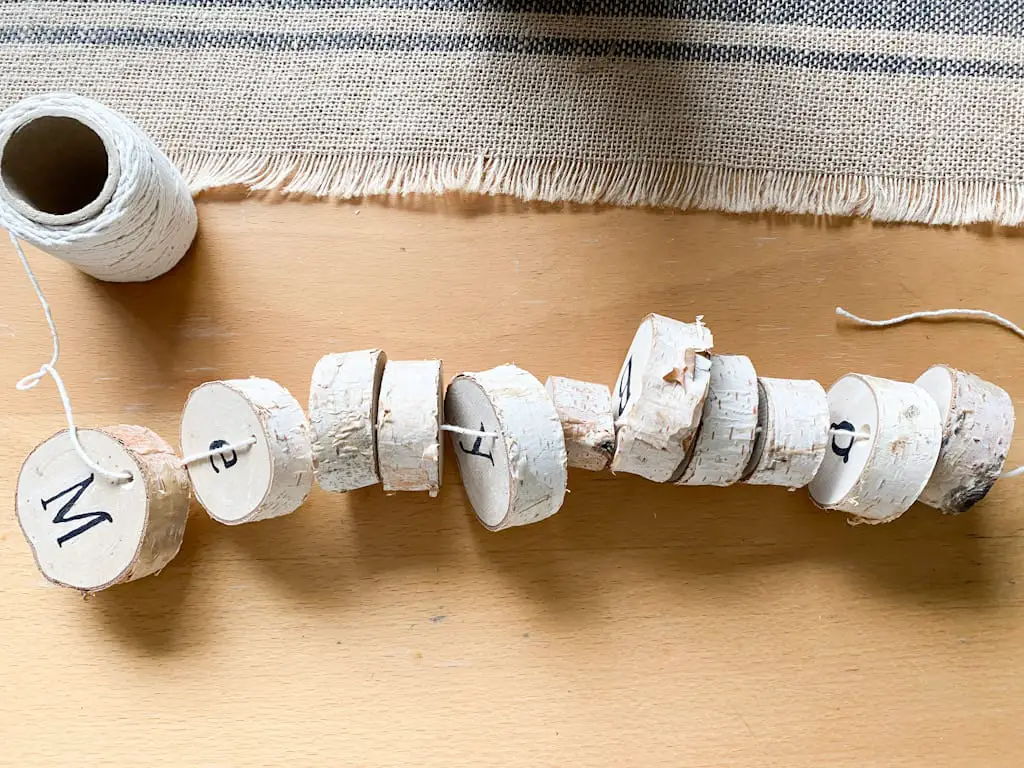
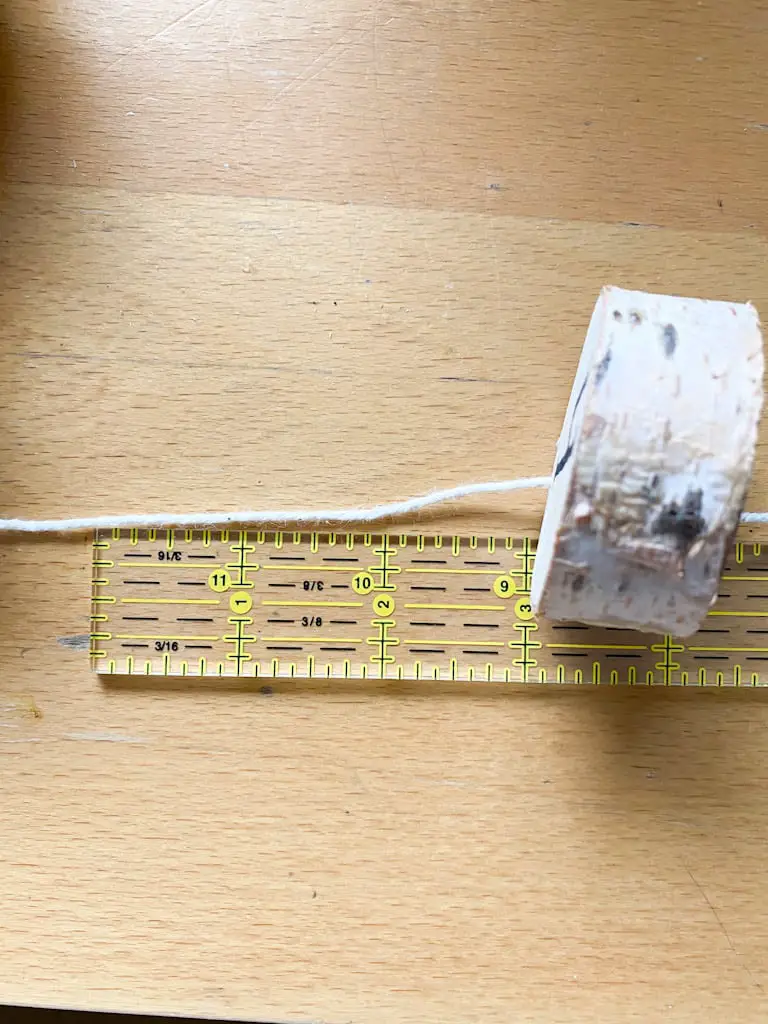
Then I had to do a little math to figure out how to space my letters on my garland. This will be entirely different for you depending on the size of your garland but for reference, I did 6” between my letters.
I once again added a piece of tape to the end of my string and then added all of my wood slices to the string to avoid having to keep adding tape every time I needed to string a new piece of wood. I just pulled the wood slices way far down and measured string for one slice at a time. I found that 12” was a good length to cut.
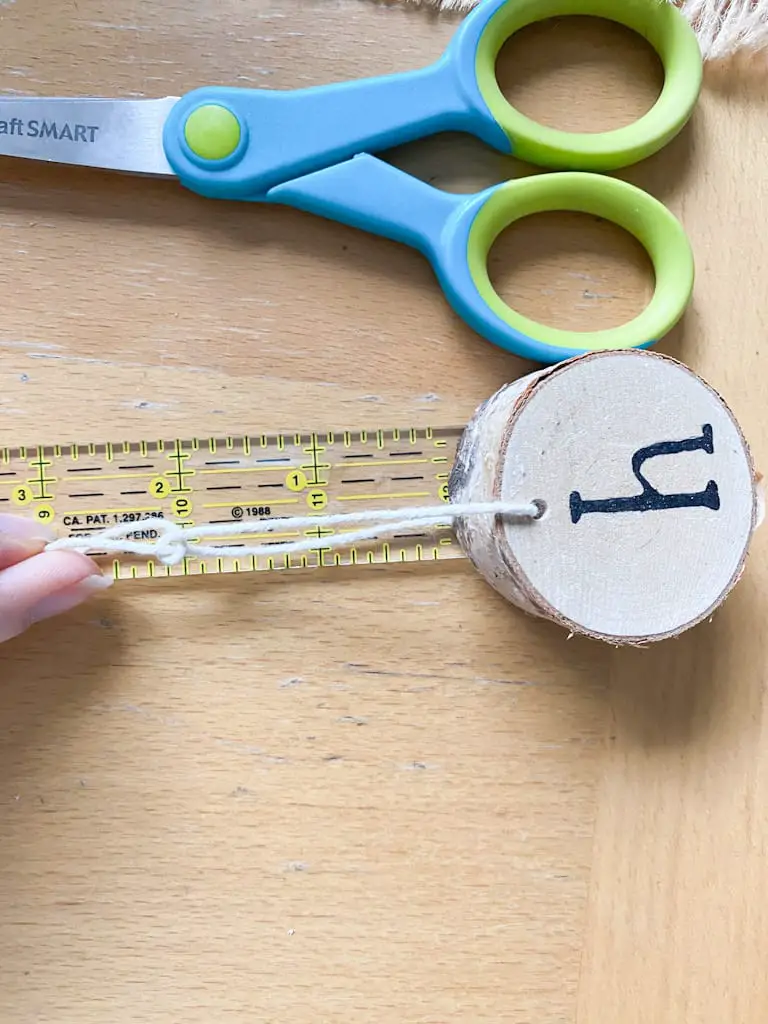
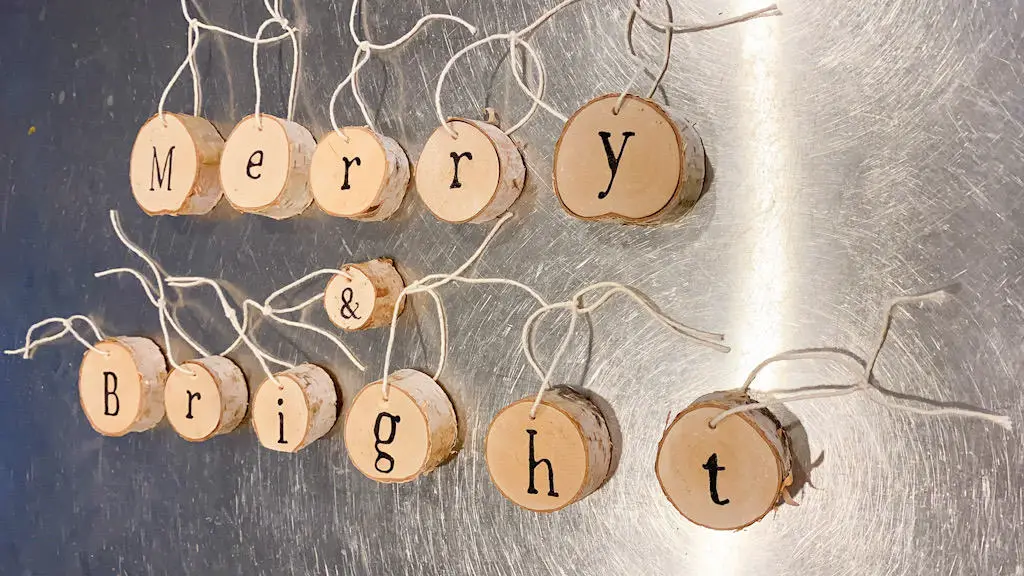
In order for the wood to hang properly, I found it was best to keep the string looped through the wood instead of tying a knot on the back and having it hang on a single strand.
I tied a knot about 2” from the wood slice up so that when I tied it to the cotton cording, the hanging wood pieces would stay where I wanted them.
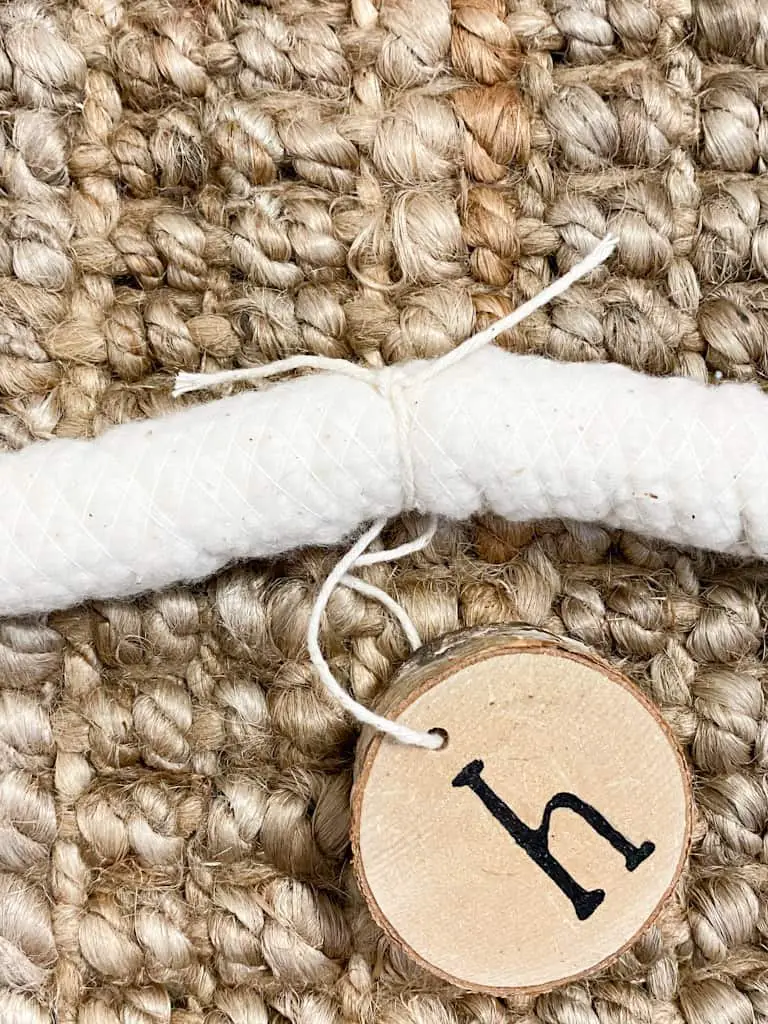
After doing this on each piece I measured on my cotton cording where the first piece should go and I held up the string on the cording as it would be tied on, to be sure the letter was facing the correct way. Once it was in the right spot I just tied a knot to secure it.
So there ends up being a knot on either side of the cotton cording to secure it in place. I repeated this for the rest of the pieces of wood and then I just snipped off the excess strings
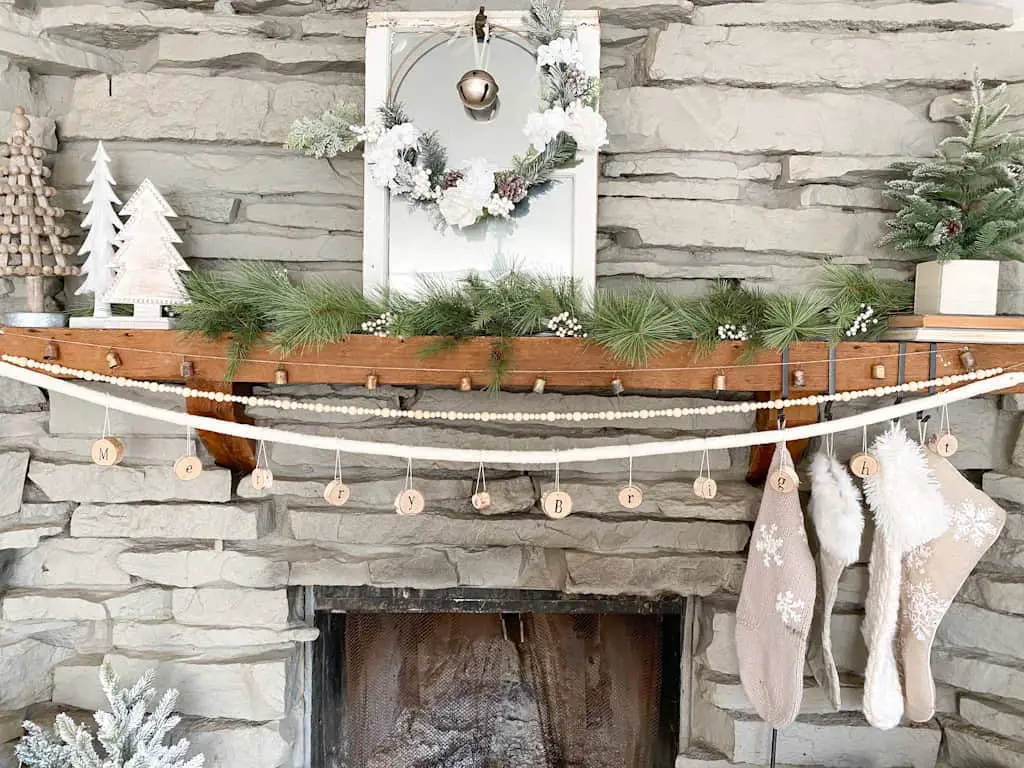
I really love the extra touch this adds to our fireplace. I kind of have been toying with the idea of making an even longer wood bead garland instead so that it hangs down the sides of the fireplace too, but that’s another project for another day.
I hope you love these DIY Christmas mantle garlands as much as I do! If you give them a try be sure to share your photos with me on social media, you can find me by clicking the buttons below. Let me know what you think in the comments and I will see you next time!

