DIY Frayed Denim
Hey guys!
This post is kind of a combination of a Trending Now and a DIY! So exciting, right?? This time we are focusing on denim. A huge trend for fall that everyone is already wearing is the frayed hem jeans. There are so many different takes on this trend including a cropped flare leg, skinny leg, skirts, the list goes on! However, for this post I am sticking to a more mainstream skinny/straight leg denim to show you how you can get the look while being thrifty.
I also decided to show you two other ways to alter your jeans to refresh an old pair you may have sitting in your closet or to give some interest to an otherwise boring pair of jeans. For all the details and how to’s on these DIY jeans, keep reading!
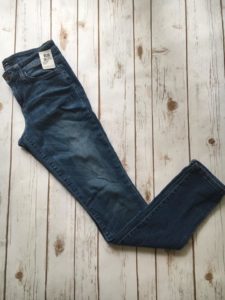
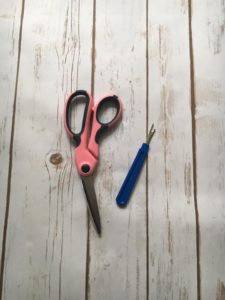
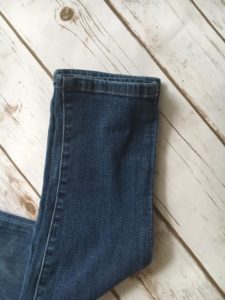
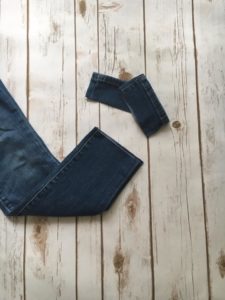
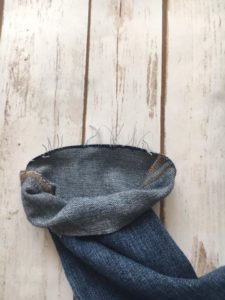
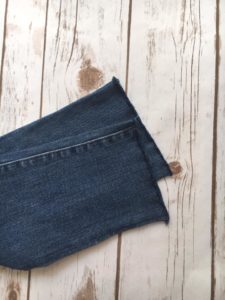
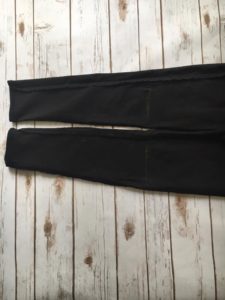
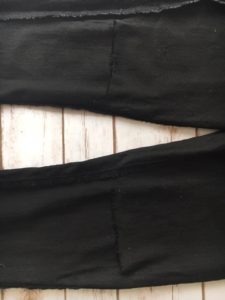
We will start off with the frayed hem jeans. These were an awesome find, Joes Jeans for $10! These typically retail in the $100 range so I was very excited to find these. All you need are seam rippers and scissors. I put them on and made a small cut at the length I wanted to cut them. Then took them off and cut the rest of the material off. To fray them, take your seam ripper and start pulling the white strings from left to right until you have the desired amount of fraying. I only wanted a small clean line of fraying so you can see in the last picture where I stopped. Then throw them in the wash to accentuate the fraying.
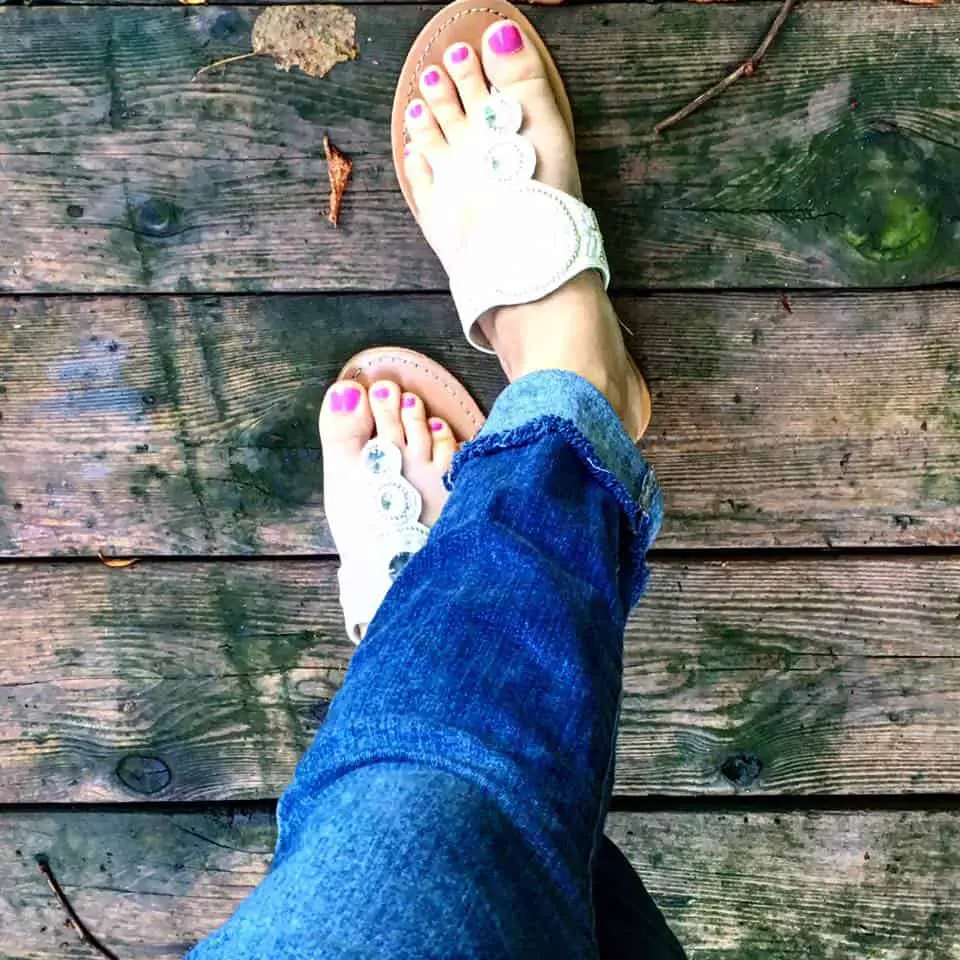
Here is the finished look, I decided to cuff them but they look great worn straight as well!
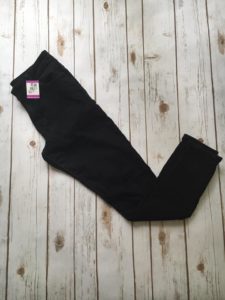
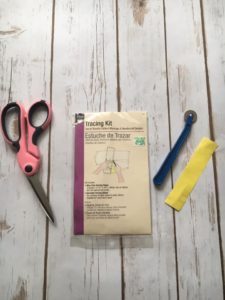
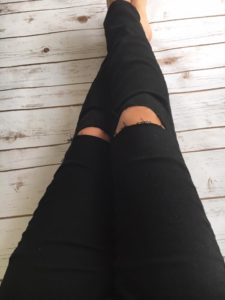
The next DIY is really easy and quick to give some new life to your denim. I scored these black jeans for $8 at the thrift store and used a tracing kit and scissors. After turning the jeans inside out I put them on and used the tracing kit to draw a line straight across where my knees were. Then I cut across the lines and ran my scissors along the edges of the cuts to fray them. And there you have it, holes in the knees that your mother would probably scold you for! Pair these with your favorite graphic tee and some booties and it’s an instant hit.
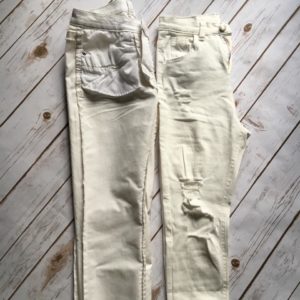
The last DIY I will show you is how to distress denim. An important thing to note when choosing denim to distress is fabric content. This works best with fabric that is mostly cotton and a small percentage of spandex but nothing else. So in this case, these jeans had a lot of polyester in them and I couldn’t quite get the distressed look I initially envisioned so I went a more “destroyed” route rather than a “distressed” route. The difference being more holes verses areas of distress on the fabric which I ended up really liking in the end.
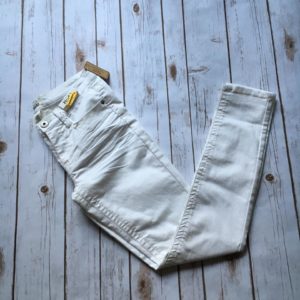
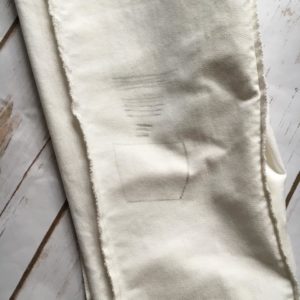
So this white pair of jeans I picked up at Kohls were way on sale for only $8 so I consider that a thrifty find. I took this other pair of white jeans that no longer fit but I love the look of to use as a guide for the new pair. I turned the pair I was working on inside out so I could stencil in a rough guide of what I wanted to do. I used a pencil to lightly draw where I wanted to have various distressing and the big old hole near the knee on both sides of the jeans.
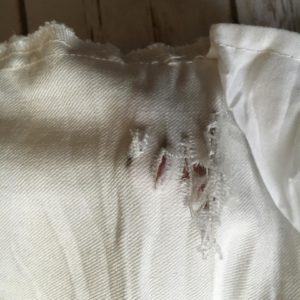
Using my sewing scissors, I cut some slits where I had stenciled and used the edge of the scissors to rough up that area. I ran the edge of the scissors vertically along the area I had cut. In the case that you have the ideal fabric content, you would then typically use a pair of tweezers to pull out the vertical strands of the areas you cut the slits in. Since that was not my case I moved on to cut out the big holes in the knees. I purposely cut them jagged and uneven. Then lastly, I again ran the scissors along the cut edges to fray it slightly.

After a quick cycle through the wash here is how they turned out. I think they are totally cool, destroyed and all. Which pair were your favorite?
